Thursday, June 20, 2013

Who likes to coordinate?!

Did you know so SO many of our lovely patterns have an adult version and kids version? !!
Can someone say perfect for the family photos? or how about that wedding you have this summer? or Christmas/Thanksgiving dinner?... or even to make outfits to sell in your shop!

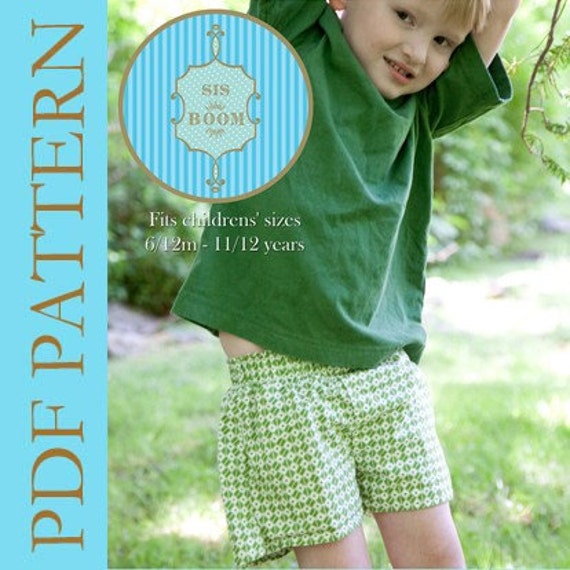
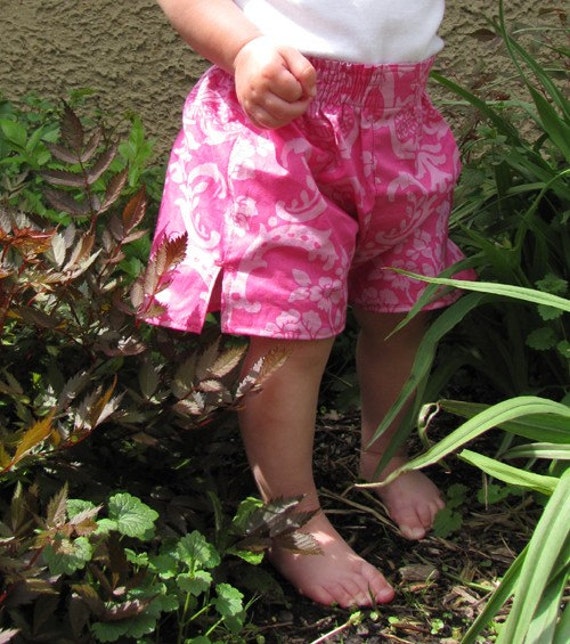
All our women's patterns go from xs up to 3xl and the kids versions mostly range from 6/12m up to 12 and even 13/14 in many cases! GREAT value for you pattern buck!

Whatever your event or non event we all know coordinating is fun!  So without further delay here is a list of our coordinating patterns!


First off we have the Patricia and Sophie:

Sis Boom Patricia Tunic with Scientific Seamstress Pattern and Instructions, PDF E-Book
Sis Boom Sophie Tunic with Scientific Seamstress Pattern and Instructions, PDF E-Book

Next is the Meghan and Molly:

Sis Boom Meghan Peasant with Scientific Seamstress Pattern and Instructions, PDF E-Book
Sis Boom Molly Peasant with Scientific Seamstress Pattern and Instructions, PDF E-Book

Then there are the Shana and Emily:

Sis Boom Shana Tunic with Scientific Seamstress Pattern and Instructions, PDF E-Book
Girls Tunic Pattern - Sis Boom Emily Tunic, PDF E-Book

The Marlo and Cathy are also a perfect pairing:

Sis Boom Marlo Top with Scientific Seamstress Pattern and Instructions, PDF E-BookSis Boom Cathy Dress/Top Pattern with Scientific Seamstress Pattern and Instructions, PDF E-Book

How about a match for the whole family! The Tommy and Louey boxers:

Sis Boom Tommy Boxer Shorts with Scientific Seamstress Pattern and Instructions, PDF E-BookSis Boom Louey Boxers with Scientific Seamstress Pattern and Instructions, PDF E-Book

The Dana and Maddie are next up - these look wonderful as a dress or top!

Sis Boom Dana Top with Scientific Seamstress Pattern and Instructions, PDF E-Book
Girls Top Pattern - Sis Boom Maddie PDF E-Book

Need something a little dressier? Well then, the Jamie and Marissa are perfect for you!

Sis Boom Jamie Dress with Scientific Seamstress Pattern and Instructions, PDF E-BookGirls Dress Pattern - Sis Boom Marissa Dress, PDF E-Book

How about the perfect shift dress? I'd recommend the Rebecca and Shannon:

Women's Shift Dress sewing pattern - Sis Boom Rebecca Dress, PDF E-BookGirls Sheath Dress Pattern - Sis Boom Shannon PDF E-Book

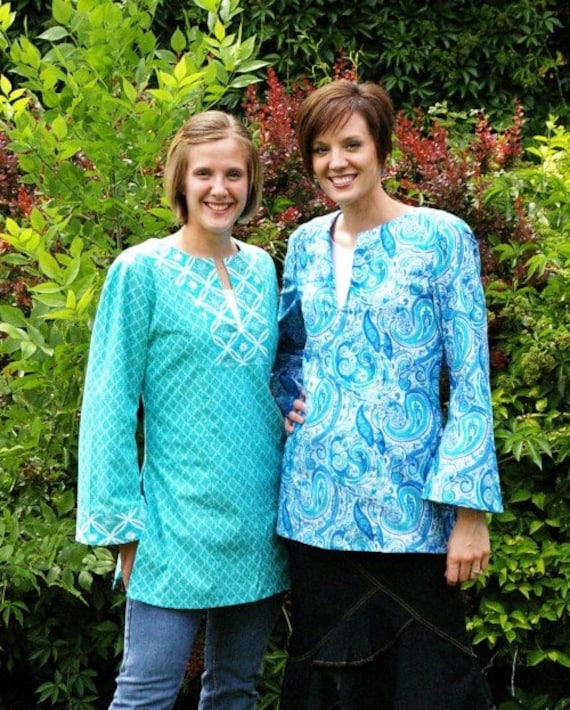
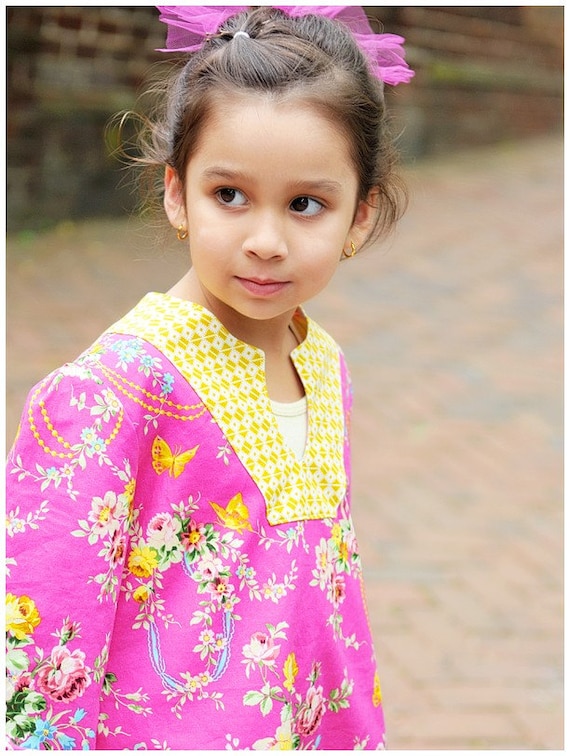
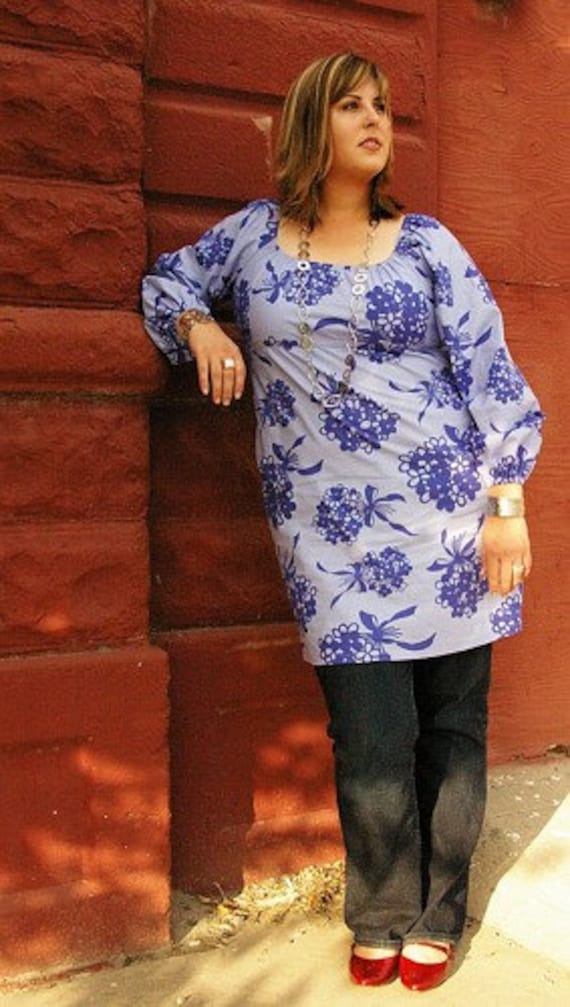
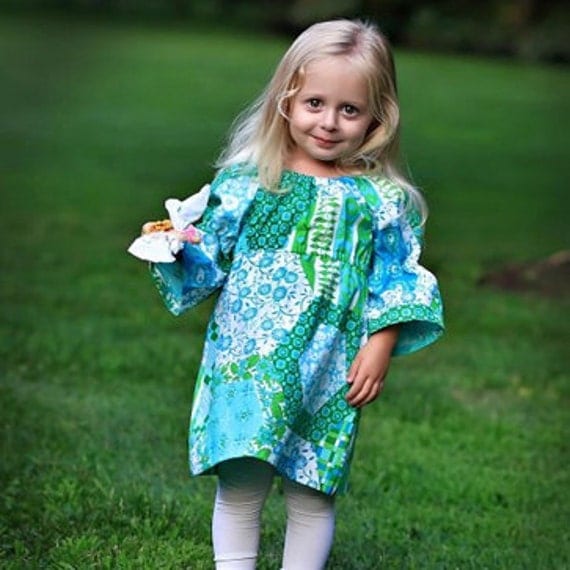
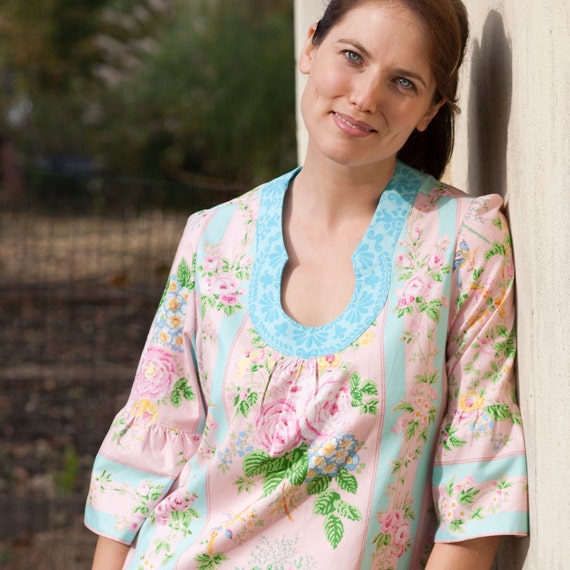
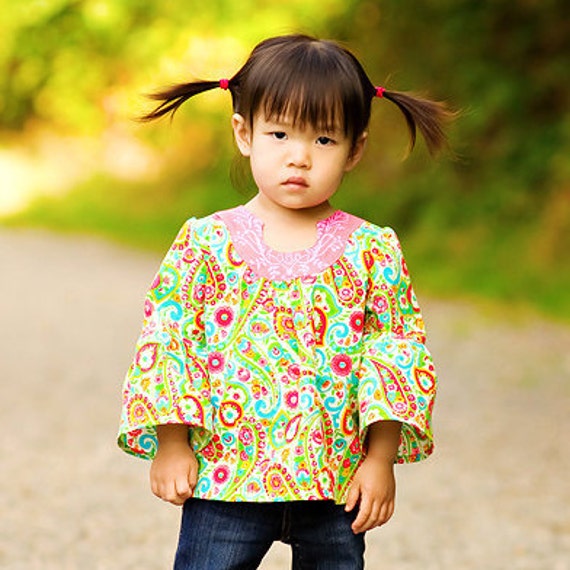
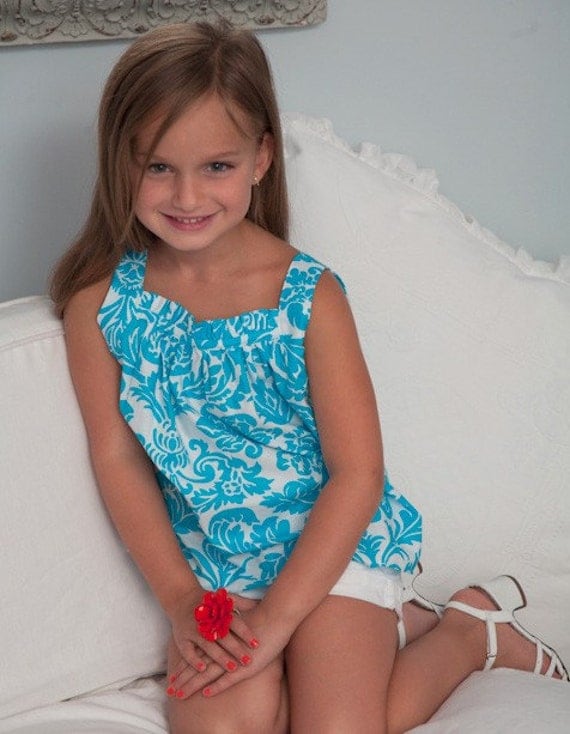
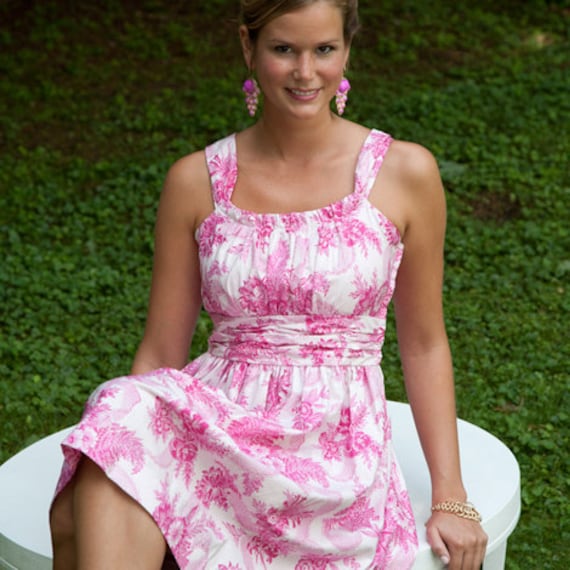
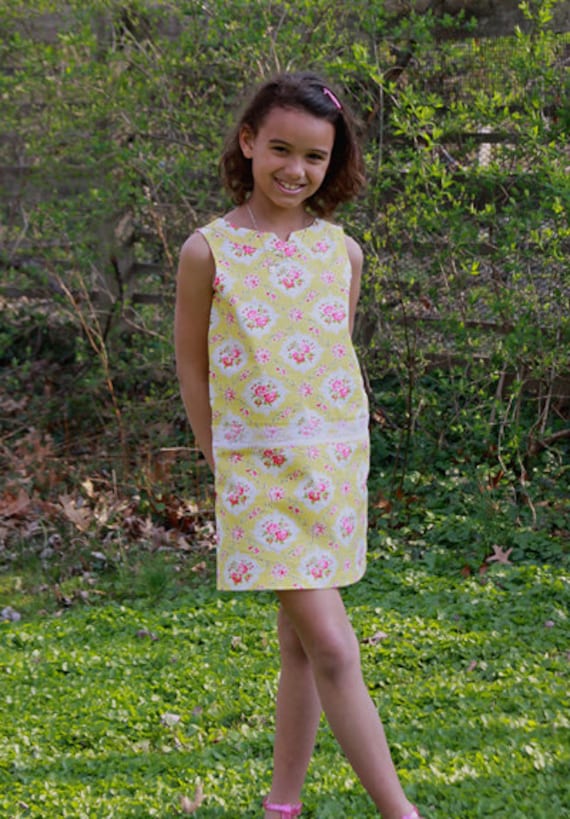
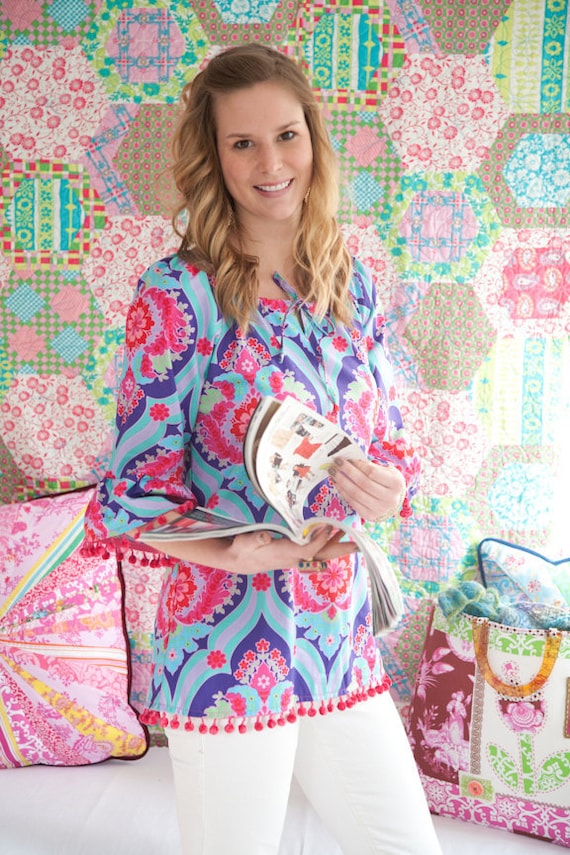
Here is another coordinating set that triples! A great shirt, tunic, and/or dress! The Devon and Leighanna:

Easy Peasant Top or Dress Sewing Pattern - Sis Boom Devon Peasant, PDF E-Book
Girls Peasant Top or Peasant Dress Pattern - Sis Boom Leighanna PDF E-Book

Next we have the Vanessa and Bettyann:

Easy Shift Top or Dress Sewing Pattern - Sis Boom Vanessa, PDF E-BookGirls Shift Dress or Top Pattern - Sis Boom Bettyann PDF E-Book

Looking to sew for the men in your life? The Marco and Ethan are a classic set:

 Men's Button-Up shirt PDF Sewing Pattern - Sis Boom Marco
Boys's Button-Up shirt PDF Sewing Pattern - Sis Boom Ethan

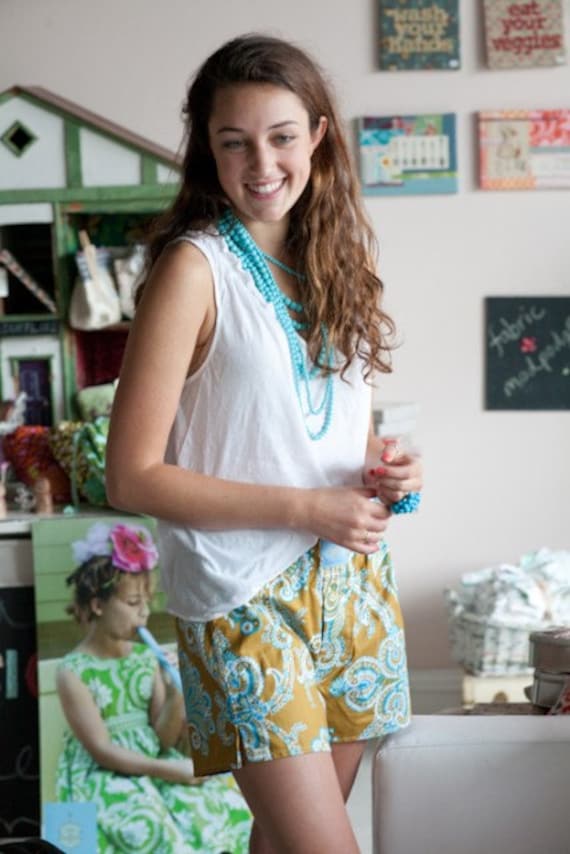
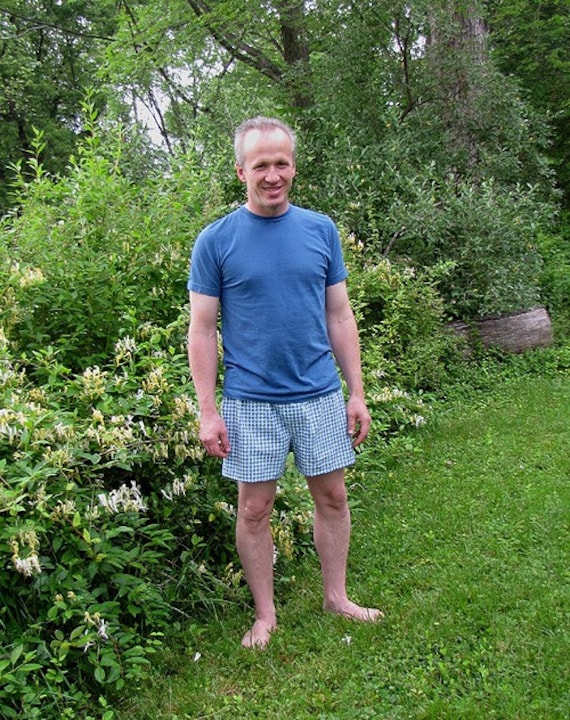
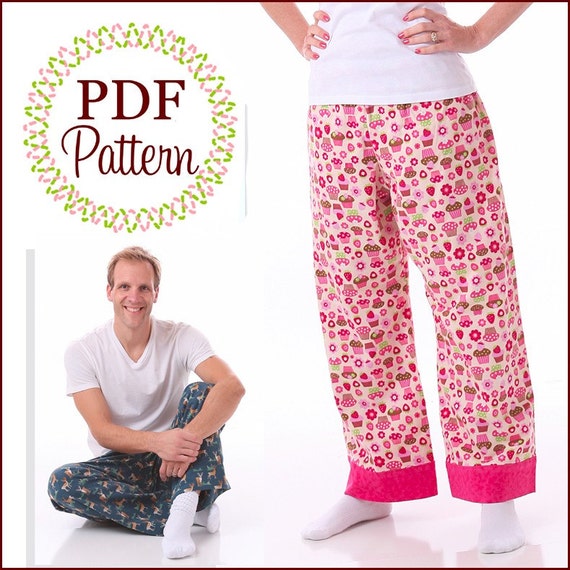
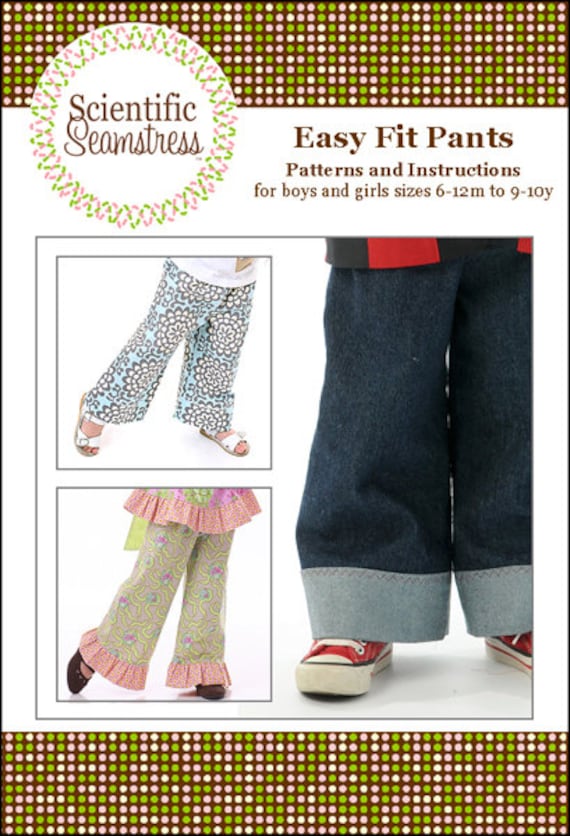
And finally another sew for the entire family! In chambray as cute pants, cottons, or in flannel as jammies the Easy fits are great and fast to make, shorts- full length; cuffed, plain hem, or ruffled! Kids and tween-adult:

Easy-Fit Pants for Tweens, Teens and Adults, Boutique Pattern PDF E-Book, by the Scientific SeamstressEasy-Fit Pants for Girls and Boys, Boutique Paper Pattern, by the Scientific Seamstress

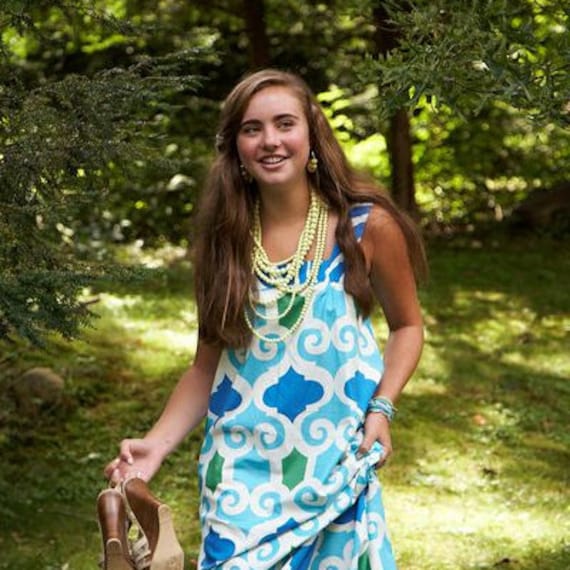
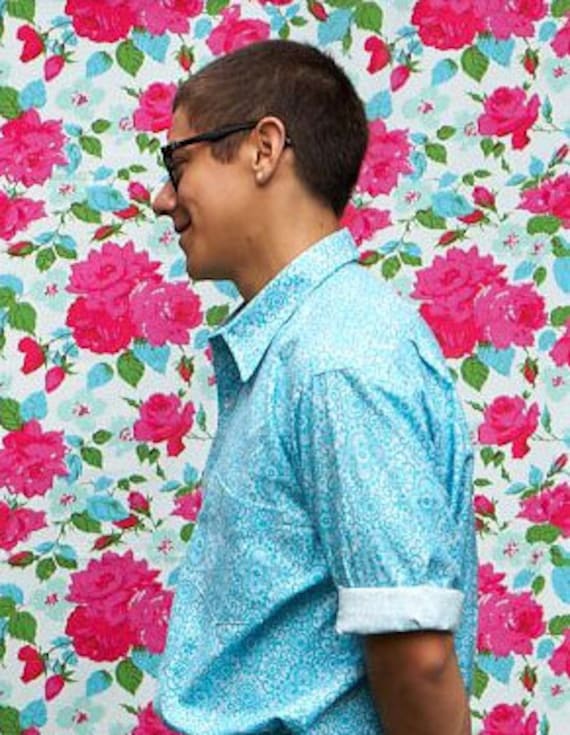
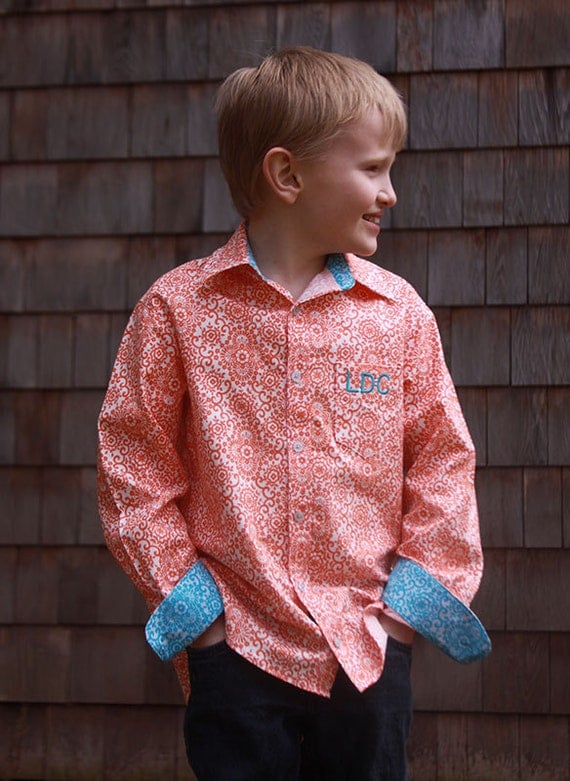
We also have the Sisboom Katies and Judy's! (and don't be fooled by the name, those Katies are cute on boys too!)


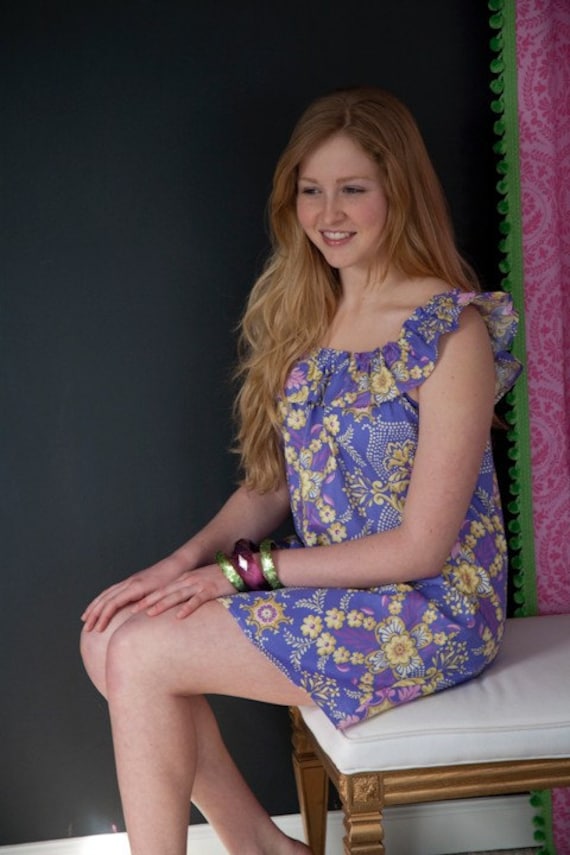
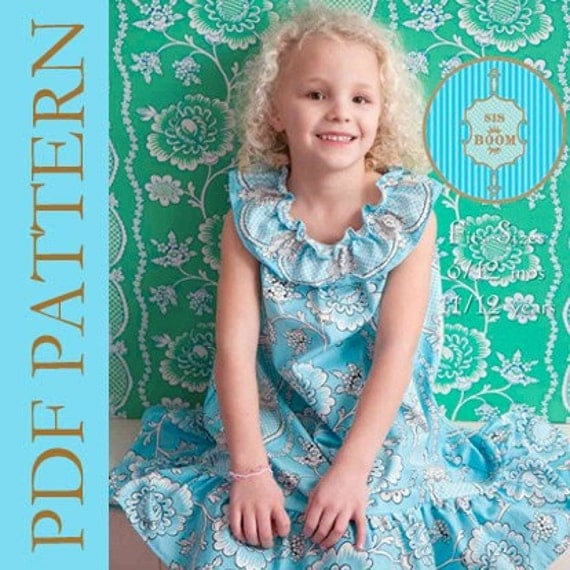
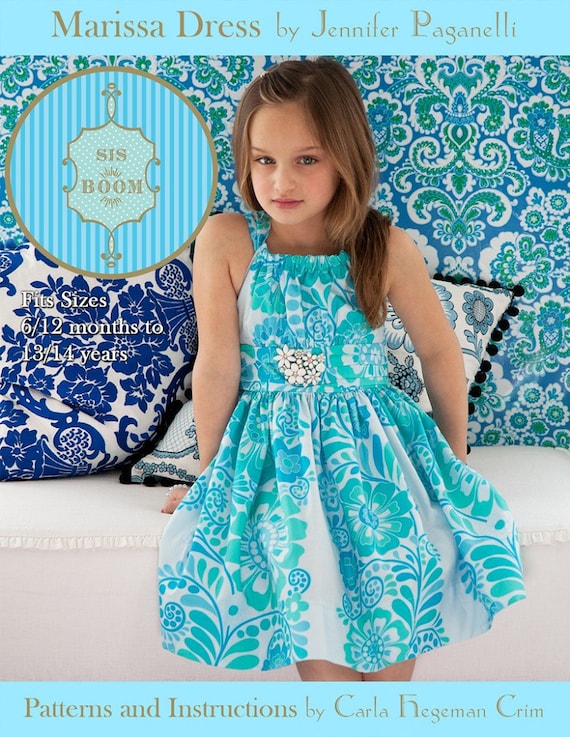
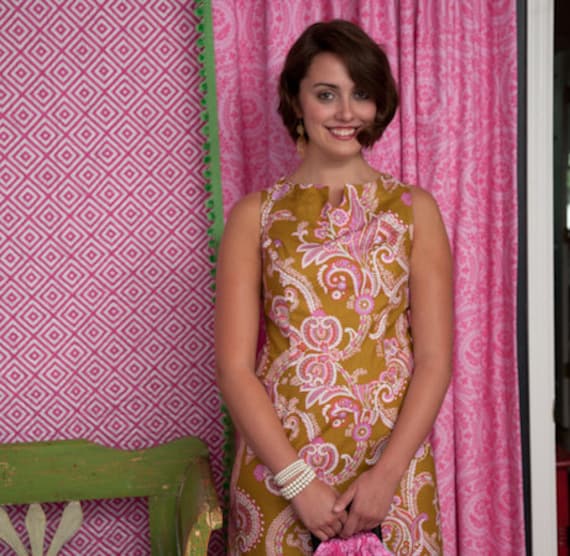
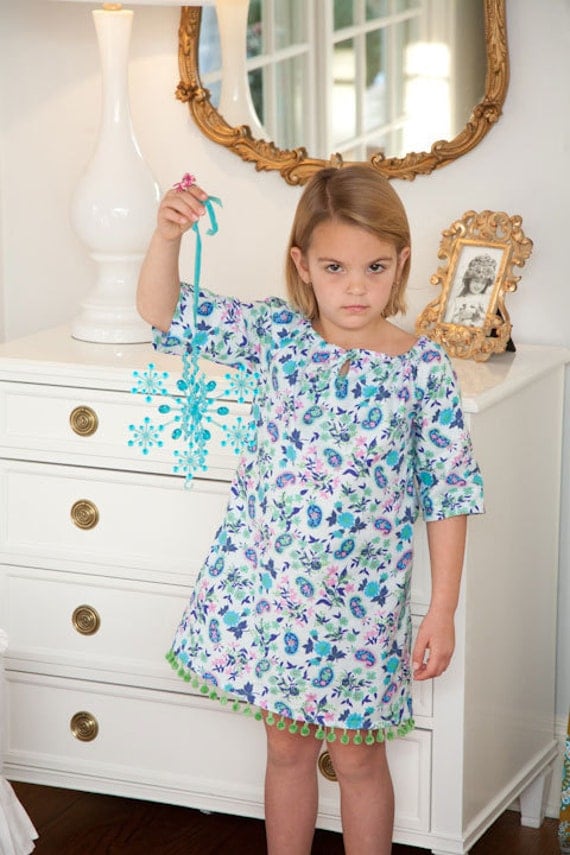
NEW in our coordinating patterns for 2015 is the Sisboom Carolina Mae and Gabriella Fae 


Oh and Just in case you are wondering, the Lucy's matching kids version is in the book "A Girl's World" by the one and only Jennifer Paganelli!

Easy Halter Top or Dress Sewing Pattern - Sis Boom Lucy Halter, PDF E-Book

Here is the document version for you to download if you want it ! 
Here is a link to our pinboards! Pinterest is a great source of inspiration and you can see the patterns made many different ways in all sizes and lengths !

Also if you are not already - PLEASE do join us in our facebook group and like our fan page


Tuesday, June 4, 2013

The Dana/Maddie Sew-a-Long Day 4

Now let us pick up where we left of for our final day of the sew a long!

We had just done the gathering lines along the flutter sleeves. so pin the sleeve down - right sides together to the main piece one pin and each end and one in the middle and lightly gather and spread your gathers evenly.


Make sure your stitch length is back to normal :) 

Sew a long to attach sleeve to arm bands, I should note it might be a good idea to remove pins as you come up to them... go ahead - ask me how I know ! 

Now set your machine to zigzag (or serge if you are lucky enough to have a serger) and finish the edge where you just attached the sleeve to arm bands


NOTE: I do not follow the written directions for the rest - and this is because I prefer to finish my edges after I have tried on and adjusted for the fit I want.

Next you will put the sides together - and sew right up from bottom edge to flutter sleeve top edge.

Back to zig zag to finish off the inside edge


Now remember how we overcast/or zigzaged and ironed that flutter sleeve outside edge? Well now it is time to sew that fold over down. 

Now I overcast foot the bottom hem edge but I do not hem it yet! 

After I have done this I try it one to see how much I should do my bottom hem by and if I want to adjust the fit. For this pattern I wanted it to be a bit more fitted, So I got out my disappearing fabric pen and made the marks to sew as shown below. Then I tried it on again and realized I have minimal hips - I really should have sewn straight down (drawn on white marks) so I went back and sewed straight down. The inner most point is 1.5inches, just so you know how much I took it in. I did this one both sides of the shirt.


I re tried it on and loved the closer fit so then I turned up my hem and sewed it up (I did a one inch hem since I cut it a bit extra long just to be safe - I'm weird like that) I also attached my label to the inside on the side I chose to be the back of the shirt. I chose which side to be front and back based on the fabric pattern being arranged more pleasing to me on one side vs. the other. 


And You have now completed the Dana/Maddie pattern!!! YAY you!!!! Go try it on - get a picture of yourself  and post it in the facebook lab group album titled "Dana/Maddie Sew-a-Long" (or just hang it on a hanger for a picture if you really don't want to post a picture of yourself online)


bonus points that add up to nothing but a cool factor if you put on a funny hat for your picture!

Monday, June 3, 2013

The Dana/Maddie Sew-a-Long Day 3

Hello day 3 of the sew a long!!! Time to work on the sleeve bands! Now if you read ahead in the pattern this is likely the day that scared you - but they are MUCH easier than they seems to be - so take a deep breath and just sew with me! NOTE: I chose the option of doing flutter sleeves. If you did not choose this option follow the directions on the pattern - this part works for bias tape finish non sleeves too)

Now lets start those sleeve bands! For the front and the back you should have this:

Now you want to sandwich the main piece armscyes in between the sleeve bands (sleeve bands should both be pretty side facing inward. When you put them about as shown on page 11 be sure to line up your notches. (Do you see the three layers all together?)

sew around for all 4 sleeve bands (we will attach the front and backs soon so no worries about that right now!)

Snip snip about the arms so they turn out easily but do NOT snip the stitches! Fold the sleeve bands out and iron them flat. (I forgot to get a picture of that - but you can see it on page 13 in the Dana pattern) 

Now we join the front to the back via the sleeve bands!  spread the sleeve bands for your front and back and pin them up and stitch together on both sides

Now go and get a snack or a sip of water. The stressful part is over and done - just easy sewing from here on out!

Get your flutter sleeves and the pattern says to zigzag but i love to use my oversticthy foot. So I set to zigzag and the fabric feeds through and folds over and sews it so pretty.

(see the over stitch foot work there on the left - no raw edges! Those get neatly tucked inside and you can stitch that down later on) For now set your machine to it's longest stitch length again and sew to gathering lines (as shown below)

Are you feeling tired yet? I am starting to feel like I need a cookie... Meet back here tomorrow to finish off okay?

In the meantime check out our facebook lab group! Don't forget the album is up there for entering your Dana/Maddies into for the prizes we have !

Sunday, June 2, 2013

Dana and Maddie Sew a Long Day 2

Welcome to day 2 of the sew a long!

Today we start sewing! First get your ruffle strip and fold it in half and allign the raw edges to the bodice top. (do for the front and back)

Remember to set your stitch length to the highest you have for gathering purposes. I sew 2 parallel lines to gather

Ruffle until it is the same length as your binding strip. Next as per the directions on page 9 do the binding strip on your ruffle right side down on your wrong side of main piece with your ruffle in the middle.

now onto page 10 of your directions, iron your ruffle piece away from the main fabric and then fold your binding trip over to the front and under (shown below - I folded it up on the left so you could get an idea of the layering) 

In this next pic you can really see how the binding strip is folded under - I ironed it like this and then pulled the ruffle piece up. I just found it much easier to work with this way.

Pull the ruffle bit up - but keep that binding strip down and carefully pin into place. It might want to get away from you or bunch up behind there as you pin so keep your eye on that.

Edgestitch that binding strip in place 

You should repeat these steps for the front and back pieces. and now your front and back main pieces should be complete! 

Tomorrow we will work on the sleeve bands! This is pretty painless so far right? If you have questions hop on over to the facebook page