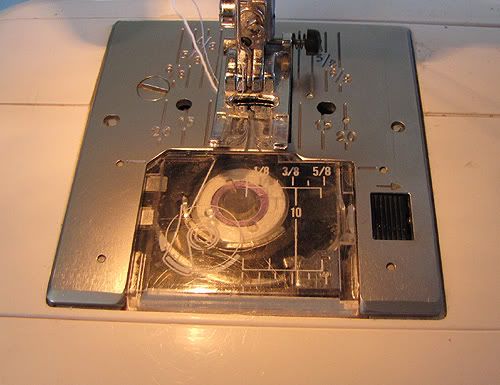
The first step is winding the elastic thread onto bobbin. Most shirring methods recommend winding the bobbin by hand. I'm just not that patient or focused when it comes to those kinds of things. I decided to wind mine by machine - it gets much more of the thread on the bobbin, and takes only seconds as opposed to minutes (yeah, that is lavender thread on my bobbin beneath the elastic thread...I couldn't find an empty, and was too lazy to unwind).
OK, as long as we are at the machine, let's talk settings. I used the longest straight stitch length, and set the bobbin tension just a bit higher than the lowest setting (1 on my machine). I set the needle position all the way over to the far left.
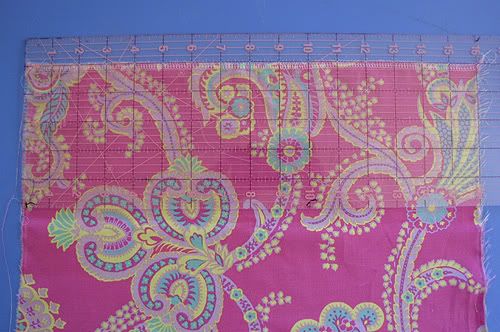
For my test scrap, I used a 16 inch wide piece of Tanya from the Sis Boom Poodle line. Jennifer really outdid herself this time!! I love every print and every colorway in this collection, but there is something just so Euro-fun about this particular paisley. I finished the top edge with the serger, but on my sundress I'm going to do a hem.
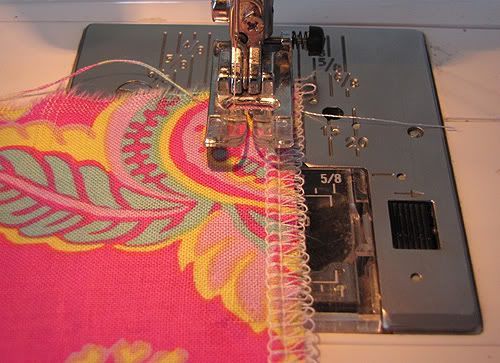
On to the shirring! Start the first line of shirring the desired distance away from the top, prefinished edge of the fabric. Make sure the right side of the fabric is facing up. Before stitching, BACKSTITCH...this is very important.
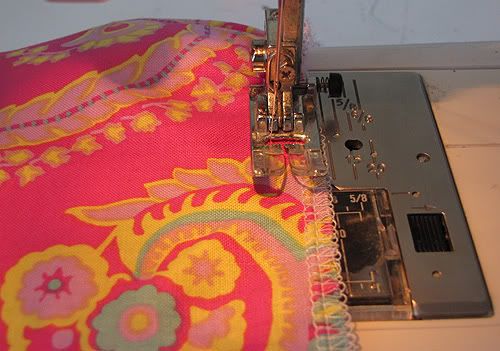
Start stitching. Don't worry about what is feeding out of your machine at this point. It might be tightly gathered, loosely gathered...doesn't matter. Just focus on keeping the stitching nice and straight.
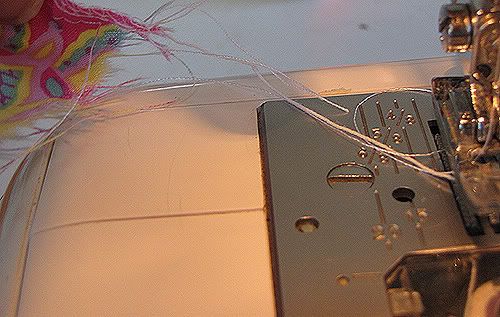
When you get to the end of the fabric, grasp the end of the stitching and pull the piece away from the machine so that you leave a nice long tail at the end of the stitching (at least 6 inches stretched). Snip.
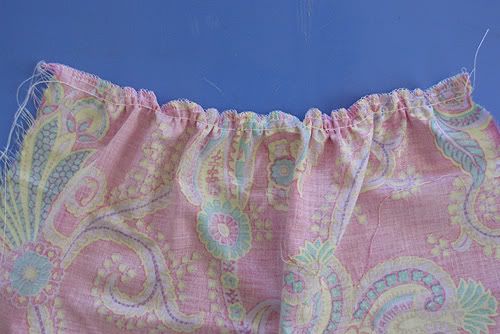
This is what my piece looked like after the first row of shirring. Your piece may look tighter or looser, but but like I said it doesn't matter because...
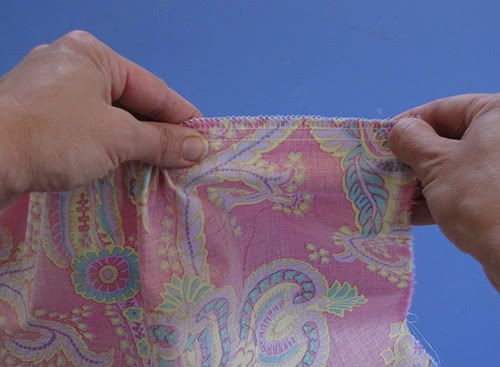
...you are just going to take out the gathers anyway! Working away from the backstitched end, push the gathers out towards the tail.
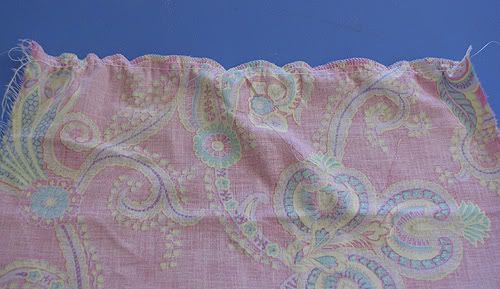
You won't be able to get it perfectly flat, but it will be pretty close to the original length.
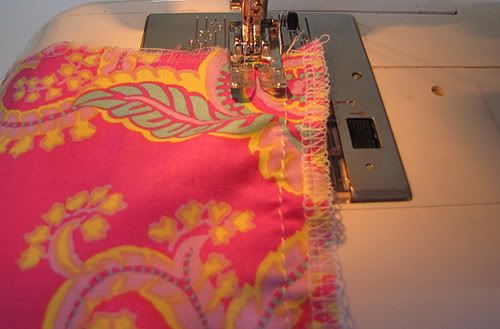
Onto the second row! With the right side facing up, position the right edge of the presser foot against the first line of stitching. BACKSTITCH, then stitch the line of shirring. Since you ungathered the first row, you shouldn't have any problems with puckers. Pull out a long tail at the end and snip.
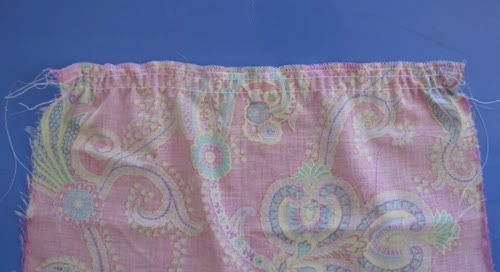
Straighten out row two so it is just like row one.
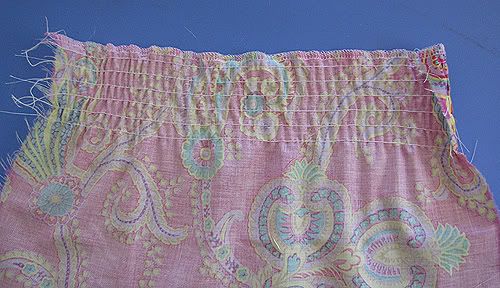
Repeat this process as many times as needed. I did 6 rows of stitching for my test, which gave about a 2" band of shirring. The next step is to pull on the tails to shorten the elastic for that stretchy gathered effect.
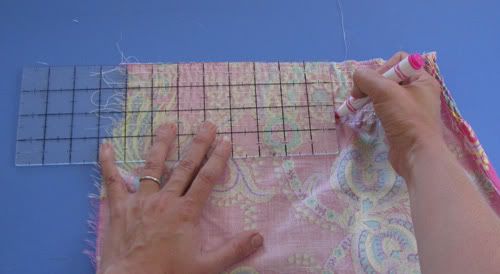
The next step is to pull on the tails to shorten the elastic for that stretchy gathered effect. You want the gathering to be consistent, so you will need to mark the strands with a washable marker. Decide how much you want to shorten up the strands of elastic (keep in mind they will shrink even more than this amount after steaming, but they will still have lots of give). Lay out the shirred piece with the elastic side facing up. Measure out the desired distance away from the tail end. I measured out 8" with the intention of the finished shirred band being at least 50% shorter than the original length. Since shirring is sooooo stretchy, I think it is better to get it a bit on the tight side than on the loose side.
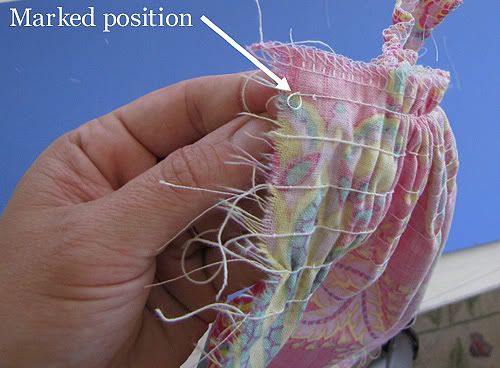
Pull each of the tails individually until the marked position is at the side edge of the fabric.
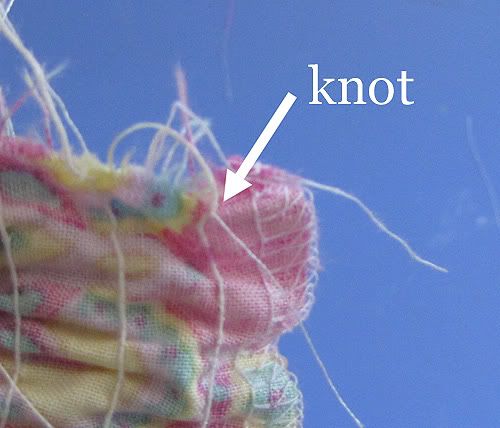
Tie the elastic and the corresponding needle thread into a knot at the position of the mark. Don't worry if you don't hit it exactly.
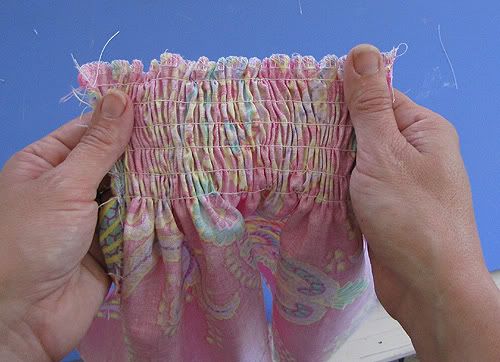
Once you have tied off all of the threads, work the shirring between your fingers to evenly distribute the gathers.
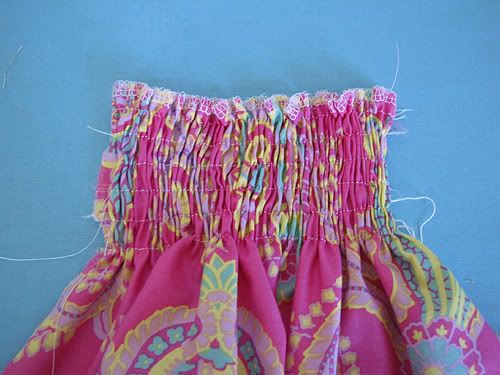
It will look pretty good, but not perfect. Here comes the fun part...set your iron to a hot, steamy setting, and blast the shirring with steam for a few seconds.
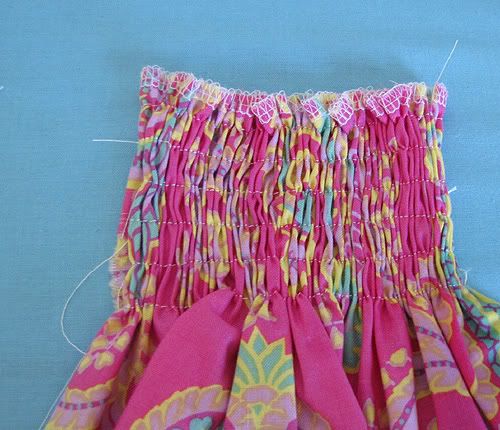
I didn't get pics of the actual process because the steam fogged up my lens, but the shirring magically shrinks up into a smocking-pleat perfect delight!
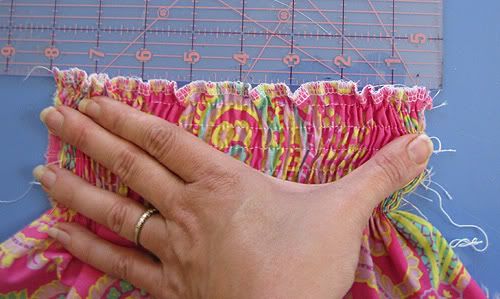
Fully stretched, my final shirred band is about 8" - 50% shorter than the original length.
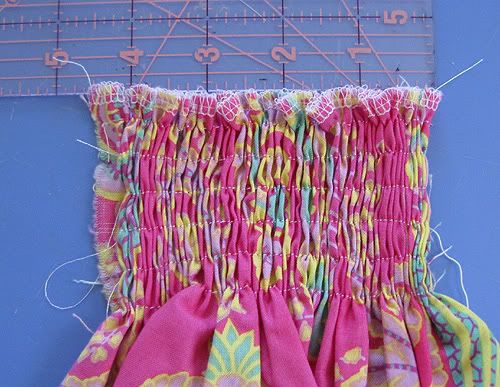
Unstretched, it is 4" - 75% shorter than the original length! I've never been able to get such nice, tight shirring before, and I'm looking forward to playing with the amount of gathering for different effects. Now that I have control of my shirring, I need to do some math and plan my sundress!

so cool! I've had both successful and unsuccessful attempts at shirring and eventually gave up, but now I think I'll give it another try! Thanks Carla! I always trust your methods.
ReplyDeleteI am a new reader, and pretty new to sewing as well. This looks so simple to do! Thanks for the tutorial! I have heard shirring nightmare stories, but I think I might try to give it a try this weekend! Thanks!
ReplyDeleteThank you!!! I have also had successful and unsuccessful shirring! You make it look so easy! I may have to try it again!
ReplyDeleteas usual, I know I can trust you! After many mediocre attempts, I feel that I can try to conquer this now! Thanks, Carla!
ReplyDeleteWow, thanks so much Carla for explaining this so beautifully! Ever since I got a new machine with a drop in bobbin I haven't been able to shirr at all. I can't wait to give this a try~ ☺
ReplyDeleteOh my! I didn't even realize there was elastic thread! But I guess I've seen it on store-bought things, of course. Very informative post!
ReplyDeleteWhat a great tutorial! I love reading different ways to do things like this. It looks like this is a pretty fool proof method! Now I want to see you modeling your new dress!
ReplyDeleteI have been trying to shir a knit top for days now with no success! Does it not work on knits? I'm going to give your method a try...esp the machine-winding bobbin part! Thanks a million!
ReplyDeleteBeautiful!
ReplyDeleteThanks Carla!
ReplyDeleteWow, Carla! I love how you explain things so clearly! Thanks for taking the time to make yet another great tutorial.
ReplyDeleteCool, I LOVE this method. I have a new machine and have not had time to fiddle with the setting to get the shirring perfect(my other machine I had it all figured out, and it was perfect everytime). I have a dress cut out and ready, but have not worked on, well guess what is getting sewn up tomorrow :D. THANKS CARLA, You rock.
ReplyDeleteThank you so much for posting your shirring method! I have a shirt for my daughter waiting to be shirred...I'd completely given up on it! No matter what I do, I cannot get my machine to work...my friend (who's never used her machine) came over so I could teach her to sew, and her's worked like a charm! I was having major jealousy issues! Not anymore:o)
ReplyDeleteMy new "fancy" machine is a non-shirrer. It makes me want to ask the neighbor for my old one back. Maybe I'll just try this instead.....
ReplyDeleteI sure do love, love, love your tutorials! I am new to sewing and you sure make things simple and have awesome tips, which for me, are GREAT! I am one to do things the "trial & error" way, however, the "error" part is very frustrating and things like this shirring tutorial is so very helpful to know in advance. Thank you very, very much!
ReplyDeleteYou're so darn smart! I can't wait to see your sundress!
ReplyDeleteI'm one of those that has had successes and major failures in the shirring dept.
ReplyDeleteYour method looks great... but I have one question:
Where is the bobbin tension? I don't think I've ever messed with that. Maybe that's my problem...
Thank you! My machine does not shirr well (if the bobbin tension is loose enough to let the elastic thread through, it doesn't actually gather the fabric very much). This gathering-like approach is exactly what I needed for beautiful results.
ReplyDelete