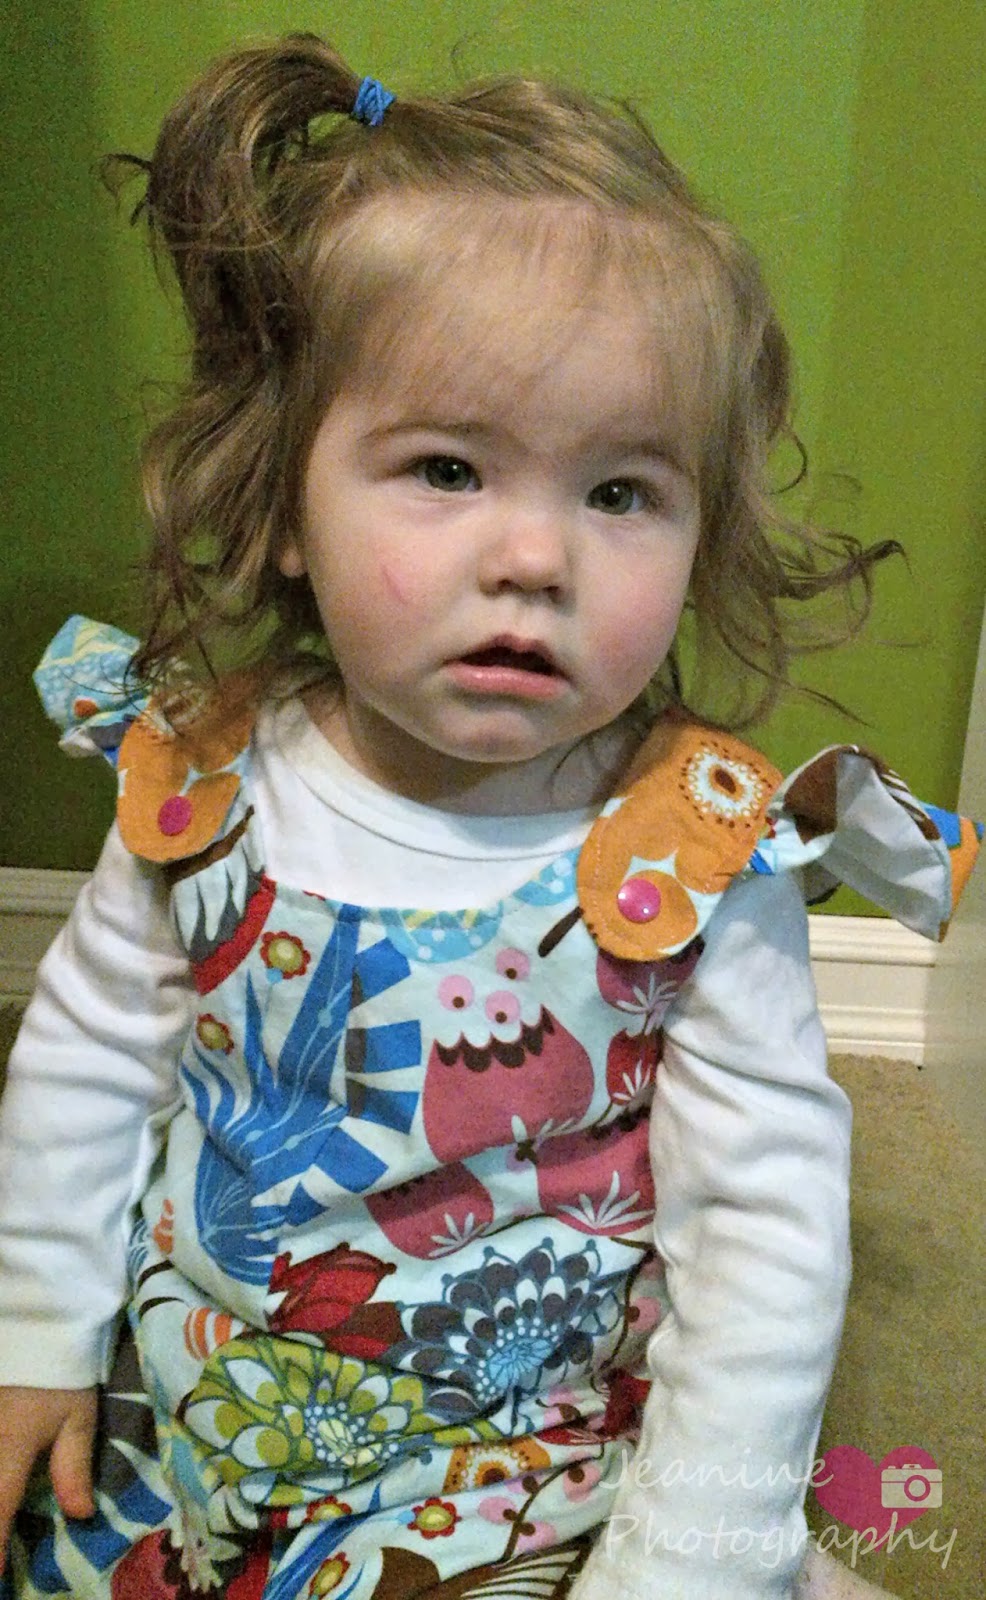
As you may or may not know already, the Carly Romper is one of my favourite pattern for littles! It has sleeveless, puff sleeves or, as seen here, flutter sleeves for options! I love that the traditional pattern has a nicely closed back! Especially for little little ones! My Cheeks is about to be 2 this summer though and so I don't mind opening the back up a little.
I'll be honest with you, the idea for this tutorial came from the AMC show The Walking Dead, when they escape from the prison the baby Judith is in a little romper that has a rounded open back and it was just so cute!
I made this romper a size up from what Cheeks currently wears since we are still a good 2 ish months from romper weather.

To start with this modification you are going to have to draw a shape like below on your back piece and cut it out - this will be your back hole where the straps go across - feel free to change the shape up!

Once you have cut out the back pieces you will measure across them about where the straps will be. Remember to add a few inches to this measurement so you have some wiggle space and space for snaps and sewing in, etc. Better safe than sorry!

Then you will cut 2 strips of fabric the length you measured plus the few inches and about 2.75inches wide. (I found this the perfect width for snaps after folding)

Now fold the pieces in half and iron and then fold the ends in - not quite to the middle. Your straps should be the right width for a snap. and then sew the straps about halfway up. (There is a reason for this!)

Now you will sew the romper as directed for shoulder seams and then place the straps where you want them. I always place this way to get an idea of where I want them to be for the finished product and then flip them over for sewing in.

I measured for making sure my strap placement was the same on both sides and then double checked by pretending to flip up

Pin the straps in place. One on each side.

Now you will sew as per directed in the pattern

It just looks a bit different because when you sew the neck and back up you have a larger open space :)

Once you have finished sewing the romper as per the pattern directions we will do the strap finishing.
The Reason you only sewed the straps half way is so you can lay the romper out and see exactly how long you need them, cut off any excess and then fold the ends in and finish stitching up the straps.

Now attach the snaps! You could do buttonholes, I just thought snaps would be much easier to work withon such a small spot.

And there you have it, a criss cross back Carly romper! and it is still completely reversible!

Another thing I love about this romper, aside from it being reversible, is that it is a perfect spot to add an applique or bit of embroidery! Because it is reversible the embroidered back never touches skin to irritate!

Embroidery design can be found HERE at Urban Threads.

All done with pictures!
What is your favourite TV show or movie to get sewing inspiration from? Leave a comment :)


.JPG)
.JPG)
.JPG)
.JPG)
.JPG)
.JPG)
.JPG)
.JPG)
.JPG)