In preparation for Valentine's Day (and to break up my eBook update posts), I'm going to share some of my favorite rose-making methods. This week's rose is made with a simple needle sculpting technique. Here is an example on a tiny hat I made for 7.5" tall Riley Kish.
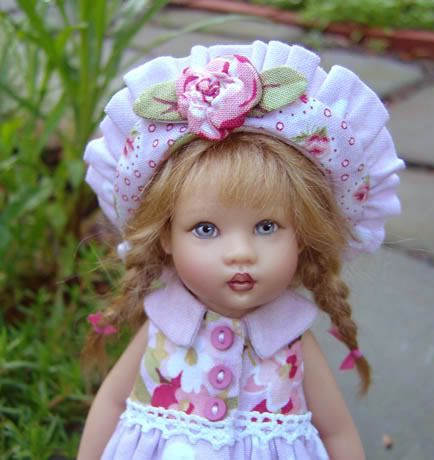
The fabric is from a line called Hannah Bella by Robyn Pandolph. It is an extremely lovely collection of shabby chic roses and coordinates. It is out of print, and very hard to find. I still have a few precious scraps in my stash.
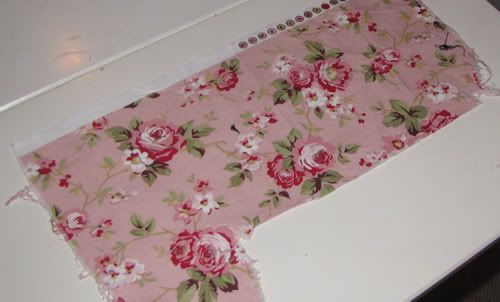
This technique takes advantage of the detail in the floral print. Choose a fabric with roses (or any other full, open flower) that are 2" wide or larger. Keep in mind that the finished rose will end up less than half the size of the original.
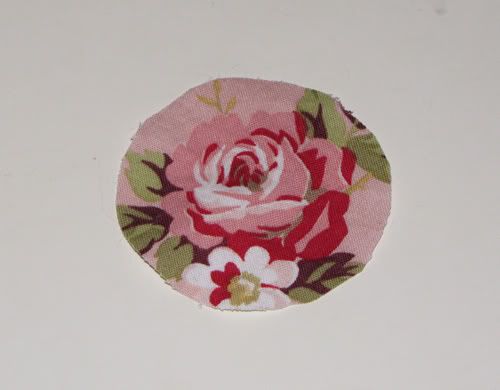
Cut about 1/4" from the edge of the chosen rose. Don't worry about leaves or any other background elements - they won't show in the finished rose.
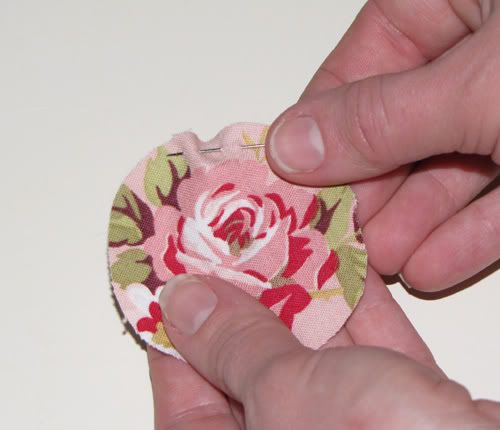
Run a basting stitch around the perimeter with a hand needle. Center the stitching between the edge of the rose and the edge of the fabric.
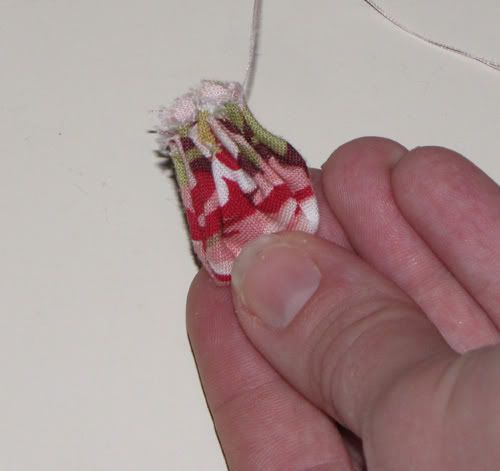
Wrap the thread around the site of the gathering several times. Run the needle through the allowance as shown above and tie off. For a small rose like this, I recommend trimming the allowance a bit .
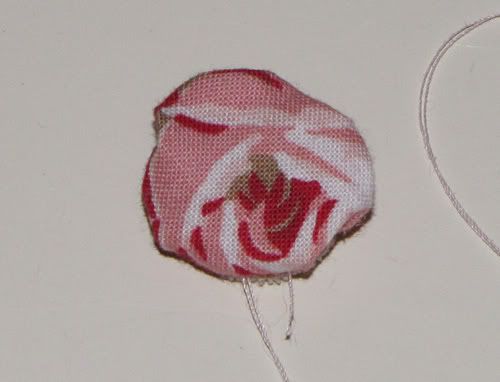
Arrange the pouch so it looks like a little pillow with the gathered section in the center back.
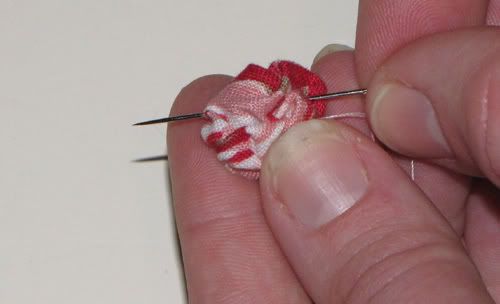
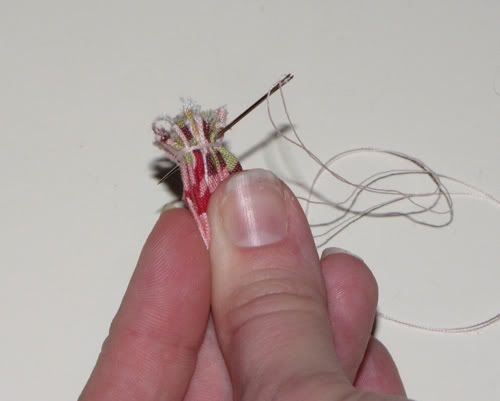
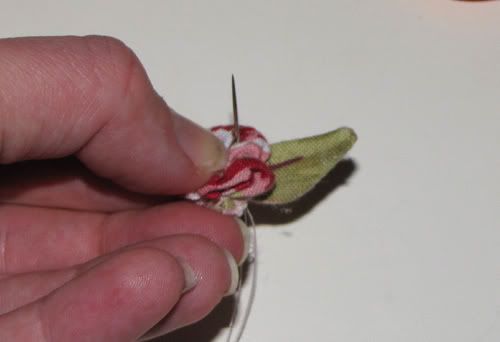
Wad the top part of the fabric between your fingers. Arrange to your liking, and run the threaded needle back and forth through the wrinkles to hold the shape. Go from side to side and up and down, placing the stitches inside the little folds.
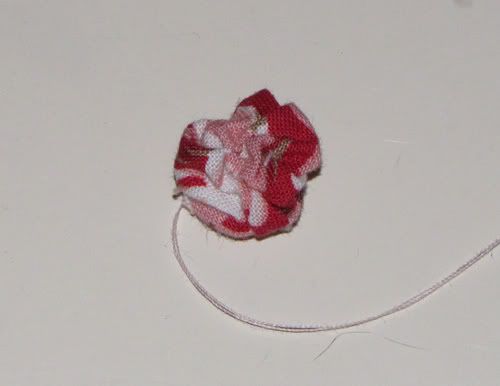
The flower is finished. The next step is to make the leaves.
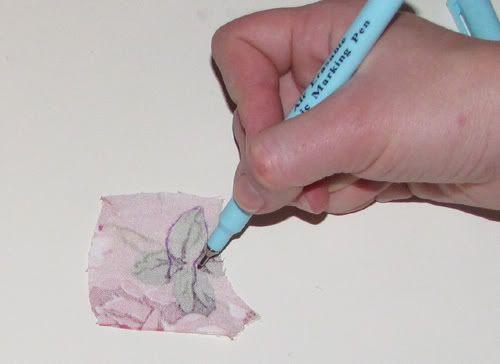
Choose a leaf. Working on the wrong side of the fabric, draw a stitching reference line. Trace around the top and sides of leaf, and make a "stem" at the base that about 1/2" long and just a bit narrower than the width of leaf.
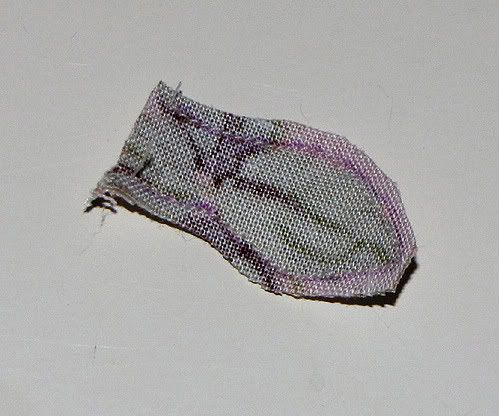
Place a second piece of fabric under the first, right sides facing. Use a machine to sew along the line. Use tight, tiny stitches Cut out the leaf, leaving a very small allowance around the stitching. Snip off the allowance at the very tip of the leaf.
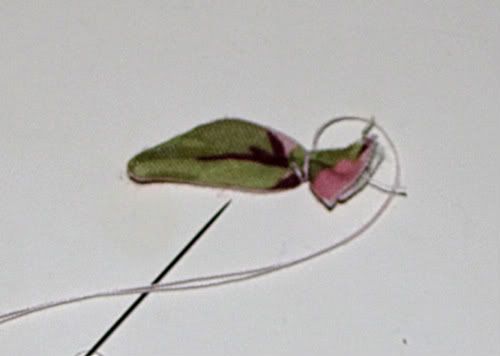
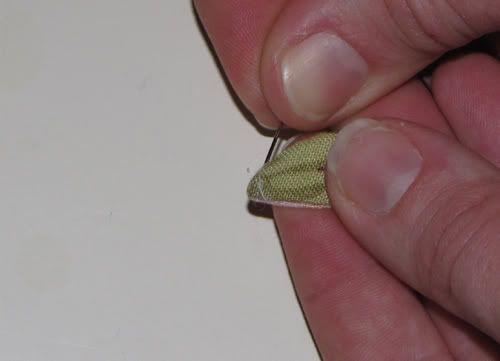
Make a stitch in the leaf at the base. Wrap the thread around the base several times. Make another stitch and tie off. Trim the allowance to about 1/4".
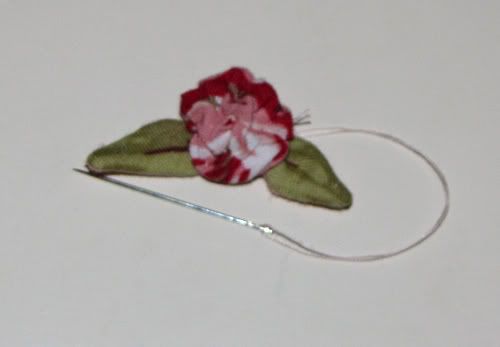
Add a second leaf, if desired. The rose is ready for your embellishment project. If you are putting it on something like a trinket box or a picture frame, you can hot glue it into place. If you are adding it to a piece of clothing or a quilt, it should be sewn on securely.
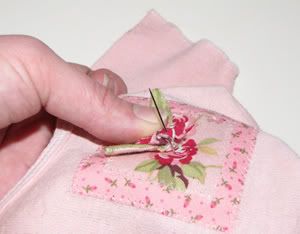
Stitch through the fabric into the folds in the flower. Make sure the raw edges of the allowances are hidden. Add some stitches near the edges of the "petals" if needed.
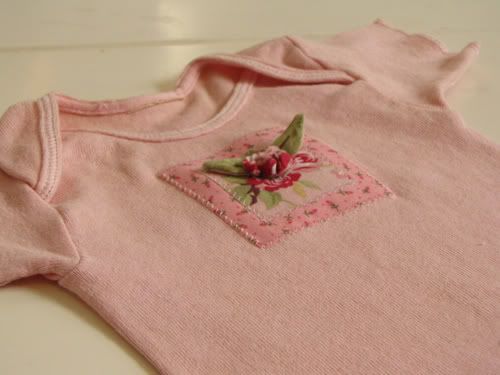
I used my flower to add dimension to a simple patch applique on a baby shirt. I'm going to pair it with little reversible pants and give it to friend who just had a sweet baby girl.

4 comments:
How sweet! Thank you for the tutorial!
Too Darling! Thank you so much for sharing!
That is soo cute, and I love that print- what a shame it is out of print!
nice tutorial thanks a lot
Post a Comment