It is "Make it, Wear It" month over at
Sew Mama Sew, and every day awesome sewists are contributing inspiration and information. By commenting on any of the posts, or by posting a pic of something you've made for yourself this month, you can win some
incredible prizes! Yesterday, I had the huge honor of taking part and tackling the subject of hemming. In the
article, I address hem width, folding, stitching, etc. I included a very brief overview of blind stitch hemming by machine, and some of my dear sewing friends asked me to elaborate on the subject. It is actually very easy, especially with the proper foot in hand :) .
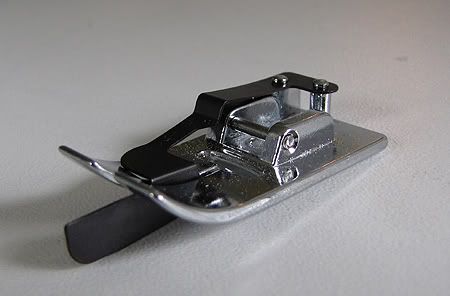
The blind hemming foot has a blade in the center that makes for perfect alignment during the stitching process. It is also great for edgestitching!

I'm going to demonstrate blind hemming using Jennifer Paganelli's gorgeous Lee Paisley from the So St. Croix line. I finished the raw edge using my serger, but you could also zig-zag stitch or even make a 1/4" fold.
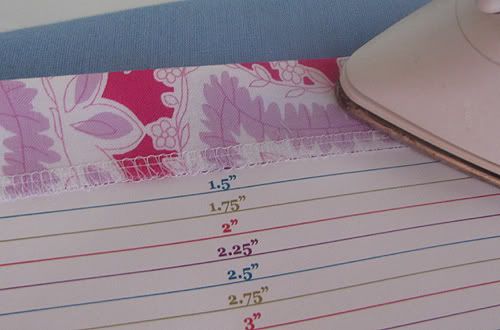
Fold the hem to the desired width. I'm using my handy dandy cardstock template to make a 1.25" fold. Up to this point, I haven't done anything differently than I would for a regular straight stitched hem.
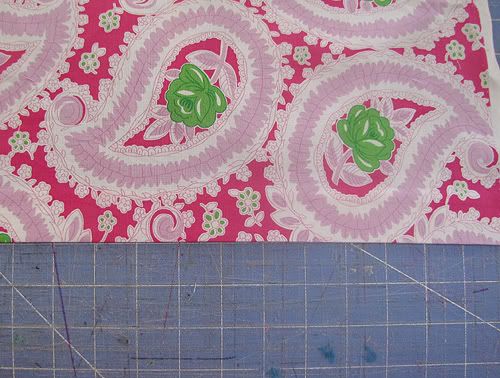
Lay your fabric out with the right side facing up and the bottom folded edge pointing towards you.
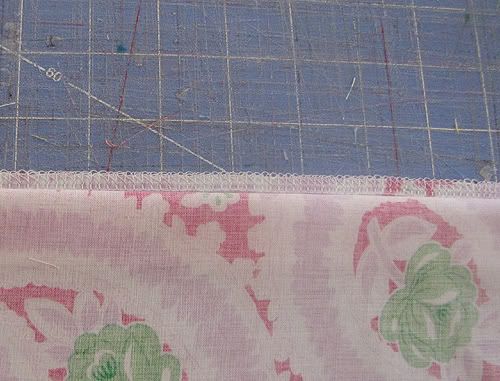
Lift up the top edge of the fabric up and pull it towards you, making a fold that is about 1/4" from the finished edge (note: if you made an initial 1/4" fold instead of edge finishing, this new fold should be in line with the raw edge).
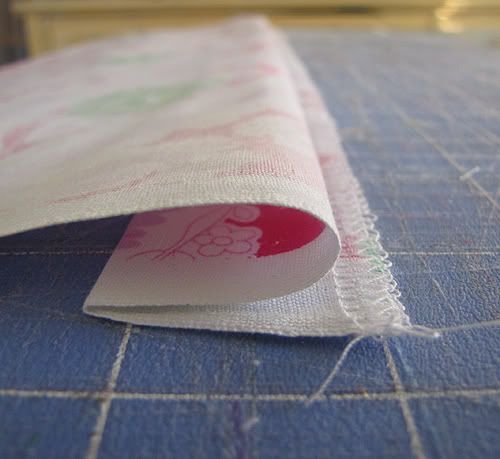
Here is a side view - the fold makes a Z shape.
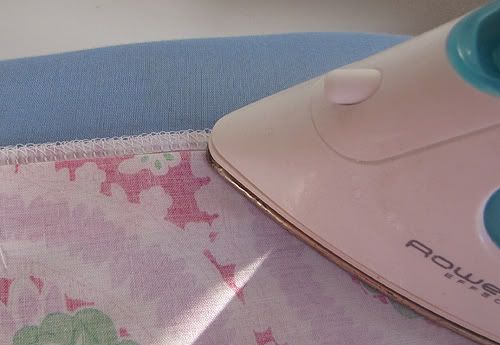
Press to set the fold.
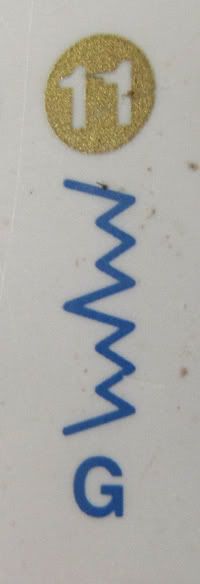
Put on your blind stitching foot, and set your machine to the EKG looking stitch shown above. The width and spacing of this stitch can be adjusted, and depending on your machine, you may be able to adjust the needle position in this setting. Before you hem your garment, optimize on scraps to get the stitching as invisible as possible.
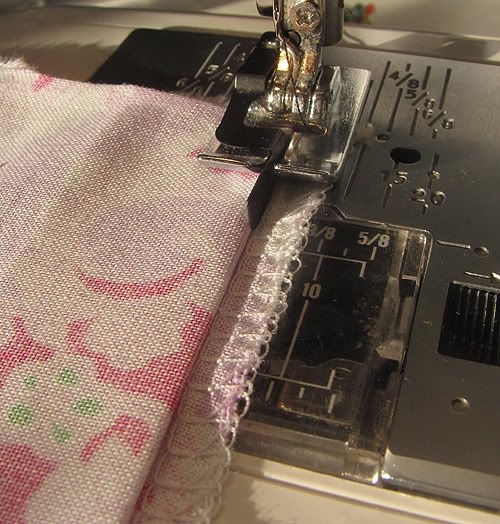
Put the fabric under the presser foot, lining up the blade with the top folded edge. Stitch along, keeping the blade flush with the fold.
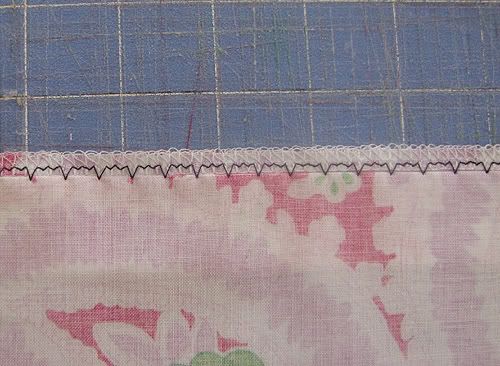
Most of the stitching will be about 1/8" from the outer edge (or outer fold, if you made an initial 1/4" fold), but every few stitches the needle will jump over and "catch" the material at the fold.
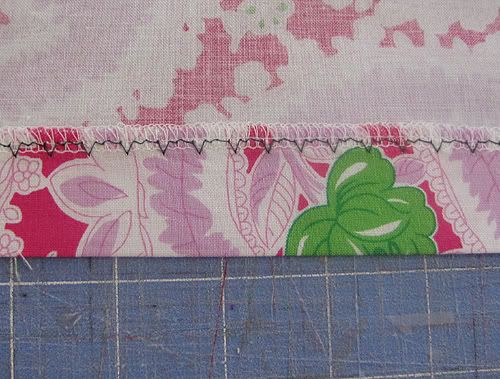
After flipping the fold back and pressing the hem, this is what the wrong side will look like...
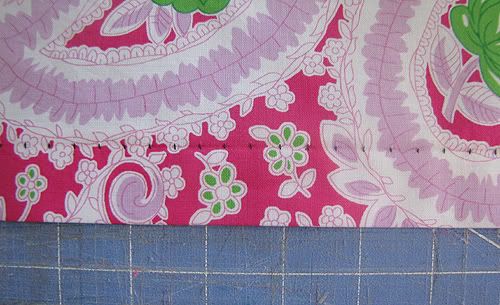
...and this is what the right side looks like! Keep in mind I'm using contrasting thread - matching thread would be much less noticeable.
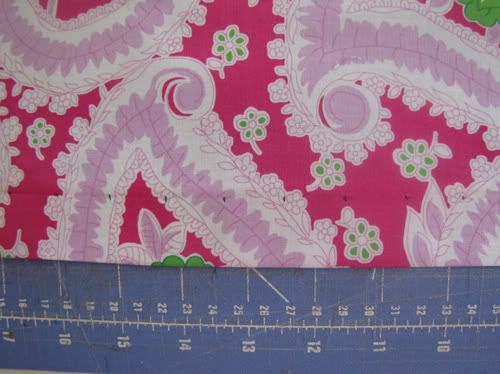
Here is a hem using a longer stitch length - even less obvious! The goal is to get as little thread as possible showing on the outside, so definitely play with your stitch settings. With thick fabrics like wool, the stitching might not show at all because the needle can catch the fibers without going through to the other side.
For more info on hemming and garment sewing in general, head on over to the Sew Mama Sew Blog. And be sure to leave a comment so you can win some of those great prizes!
