Thursday, January 27, 2011

Romper Room

I'm happy to announce that my newest pattern, Reversible Rompers, is now available on YouCanMakeThis.Com! I've gotten so many requests for this pattern, and I really wish I had tackled it years ago. When Louie was little, he pretty much lived in rompers. They were just so cute and classic, and comfy to boot. When he hit about 3T, they became almost impossible to find. Why do clothing manufacturers want kids to grow up so quickly? Anyway, now that he is a big 6 year old kindergartener, he considers himself past the romper stage (though size-wise, he would have fit in the 5T, and I was very very very tempted). Luckily, I have some great friends with little ones (and awesome photography skills :) )!

Photobucket

This romper is totally reversible, so you get two outfits for your effort. The cutie above is donning a St. Patrick's romper (no pinching) that doubles as an Easter outfit!


Photobucket

The St. Pat's side is made of a stripey cotton and features this applique from SWAK embroidery. The Easter side is made from soft baby wale corduroy, and the wool felt chick applique is also from SWAK.
Photobucket
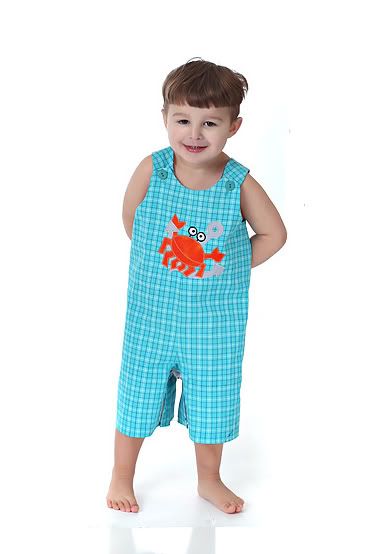
The romper can be made in a range of lengths from full-length to longish shorts length. This little hunk is anything but crabby in his short-alls! I used a boyish homespun fabric and this great applique on one side...

Photobucket
...and this awesome crab fabric on the reverse. I scored the fabric (which was exactly what I had in mind) at Stitches Etc. in Timonium MD. They have the most amazing selection of novelty fabric I have ever seen in one spot, and it is so well organized. How lucky am I that they are just a few miles from my house?


Photobucket

Ok, more rompers!!! This tough little pirate is wearing a jon-jon made from Sis Boom Basics Fabric, and this awesome applique...

Photobucket


And the reverse side features a fun beachy scene, also from Stitches etc! All of the rompers show above have snappable inseams for easy diaper changes. I included instructions for both snap tape and press-on snaps, but there are also instructions for sewn inseams.
Photobucket

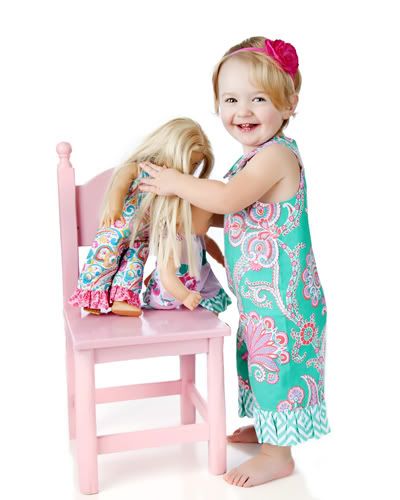
The eBook comes with a bonus supplement that includes instructions for adding darling ruffles AND patterns for cute little dolly rompers!
Photobucket

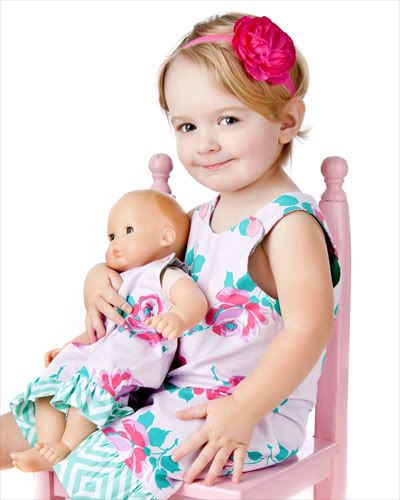
Even with the ruffles, the romper is completely reversible!
Photobucket

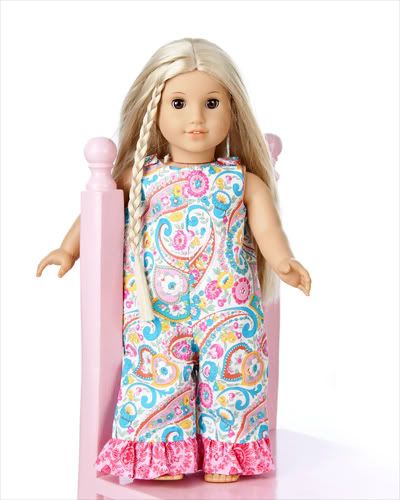
There separate patterns for 18" girl dolls and 15" baby dolls. I just love American Girl Julie in her hip paisley romper!

A huge thank you to my testers!!! They gave me so much great feedback that allowed me to tweak the fit and fine tune the instructions. Their adorable creations can be seen on the "I made this" slideshow on the Reversible Romper product page on YouCanMakeThis.com.

Tuesday, January 25, 2011

Moving down and folding up

The sewing room move I mentioned in my last post is 99% complete. There was so much lifting, tossing, organizing, etc. to be done, but I kept reminding myself it was way easier than moving an entire household, and that ultimately I would be so much happier and productive.

Photobucket

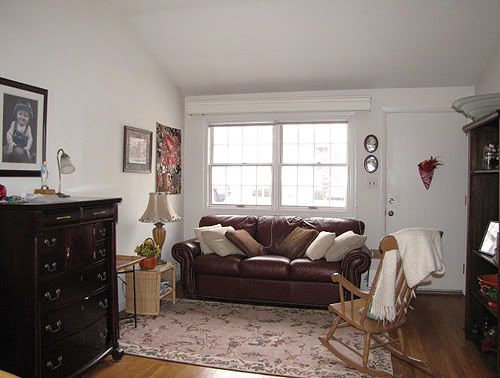
I moved the living room furniture over to one side of the room, and it is now so cozy and inviting. Everyone is using the room these days - my husband has been snuggling up on the sofa and reading in the early a.m., and Louie is playing Legos on the rug as I write.


Photobucket

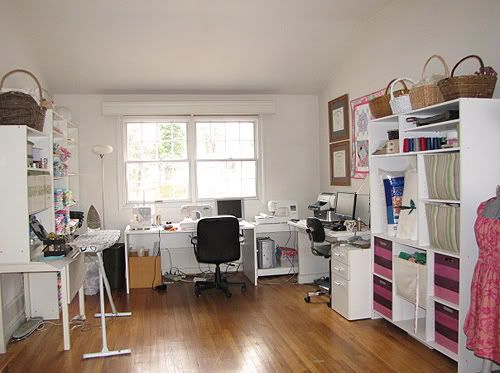
Above is the work side of the room. So far I really love it...much more room to move about, and I love being more in the center of activity as opposed to being cordoned off upstairs. It is so nice having the computers and sewing machines (not to mention all of my supplies) in the same place.


Photobucket

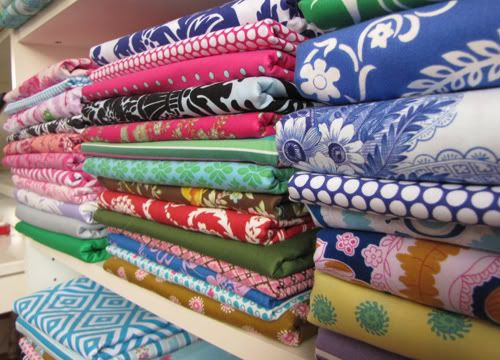
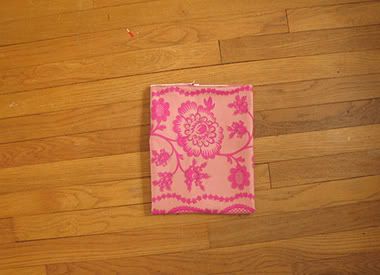
I still have lots of fabric in storage, so I'm trying to fold it neatly so it will all fit (and look pretty) in my bookcases. I'm usually the world's messiest folder, so I'm trying something new to keep my folds nice and consistent. When I worked at the Gap 20 years ago, we used plexiglass folding boards to keep the pocket tees and sweatshirts precisely folded so that they would stack perfectly no matter the size. Here is a great article about folding-obsessed former Gapsters.

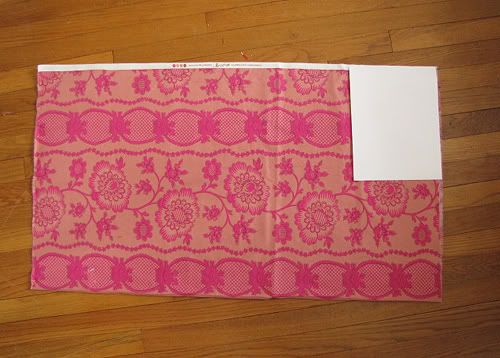
Borrowing a bit on that concept, I am using pieces of cardstock as folding templates. The standard 8.5 x 11" size is the perfect fit with 45" wide fabric (which is mostly what I own). For smaller cuts of fabric (less than a yard), I've been using a half sheet (4.25 x 11").


Photobucket

I start out with the fabric folded in half with the selvage edges together (which conveniently happens to be the way it comes off the bolt). I start out with the cardstock at one corner with a short end in line with the selvage edge.

Photobucket

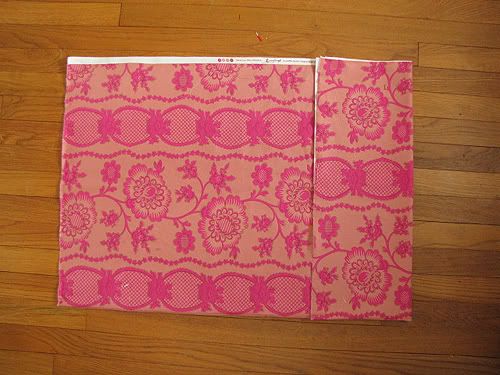
Then I just start folding towards the other cut end of the fabric.


Photobucket

I flip, flip, flip as many times as needed to accommodate the yardage.


Photobucket

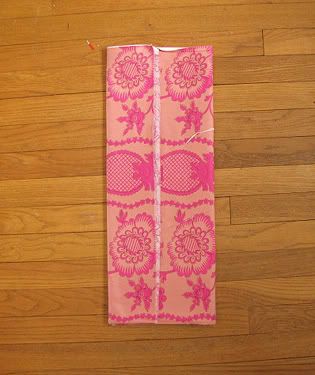
Once it is fully folded, I bring the selvage edge to meet the original folded edge. This gives me a nice tight package that fits right in my bookshelf. I just leave the cardstock in place, which seems to give some nice stability and keeps my stacks from collapsing when I pull fabrics in and out. It is pretty simplistic, I know, but it will be something I can maintain as I get back into hyperfocused pattern making mode!


Saturday, January 15, 2011

Staying HOME!

Hello and Happy New Year! For the last several months, I've used an upcoming move as an excuse not to blog. Anyone who has ever had a house on the market knows how all-encompassing it is...you spend hours a day trying to make the place look perfect, and then you have to be somewhat detached from the beautiful clean house you are living in. It is definitely not conducive to random acts of craftiness, I tell ya! Then you have to hear why lookers aren't interested in your house (in our case by and large, the layout was too open and contemporary, but we also had people who didn't like the curb appeal, proximity to the beltway, or the small size of the bedrooms. We even had one group take exception to our fat old dog, who didn't even convey with the property). Back in the day, we could just plant mums and bake cookies, and we'd have a sold sign in 2 weeks time. It is downright humbling to try to sell a home in a buyers' market!


Anyways, I am THRILLED to report that we are not moving after all! Del really enjoyed his job up in PA, but when it became clear that our house was not going to sell without us taking a major financial hit (so much so that we couldn't even consider buying another house), he decided to look closer to home. He got a great job as an Executive Chef at a major university that is within commuting distance! He is going to be in charge of a brand new, state-of-the-art dining hall - he will be in culinary heaven!

As for me, I can now throw myself back into my crafty happy (messy) lifestyle! I actually have lots of projects in the works...a much requested Scientific Seamstress pattern is in the testing phase, several Sis Boom patterns are being developed, and I'm also doing some fun freelance editing jobs to help keep the family afloat. I also need to "move back in" and make the house mine again. We did some "neutralizing" when we put the house on the market (I painted over the peacock feather in the bathroom, but didn't touch the birch forest in the entryway). The biggest thing I need to do now is make our home functional for us. First order is to turn our giant, unused living room into a studio space for me.

The extra bedroom I've claimed as my sewing room is now carpeted, which means it is just a matter of time before I make a nasty stain of coffee and/or paint, or worse yet, someone could step on an embedded needle.


The picture above was taken after about half the sewing room furniture was stuck into a PODS unit, which is coming back next week. My plan is to take over at least half of the downstairs space with my sewing stuff and the furniture shown above (mostly if not all IKEA stuff that came with the house), and then we will bring in my old dressers, headboard etc. and have a proper guest bedroom (so please come visit)!


Above is the space I'm grabbing. I've already moved the "living room" furniture to take up 1/4th of the room. Tomorrow we are hauling down the very heavy IKEA shelving and desks. I'm trying to decide if it would be better to disassemble, or if Del and I should just risk sore muscles and scraped floors and move by brute force. It will be lots of work, but so much less work than setting up a new household all together!