Saturday, January 30, 2010

Simple shape up

It was another busy week...two eBooks in the works, a quick (but very fun) visit to my folks' house in Richmond, and getting the house reasonably clean for a houseguest of our own. Luckily, this guest brought decorating inspiration with her, making this week's project a breeze.


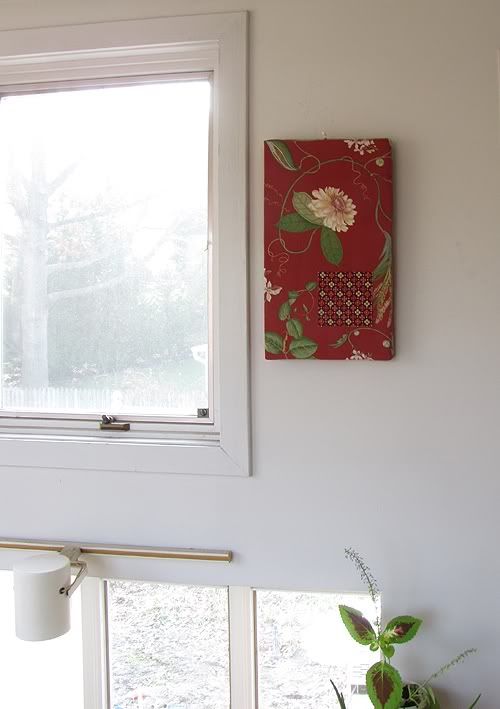
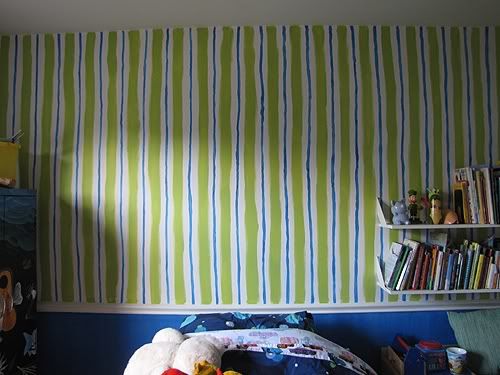
Above is the space in question. As you can see, it isn't totally blank. When we first moved in, I painted the stripes over dainty rose wallpaper (which I loved, but Louie did not). Overall, it is a bright, happy room, but it just needed something above the bed. My good friend Julie Jordan arrived with a poster that was absolutely perfect in terms of color and educational value. All we needed to make it work was a huge frame.


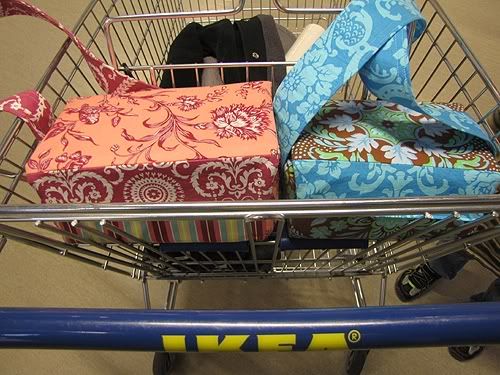
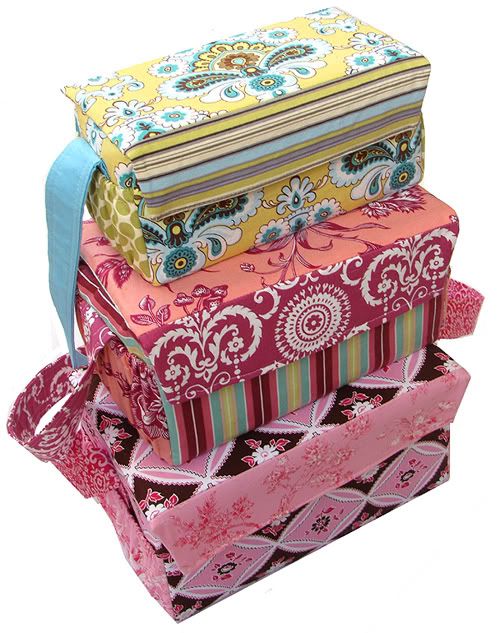
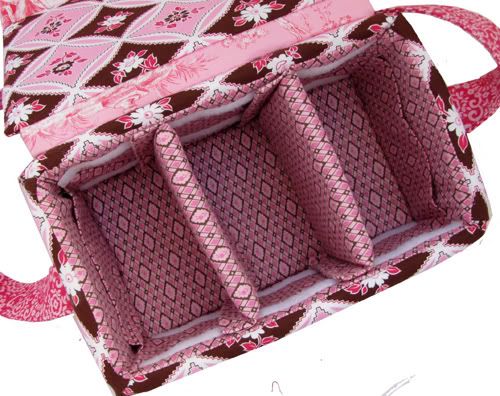
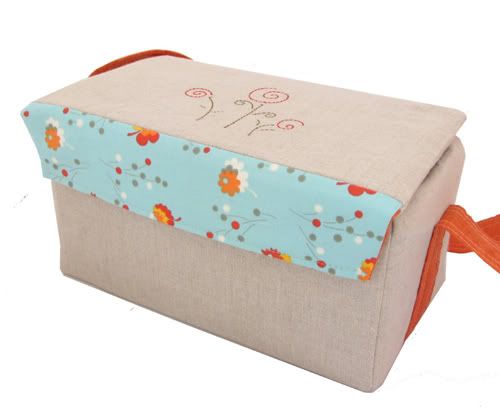
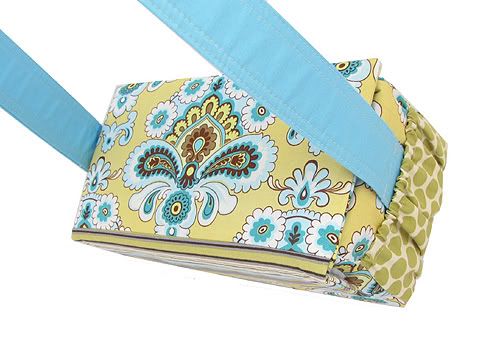
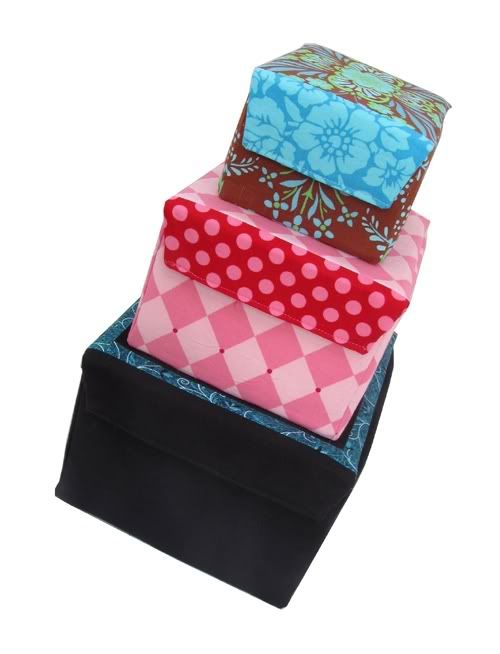
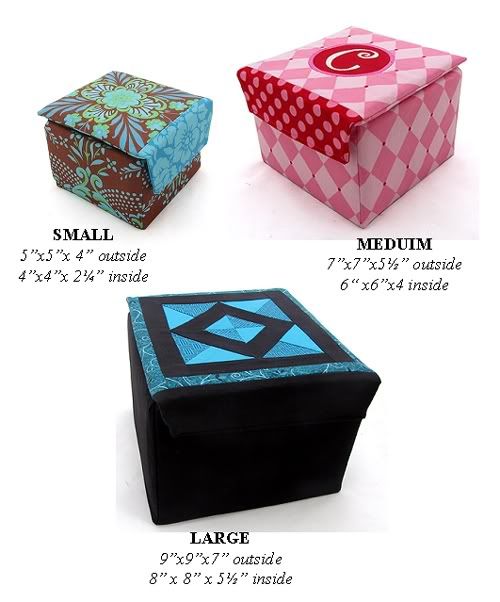
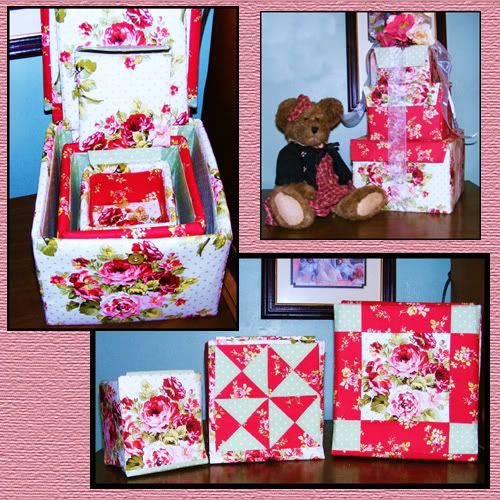
So off to IKEA we went! The camera was able to come along thanks to my rectangular Boxy Bag. Julie scored a prototype, and it held her phone, wallet, brush, and other purse stuff nicely.


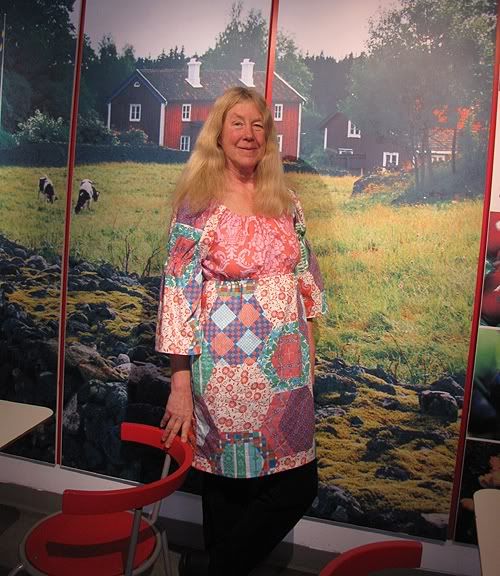
In keeping with the geometric theme, I made Julie a Sis Boom Meghan Peasant using Kimberly fabric from the Dance with Me line. Julie is of Scandinavian descent, so she looks right at home in front of this mural in the cafeteria.


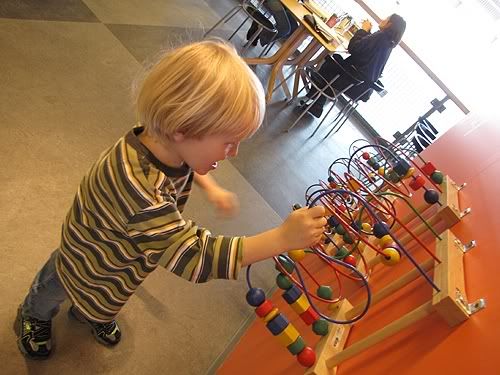
After a successful shopping adventure, a great lunch, and a little playtime, we headed home to hang the poster.


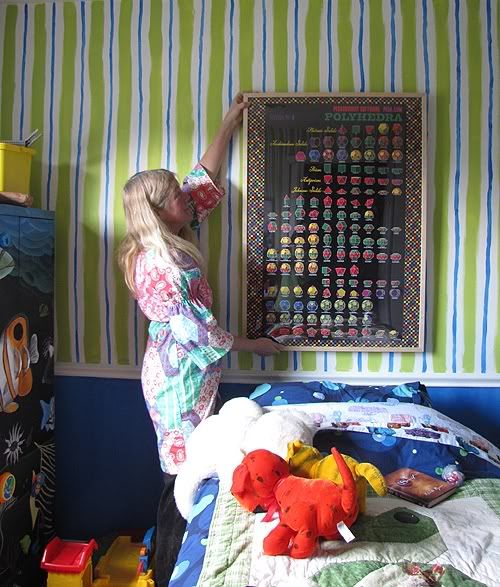
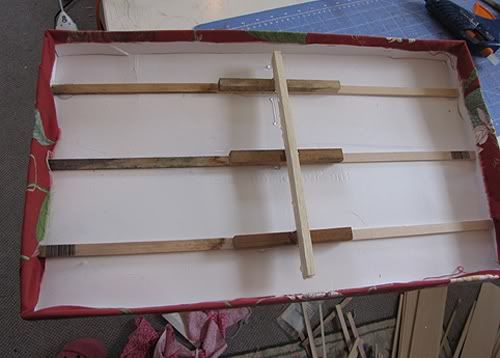
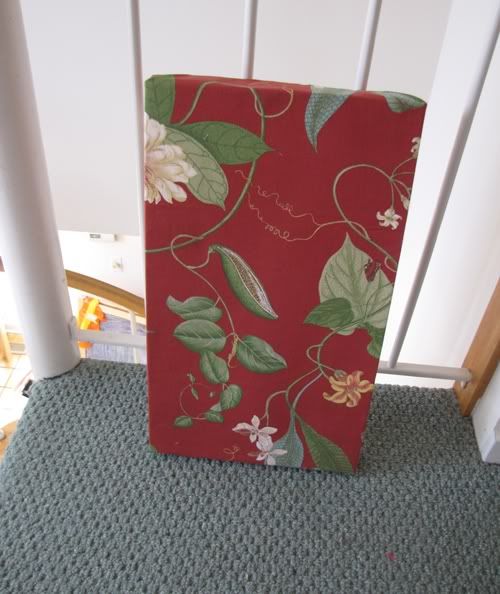
We couldn't find a frame that fit the poster exactly, so we went a bit bigger. We covered the included mat with a colorful checkerboard fabric and placed the poster over the fabric. After a little bit of fussing with tabs and wires, we were ready to hang.


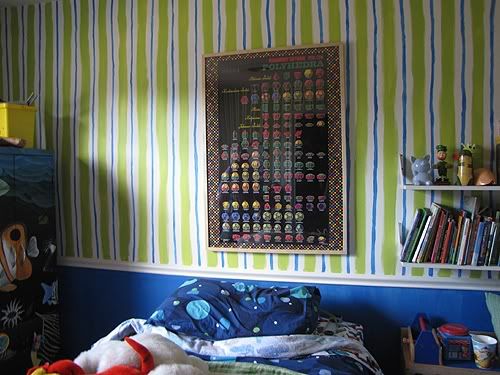
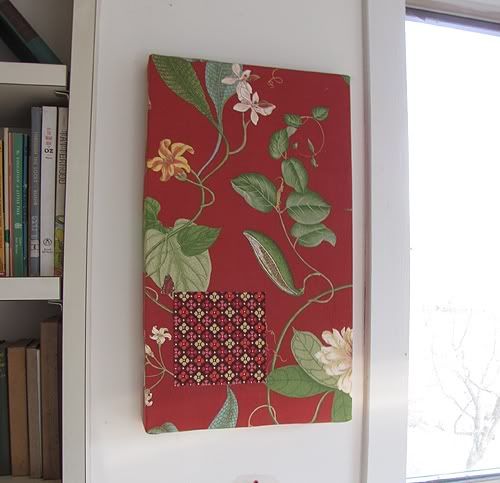
Perfect! I'm hoping Lou will learn the names of all of the convex polyhedra with regular polygonal faces by the time he goes off to college. If not, he can take this with him.


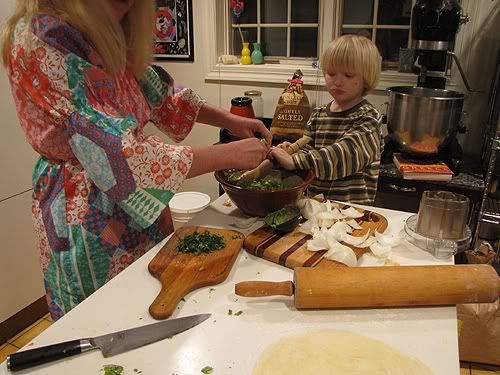
I can't blog about a visit with Julie without including some of the wonderful vegetarian cuisine we ate while she was here. Louie and Julie collaborated on the guacamole...


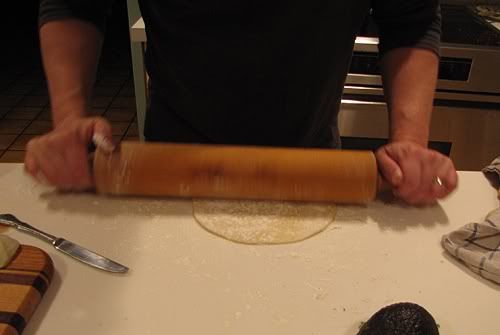
...while Del worked on the homemade tortillas for cheese and roasted red pepper quesadillas.


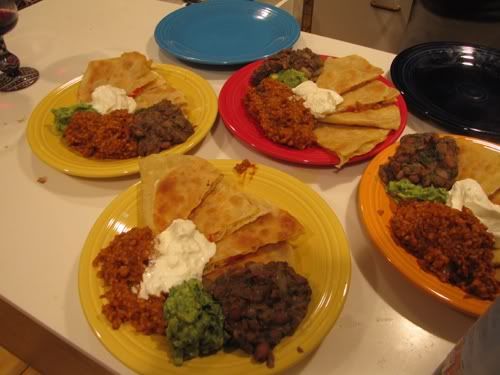
YUM! Thank you Julie for the awesome poster, great food, and your wonderful friendship!


Monday, January 25, 2010

Artwork on the fly...


Last week was crazy busy, but I managed to work in my weekly "unblanking" per my new year's resolution. This was a super simple project, but has made such a difference in my home.


This was the problem area (eeeww) and it had an identical twin across the room (double eeeww). The former owner had speakers high up on the living room walls. The spaces they occupied reminded me of Frankenstein's monster's neck with the nasty wires and bolts sticking out. For about a year, I was thinking I would just hook up new speakers. I did some searching online, and couldn't seem to find the right fit. Then I just decided that I would cover them up, but I had no idea what with. I really should have at least dusted while I was trying to find the right solution.


I decided I needed two coordinating pieces of simple artwork with dimensions a bit larger than the speaker spots. It had to be lightweight, too, so that it would be easy to hang. Of course I couldn't find what I wanted anywhere. I ended up wrapping tne halves gift boxes with a pretty floral home dec print from P. Kaufmann. Since the box halves were so big and floppy, I used strips of craft wood to give stability. I added a cross piece for hanging.


Both of the wrapped boxes were kind of boring. Since I used such a big print, there were some gaps in the design that I wasn't quite happy with. So I cut squares of a Denyse Scmidt home dec print and glued them over the non-interesting areas.


The first speaker space was right next to a loft overlooking our living room, so I was able to lean over and hang it up without any problem. Ugly problem solved on that side!


The other side was a bit more of a challenge. It is right next to a spiral staircase, but the spot wasn't close enough to the higher steps to be reachable (at least by me). I really didn't want to get out the ladder, so I tried hanging it with poles, brooms, etc. I dropped it into the living room at least 10 times. Since it was so lightweight and aerodynamic, it survived the multiple falls. I ended up attaching a ribbon loop to the top, and got it up with a combination of a pole and a broom. Phew!

Thursday, January 21, 2010

Mama's got a brand new bag!!!


I needed a camera bag...something very sturdy, functional, and above all CUTE! Necessity is the mother of invention, and after lots of prototypes I now have 1) a camera bag that I really love and 2) a new eBook!


Case Study: Boxy Bags contains patterns and instructions to make durable, yet chic bags in 3 sizes: for small (9”l x 4½”w x 4½” h), medium (10”l x 5½”w x 5½” h), and large (11”l x 6½”w x 6½” h) bags.


There are options for pockets and dividers, so you can customize your bag to your exact needs. The large size bag (shown above in a mix of gorgeous Sis Boom Fabrics) would be great for the big SLR cameras and all their associated gear and lenses. The inner core is made from thick foam and fleece, which is perfect for cushioning and protecting sensitive equipment.


I can also see this size as making a great diaper bag. The rigid sides/dividers would keep bottles upright and diapers nicely organized.


I've found the size medium to be the perfect size for my camera, which is a Canon PowerShot. It snuggles right in, and there is room on the other side of the divider for my charger, cords, etc. For the medium sized bag pictured above, I combined less than a fat quarter's worth of hard to find Flea Market Fancy fabric with some linen remnants. I added a sweet colorwork embroidery design by Kimberbell Kids. My neighbor loved it, so I gave it to her (I already had MY camera bag at that point).


The small bag is great for point and shoot cameras and little game systems. I used a mix of Amy Butler prints from my stash for this one - so sweet and springy!


The testers made some absolutely awesome bags using this pattern. They are using them to tote things like camcorders, cameras, sewing supplies, game systems, and even a poodle! You can check out their "product in action" pics over at YouCanMakeThis.com.


Friday, January 15, 2010

I spruced up my doors!


Actually, I BIRCHED up my doors!


Here is the before pic. This is the coat closet next to the entryway we use the most. It goes right into the living room, which is very bright and contemporary. I wanted to keep consistent with that style, but bring in some warm, natural elements. I had been looking at birch tree decals on Etsy, but they are pretty pricey (considering they are gigantic 8 ft tall pieces of sticky plastic, I know I'd charge lots to make and ship them). If I were renting and wanted something removable, I would have splurged. But, I'm at the point in life that my doors are mine to mess up (I have to be careful, though...seems like every time I do something crazy with paint, we get relocated).


I had a few different sizes of blue painter's masking tape down in the basement. I used it to make tape trees with different trunk sizes. The bigger trees are made with multiple widths of tape. To make the trees look more natural, I worked in a bit of a curve as I was taping.


I made branches by cutting long lengths of tape diagonally. Each cut yielded 2 branches (which is a good thing, because I was just about out of tape).


I cut leaves from my last little bits of tape...


...and added them to the branches.


I used my fingernails to rip away bits of tape at the sides of the trunks and branches to make them more "birchlike." For longer tears, I just kept picking. I made a couple in the centers of the trunks to look like knots.


I slapped on a couple of coats of a green enamel that I found in the basement. From the dried up stuff on the outside of the can, I thought it was going to be an olive-ish color. It turned out to be more on the side of minty.


After I took the tape off, I was happy with the design, but not the color combo. The trees were too stark white, and the green just didn't work with the other colors in the room.


I went over the whole thing with a coat of Golden Oak Minwax stain (also in my basement). Since I put it over enamel, it took a while to dry, and it isn't totally homogeneous. I actually really like the textured look. Oh, and you can probably tell that a bit of paint bled under the tape. Again, I don't mind a bit because I think it adds character.


So there you have it - another un-blanked space in my home...so far so good with that New Year's Resolution (just please don't ask me how the diet is going...)!

Wednesday, January 13, 2010

First eBook of 2010!


My latest effort definitely has me thinking outside the box...actually, I'm thinking inside the box, under the box, and on top of the box, too! Case Study: Basic Boxes gives patterns and instructions for making sturdy fabric boxes in 3 sizes. It is the first of three patterns that are based on the same construction concept. My original plan was to make a camera bag (because I needed one), but I found that I really needed to optimize the box architecture and materials before I could even think about things like straps and pockets. I made lots of little prototype boxes, and found that they were really cute and useful! So I decided to release the box technique as a stand-alone pattern for the super-duper price of only $5 :) .


The small size makes the perfect little trinket box. I used a gorgeous Sis Boom Fabric (Ann Flower Mural) and centered the motif on the top of the box. I'm planning to use the medium sized box (made from a very girlie Patty Young fabric) to organize my makeup in fine style. The big box was going to stay in the sewing room and hold notions, but Louie took it for his "puppies" (menagerie of little stuffed animals) and it is currently getting kicked and tossed around the living room. At least I can say with authority that the boxes are sturdy...sigh.


I was really giddy over the testers' creations! Cathy, Jeanne, and Marlo used their favorite Sis Boom fabrics to make some drool-worthy boxes. Amazing how many looks can be achieved just by mixing up the fabric selection!


Marlo made the size large box, and found that it holds an impressive number of video games!


Stephanie used awesome red, black and white fabrics to build her daughter's Zhu-Zhu pet a contemporary home. Doesn't she look cozy?


Tom made his family a complete set of boxes using a stunning collection of floral fabrics. He actually pieced the tops of the medium and large boxes. Aren't they beautiful??? I just love love love seeing them nested and stacked - so many display possibilities!

Head on over to YCMT and check this one out (and be on the lookout for the camera bag in the next week or so)!

Friday, January 8, 2010

New years resolution...unblank the walls

I made the pretty standard resolutions this year...eat healthier, exercise, spend more time with family, yada yada yada. I also stuck a fun one in there, and I'm expecting my bloggy friends to hold me to it. My big resolution is to spruce up a blank space in my home EVERY week this year.


You see, we have a lot of bare walls/windows/doors in this house. It is a good-sized 50's era contemporary split level, and it has a great open feel about it. When we moved in, it kind of absorbed the decorative stuff that filled our tiny antique cottages and bungalows of cities past. Even though Spartan decor has been easy and requires little dusting, blank spaces bug me. So this year, I'm going to make the time each week to do something to make a space look better. It won't necessarily be innovative, but it will be an improvement.


I started with my studio wall. When I set it up, I didn't put a lot of thought into decorating it. I just threw up some things that are special to me (a baby dress, gifts from sewing friends, a thimble collection, Lou's artwork, collages of Lou by the awesome artist Shelly Pint, and a big bird painting from my childhood room). I always love looking up from my monitor and seeing such happy things, but that foot of space above is just a sea of boringness. I've been wanting to put something cool up there for a long time, but it had to be something that would fit the space.


My sweet sister-in-law Margie and her family visited us over the holidays, and they gave me one of the coolest things possible...DOLL CLOTHES!!! They picked several cases up at an auction, and lots of styles and eras are represented in there. The 50's era full-skirted dresses just blew me away. They are tiny things, some labeled with Ideal tags, and some handmade. I think they were made to fit Little Miss Revlon. I decided to put them on my wall.


For my "clothesline," I nailed rick-rack to the wall. I spaced the nails every two feet (and I cheated and inserted them into the rick-rack before getting on the ladder, so they probably aren't perfectly spaced).


I picked up some tiny clothespins in the woodworking section at Super JoAnn's. I then hung the dresses at the position of the nails. After that, I hung dresses in between. The weight of the dresses made for a bit of a staggered effect.


Above is (almost) the full panoramic view from where I sit. When I need to avert my eyes from cutting layouts and yardage calculations, the beautiful little dresses are a pleasure to view!