Friday, December 30, 2011

Hemming yoga pants

I bought Del some nice manly yoga pants for Christmas. The store actually offers free hemming, but I figured that it would be much less painless to hem them myself than go through the rigamaroll of getting him to the store to be fitted, waiting a week, then going back to pick them up (which we would procrastinate and stress about). So yeah, faster to do it at home...and write a tutorial about it.

The fabric is a thick nylon/lycra blend knit, which can be a little tricky to handle (especially if you are measuring and hemming your own pants). A few extra tools and notions will help maintain alignment and a good state of mind during the hemming process: a cardstock folding template (free download here), a rotary cutter/clear ruler, chalk, 1/2" wide Lite Steam-a-Seam 2, iron, an appropriate needle (either ball-point or universal, a variety pack is good to have on hand so you can get the right thickness), and matching polyester thread (black in most cases).

Photobucket

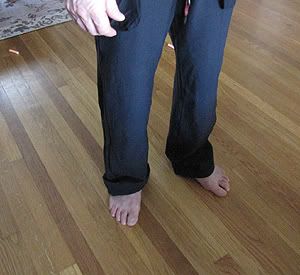
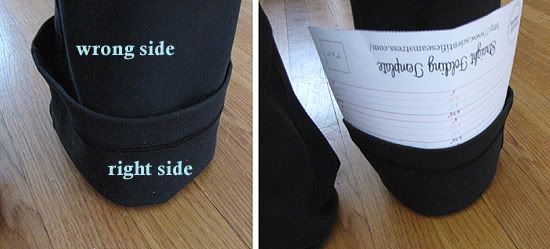
Put the pants on, wrong side facing out. NOTE: If you are going to be wearing the pants mostly with shoes (for torturous things like running and not blissful barefoot yoga), you should have them on at this point. Make a cuff to get a general idea of where you would like the hem to fall. If the pants are 1-2.5" too long, you should use a seam ripper to carefully take out the existing stitching. If they are longer than that, you can leave the stitching in because you are just going to cut it off anyway.

Photobucket

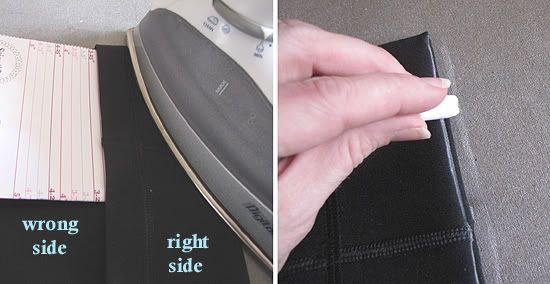
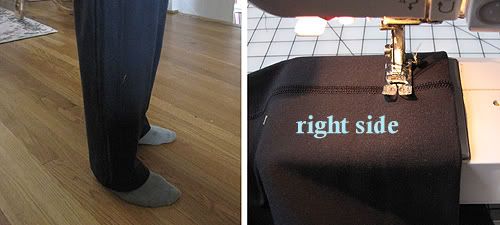
The hem fold should hit 0.25" to 0.5" from the floor at the back heel, depending on your wearing preferences. Insert your handy dandy folding template (free download here) into the bottom of the cuff as shown above. Use it to measure how far your new fold will be from the existing bottom edge (3" in my case). If you are as scatterbrained as I am, you should write this number down.

Photobucket

Set the iron to a temperature that is high enough to make steam, but not so hot that it melts the fabric. I used the highest setting and didn't have a problem, but a different fiber composition might not hold up as well. Fold the folding template in half widthwise (numbers facing out) and reinsert into the cuff. Use it as a guide for measuring and pressing the new fold. After pressing all the way around the cuff, go around again (guide in place) and mark the new bottom edge with chalk.

Photobucket

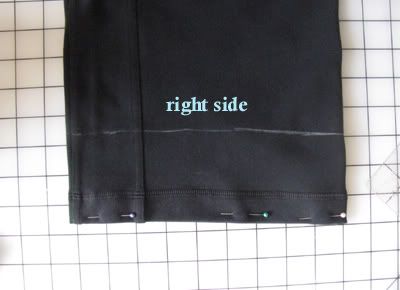
Uncuff the pants and turn them right (chalk-marked) side out. For each leg: lay flat, and align and pin the existing bottom edges to prevent shifting during the next step.


Photobucket

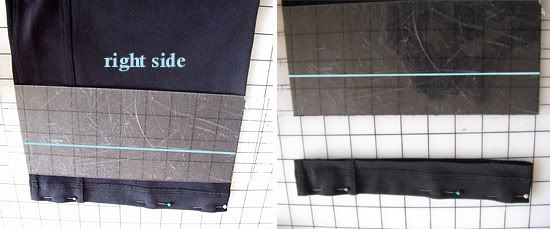
Place a clear cutting ruler on the leg, and position the edge 1.5" below the chalk line (highlighted with blue) as shown above. Don't mix up your cutting edges here, or you will wind up with capris! Use a rotary cutter to cut through both layers. Save that scrap from the bottom...you can use it for testing stitches later!

Photobucket

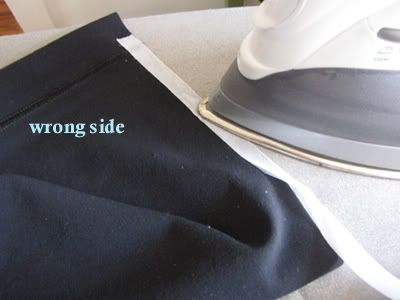
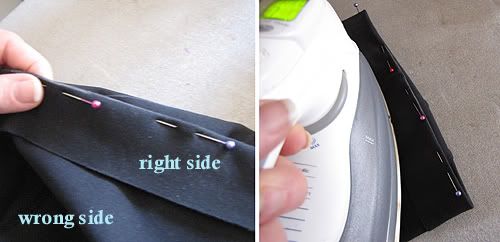
Turn the pants wrong side out (again). Following the manufacturer's instructions, fuse the Steam-a-Seam in line with the bottom cut edge. Once you have applied it all the way around, remove the paper backing.

Photobucket

Fold the taped edge over to the wrong side. Arrange the hem so the chalk line is right at the fold. Pin the fold very close to the marking. Finger press the raw edge into place all the way around (the tape is a little sticky, so it will hold), then set by pressing with the iron.

Photobucket

Turn the pants right side out. Now is the perfect time for a try-on. If you need to make an adjustment, simply hit the hem with steam from the iron and peel apart. Reposition and press again (you may need to retape if the original tape does not hold).

Now it is time to stitch! There is a lot of great info on the web about sewing knit fabrics, so I won't go into too much gory detail. Chances are, the original hem stitch was done with a coverstitch machine. If you don't have one of those - no problem. A regular sewing machine works great with the proper needles and settings. You should use a stitch that has some stretch to it (a plain straight stitch can pop if overstretched). I used a basic zig-zag stitch set to the widest width (7 mm, I think) and a medium stitch length (default spacing). The tension was set a bit lower than for normal stitching to prevent puckering. Another great option would be double top-stitching with a ball-point twin needle (excellent tutorial here).

Photobucket

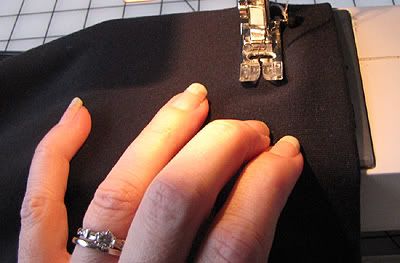
Starting at the inseam, stitch about 1.25" from the folded edge. If your machine doesn't have a reference point this far from the needle, you can mark one with a pen or tape (I use the edge of the switch that ejects the faceplate). Use your fingers to lightly "steer" the fabric as you stitch. As in yoga, no extreme pushing or pulling! You may need to give it a nudge when sewing over thick seams, but otherwise it should cruise along without much help. If it seems stuck, you may need to loosen the tension or increase the stitch length. OK, I promised not to go on and on. Really, the best thing you can do is optimize stitching on those scraps.


Photobucket

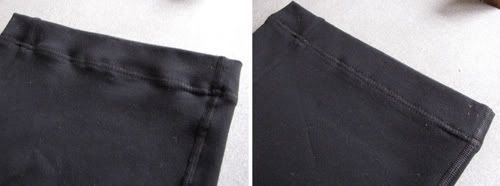
Don't be concerned if your stitching comes out a little wavy - a quick steamy press with the iron will make it factory flat.
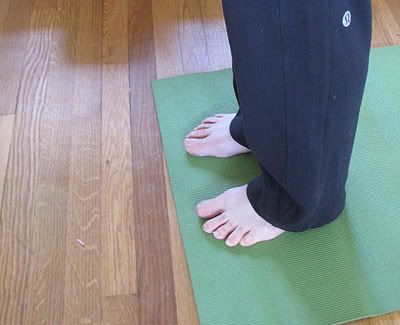

Photobucket

Tada(sana)!

The stitching doesn't really show up in the picture, but that is the whole point. Since it is black on black, the stitching blends right into the hem. As long as the stitching is flat and even, no one (other than you) will ever get close enough to your feet to ponder your choice of stitch settings!

Saturday, December 17, 2011

10 Little Leighannas

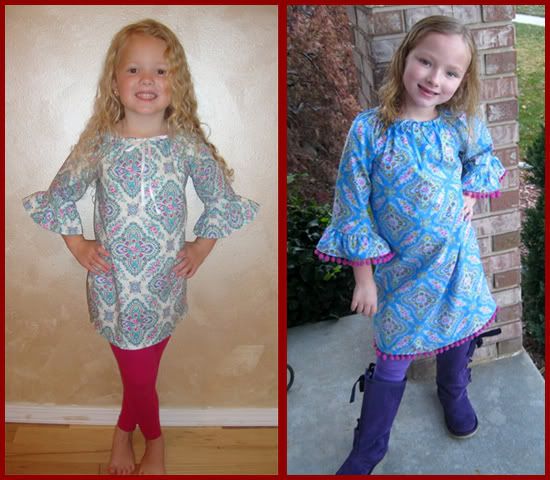
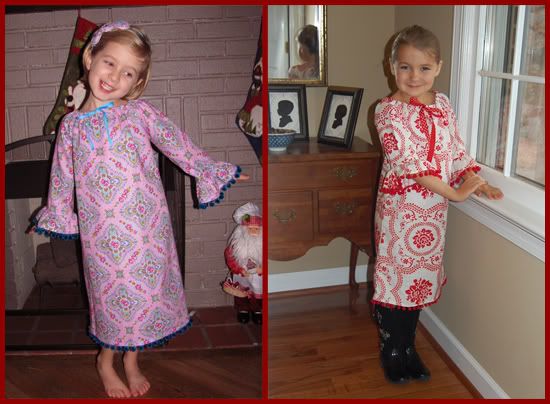
Jennifer and I are so in love with the Leighanna pics that have been rolling in! As a dress or top, with or without pom-poms, this pattern brings out the cutest poses!

Photobucket

What do these two cuties have in common? Well, not only are they wearing decked out bell-sleeved Leighanna dresses, but they both have blogger mommies who are incredible seamstresses and huge Sis Boom fans! To see more adorable smiles from these two, check out Christine's blog and Jenny's blog.


Photobucket

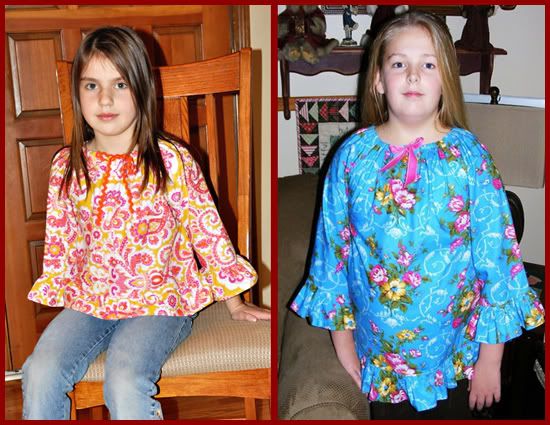
These two are sporting feminine little Leighannas made from West Indies Marie. Paired with bright fun leggings, they make for perfect winter wear. Both of these little blondies are spunky and sweet, just like their pretty mamas Mindy and Jeanne!


Photobucket

Wild colors and demure little smiles - I love it! These older little girls (sorry, I can't bear to call them tweens yet) look stunning in their funky ruffled tops. For the ties, Beth used rick-rack and Tom used velvet ribbon. By the way, the pattern contains instructions for drawstring and mock drawstring (elasticized) necklines.


Photobucket

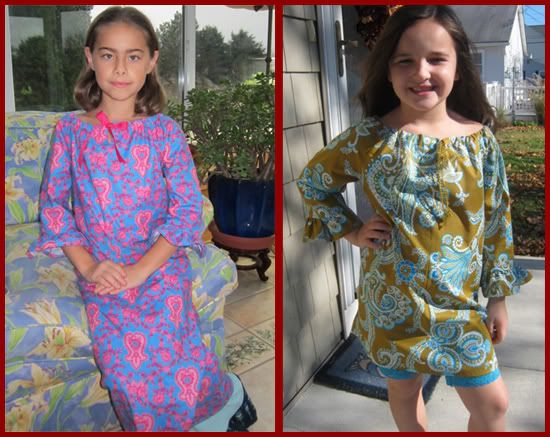
Two of a kind, birds-of-a-feather, Marlo and Cathy never cease to amaze! Marlo made a beautiful gown-length peasant for a friend's gorgeous daughter. Cathy made her darling Devon a mod top to wear on Thanksgiving. Jennifer posted the picture on her blog, and we got so many requests for a mama version that we decided to make that happen and name the pattern Devon :) .


Photobucket

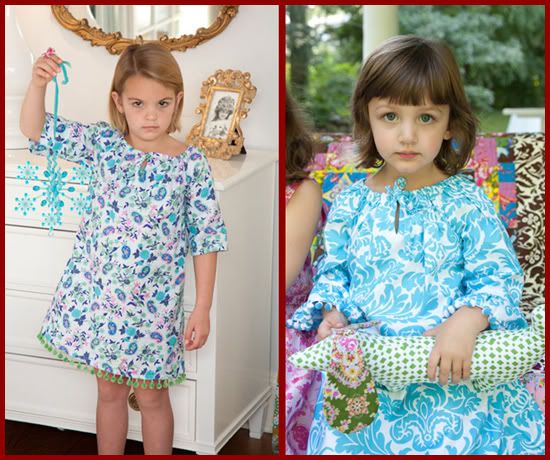
And finally, a couple of cuties photographed up at Sis Boom land. Both are wearing dresses made from Queen Street. Bells are a favorite this time of year, but the one on the left shows off the basic sleeve option. There is also an elasticized sleeve option (pics to come). The one on the right has blue and white bells with pom-poms that match the fabric perfectly! Jennifer says A Treasure Nest is THE source for such special trims!

Tuesday, December 13, 2011

ABC, easy as 123

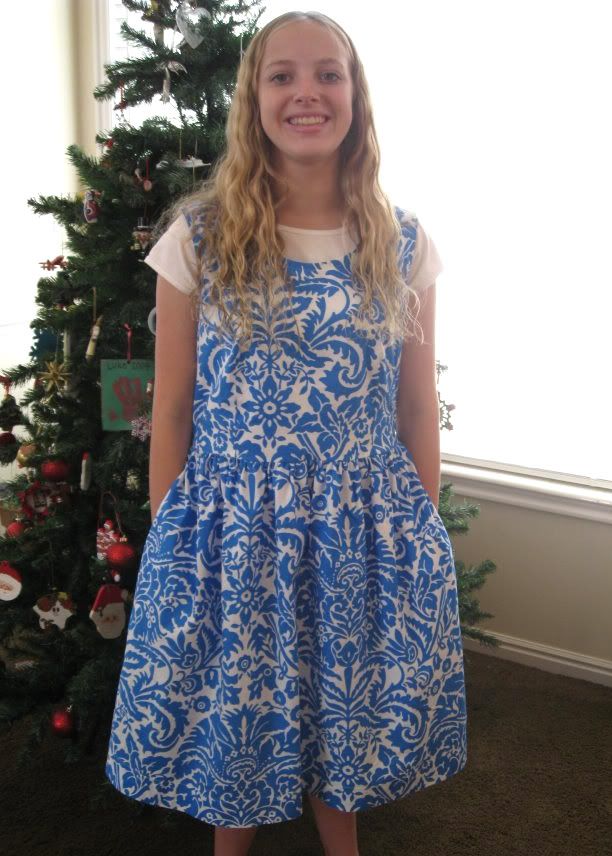
A is for Angie! This super-simple dress was a big hit with our testers, and they all get an A+++ for their great work!


Photobucket

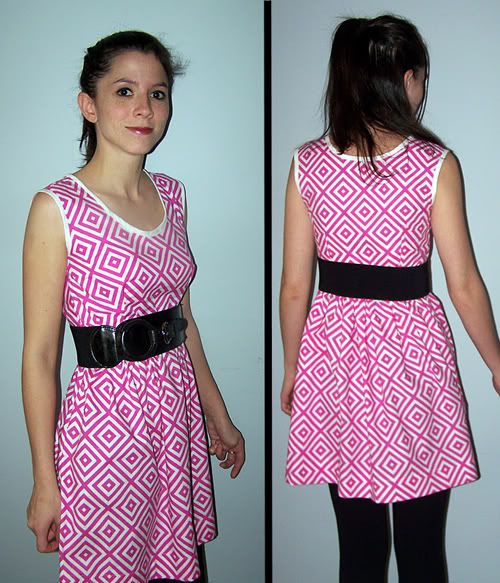
Sara from Sew Sweetness made a beautiful little dress out of Fuchsia Marnie from Jen's Poodle line. She is rocking it with a black belt and leggings! You can read about her testing experience here. She's the one who hosted the great sew-along for our Jamie Dress, so we just knew she would do something amazing with the Angie Pattern.


Photobucket

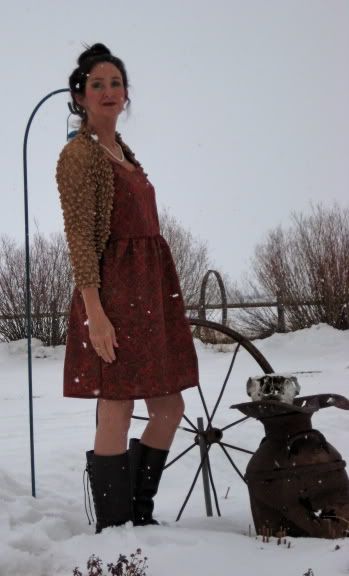
Here is April, up in wild, wonderful Wyoming! Even though Angie is a sleeveless dress, she shows that it is perfectly suited for cold weather with the right wrap! This gal has to trek half a day to get fabric and notions, but she gets the job done!
She said "Hands down the easiest pattern I have made in a long time. I loved the bias tape and really liked how the elastic went in so easy. "


Photobucket

Ooooh, and here is our dear Jenny Fish, who picked the most darling fabric combo to test Angie AND Leighanna! Her dress makes her feel like a total "Betty" and you can read all about it here!


Photobucket

Here is my girl Cathy (head lab tech for Scientific Seamstress), in her lovely Angie. Check out her blog to see the other amazing things she has been making with Sis Boom Fabric this holiday season!


Photobucket

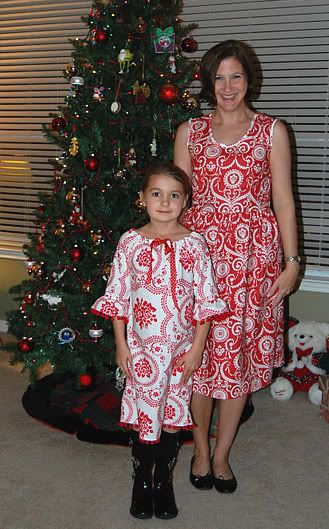
My good friend Jeanne made an Angie jumper for her beautiful daughter #1. She said "I love and adult dress with no buttons or zippers! So easy to make!"
Stay tuned to see beautiful daughter #2 in her Leighanna.


Photobucket

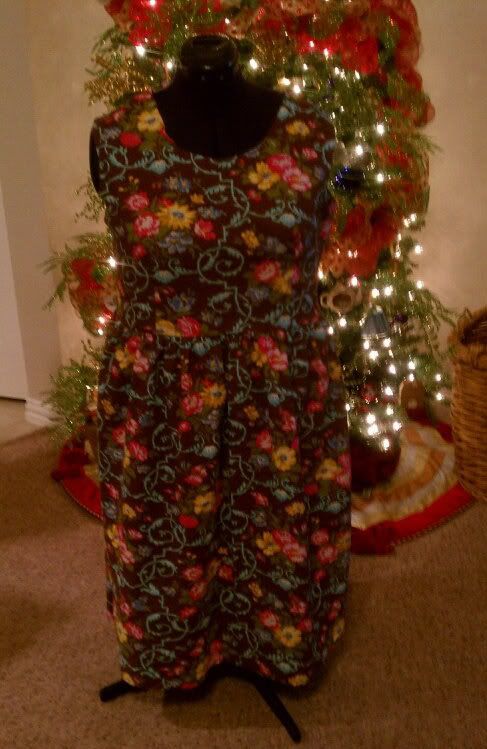
Shannon made a beautiful Angie, and photographed it on a dress form in front of her tree. Who needs lights and ornaments when you have Sis Boom fabric, right?


Photobucket

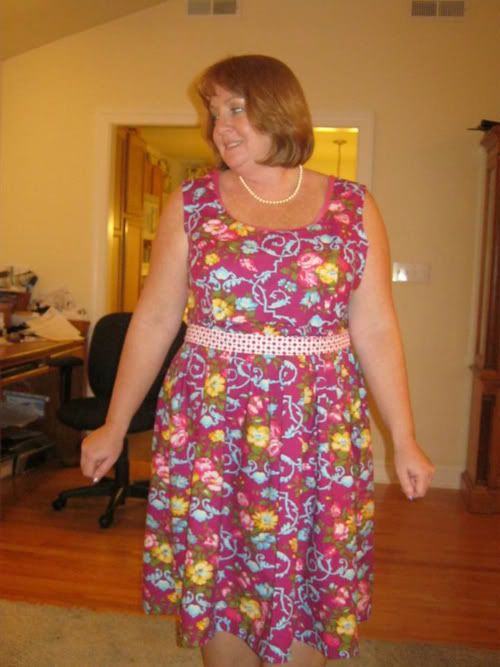
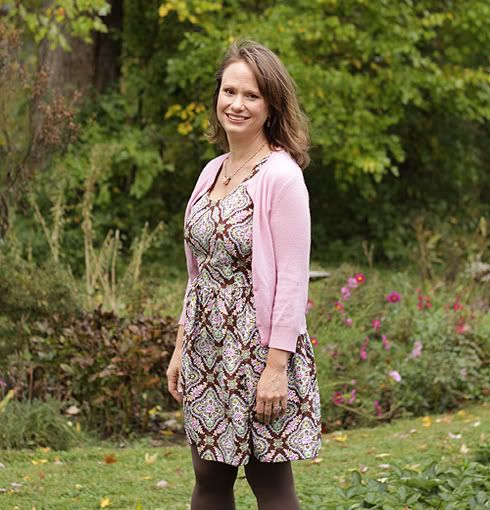
OK, here I am in an Angie prototype. Not the best picture, but no one ever likes pics of themselves, right? I wore it with tights and a cardi, and I was warm and comfy all day.

The reason this dress is so darn fast and easy is because the neckline and armholes are finished with bias tape. If you have any concern about sewing on bias tape, don't worry - I give step-by-step instructions in the ePattern. If you want to make your own bias tape, check out my free printable bias tape folder. It is so easy to use...just check out this great video from the Greek site ftiaxto:

Monday, December 5, 2011

Two new Sis Boom patterns!

Photobucket

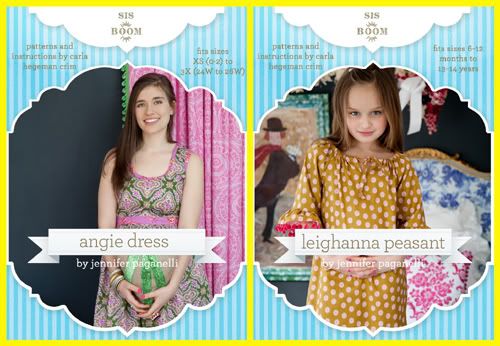
Jennifer and I are happy to announce the arrival of our latest sewing patterns...Angie and Leighanna! They are available on the Sis Boom website and in the Scientific Seamstress Etsy Shop. Look for them soon on the other great sites that carry our downloadable patterns!

Now, we usually release a woman's pattern and a matching kiddo counterpart at the same time. In this case the little girl's version was already available in Jen's book. The very retro, easy-to-make Mary's Fancy Sash Dress was such a hit, we were getting requests for a mama version. So I got to work on that, but I had this nagging feeling that I would be in big trouble if I didn't have something new for the little gals. Jen always has a big list of ideas for me, so I picked her darling little pom-pom trimmed peasant.

Over the next few days, I'll talk a bit more about the two new patterns and show of some gorgeous tester creations. Today I want you to meet the real Leighanna and Angie. Even though the patterns aren't technically a "mommy and me" set, we named them after a lovely mother daughter pair.

Photobucket

You all know Tom, right? He has been making beautiful creations for his wife and daughter for years, and now he is selling custom creations...his business is booming! Like his Facebook Page to see what is sewing for HeavenleighBlessings Boutique.


Photobucket

Jennifer had the amazing opportunity to meet Tom and his family at the Country Living Fair in Ohio. She was so inspired, she wanted to name the next pattern after Tom's sweet wife, Angie. Since I also had a girls' pattern in the works, the logical name choice was that of his adorable daughter, Leighanna. Incidentally, Tom already has boxer shorts named after him :) .


As soon as the testers got ahold of the Leighanna pattern, they demanded a mama version. I had time to whip up a prototype just before the Sis Boom Holiday Show last weekend.

Photobucket

I actually wore the peasant under my new Angie dress, and the shoppers loved it! If it had been a little warmer, I would have considered selling it off my back. Since the instructions will be just like those of the Leighanna, it shouldn't take me long to get the pattern ready. Louie donned a coordinating Festive Vest and Bosco Bow Tie. The apron is to protect his dressy duds from the yummy pasta Jennifer made just for him...awwwww!