Showing posts with label all the rage raglan. Show all posts

Friday, October 30, 2015

NEEEIIIGHHHHH!! Here is a how to make an animal hood for the all the rage raglan tutorial!


Costume sewing is done here!!! WAHOO!!!! I do NOT enjoy costume sewing as much as Carla does.... but the girls HAD to be horses.... So here is a quick how to change the hood cutting for making a hood mane. 

So for this get our your All the Rage Raglan and Easy Fits patterns and here is a very basic how to: 


sandwich mane in between hood pieces and sew (this was by FAR the worst part... 5 layers of fleece = yuck!)  
Then place ears in between hood front and hood main/main. a couple inches off center on both sides and sew the hood front to the hood main. Hem front of hood.

A also added a little tail to their easy fits :) 


and now they are ready to be horses! 


Tuesday, October 6, 2015

Yoga waistband Easy Fits Tutorial and a little Nursery Rhyme fun!


This October 2015 we are having some FUN in the LAB group and on facebook! hashtag your costume pics made with Scientific Seamstress or sisboom patterns #sscostumes (so we can search and find) and we will be finding a few people to cheer up :)

So let's start off this month's blog fun with a little inspiration from last year! 


I think I changed my mind a dozen times. But one thing I knew I wanted was something practical and warm and something that could be worn as an outfit or jammies after Halloween!
I used the All the Rage Raglan and the Easy Fits for this outfit. and Nimblephish's ITH mouse.


Cheeks brought me a book of nursery rhymes to read and I KNEW what I had to do!

The clock is a simple hand done applique to the front using felt and buttons and ric rac. I was able to complete this entire costume - including making the applique pattern pieces and cutting everything to sewn in one 4hr evening sewing stretch! I consider that a total WIN! 


I added a little dip and bias to the front of the shirt because I used a flannel lining to the hood which took away the stretch and I added arm cuffs and a hem band to help keep Cheeks cozy! For the pants I used the Scientific Seamstress Easy Fits pattern and made them in knit with a yoga waistband


To make a yoga waistband for your easy fits: 
1.Find some knit with a GREAT recovery and stretch (I prefer a nice 4way with some lycra) 
2. Cut a pieces of knit  measuring a few inches smaller than the waist measurement by about 8 inches tall (though height is preference - remember it will be folded in half)
3. Sew the ends together (right sides together)
4. Fold waistband in half wrong sides together. 
5. Place waistband inside pants - right side of pants to waistband. and then pin the waistband in place evenly around.

You will need to stretch the waistband to fit the pant. I generally pin front and back, and then sides. I find it easiest to just pin in quarters and then stretch the waistband as I sew. 

and all done!


Tuesday, November 4, 2014

Kitten Hoody from All the Rage Raglan


Well I finally (FINALLY!) went through my kids clothes! Piled everything they own into the living room and made piles of what fits and what needs to go. I regretted it the minute I started, but now I'm glad it's done. In this sort I discovered that my kids are REALLY lacking on the long sleeves and hoodies departments. Naturally this means you get another girlied up All the Rage Raglan tutorial!

This is really quite simple. Get out your front and back piece and decide where you want to have the top end and skirt start. The angled line bottom is where the armpit is, so keep that in mind. I cut my top where the two pattern pieces attach (see the paintbrush?).  I will likely do another but cut it closer to the armpit line, but for this one I wanted to do a kitten face and needed the space.

Cut 2 skirt pieces about 1.5 times the width of the top piece.

(ps. it really bothers me how bright the fabric is looking in the above pic... night pictures ...)

For the face I cut 4 triangles and sewed them right sides together then flipped and sewed on the  front of the shirt and painted the face. If you are doing a face I recommend doing it before sewing the shirt together. It saves so much headache.

Sew the top up as the pattern directs and then you put the skirt pieces right sides together and sew the side seams and then gather and sew to the top.


All done and adorable!


Monday, September 22, 2014

Raging Raglan Upcycle!


This weeks theme on Project run and Play is upcycle! So I thought and I thought.... and I was soooo stuck on what I should make! Upcycling in summer I had plenty more ideas... But I needed something cozy! 

I got the only 3 pieces that matched in my upcycle tote and realized they are all knit! So the All the Rage Raglan was meant to be!


I colourblocked the top by simply cutting the pattern where I wanted the colour block to be. The skirt I used for the dress portion of the front piece. I gathered it to fit the width of the top colourblocked piece. The maternity tank was a great amount of fabric for the top front colour block and the hood. The polka dot tank gave me the sleeves.


This dress is a little long right now, but it is cozy for winter and should still fit in the spring!


Perfect for running and playing in and long walks with puppy.


What upcycling have you done lately?

Wednesday, April 9, 2014

Getting Ready for Easter with KCW


I used the All the Rage Raglan pattern for the shirt and the Perfectly Preppy for the skort.

In my mind the looser fit shirt looked amazing with the skirt - casual and went with the pastels in the skirt kind of style. In actuality I wish I had followed the pattern directions to size down for a closer fit. Oh well, The shirt is SUPER cute with jeggings so it will get worn to Easter brunch

Because I knew I wanted the shirt not to be all loos at the bottom as I made it a looser fit in the top I left an inch open when I did the hem and threaded elastic through and then stitched it closed. This gives the shirt a cute "bubble" effect. 

(embroidery pattern from Urban Threads, fabric is all from Fabricland)

What are you sewing for Easter/spring?

Friday, February 28, 2014

Hop Into Spring with a Front Pouch All the Rage Raglan! (TUTORIAL)


Have you picked up a copy of our Raglan shirt pattern yet? This pattern has soooo many possibilities! 
Today I want to show you how to make this huge front pocket! I Have a style of shirt like this that I picked up on sale years ago and I LOVE it!!! I recently pulled it out from the closet and thought - I could make this with the all the Rage pattern! 

For fabric, a light-med weight knit worked perfectly for this style of shirt. I used a very scientific Ohm print found at Girl Charlee, but the basic information is that it is listed as 7oz. Which is absolutely perfect for this project. If you go any heavier the front pocket is likely to weigh down the shirt. As is, I do recommend doing a hood if you are worried about weigh down. 

For this version I banded the sleeves and bottom as shown here. I choose the lapped hood option, did the sleeves an inch shorter than the short sleeve cutting line since I planned on banding them and I choose the 17" length for the 4T size because I wanted it tunic length. to wear with tights. 
I choose the shirt sleeve option so it would look cute layered with sleeves and still be comfy in the summer time! 


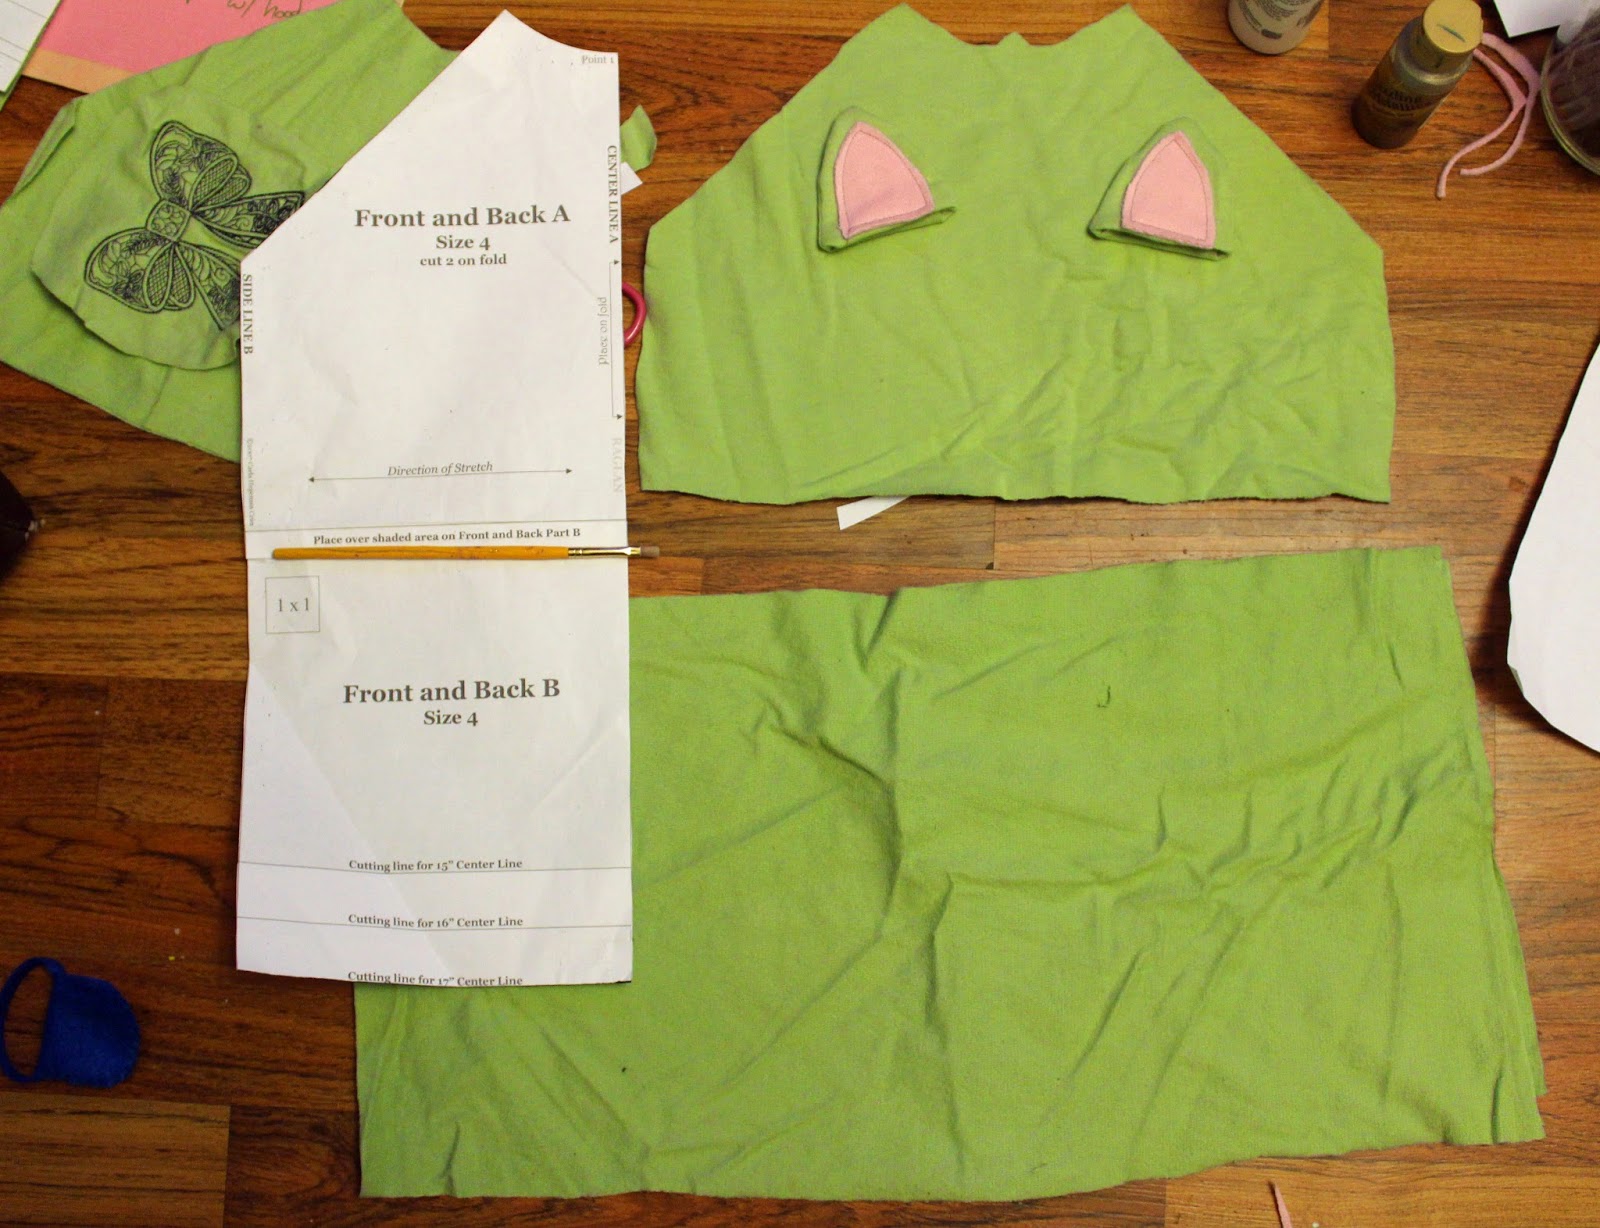
You will cut all the pieces for the options you choose as per the pattern to start.  When you are ready to cut the front pocket you will need to create a pattern piece. Take your front/back short piece and lay it down on paper a few inches away from the edge. and then do some quick dashes where the sleeves would go.


Now you will curve down from the top where the neckline/sleeve corner is and go to the bottom - giving a good amount of room at the bottom for the "pocket". You can see the shape you are going for below. You will cut one of these new pieces on the fold. 


Do a gathering stitch at the neckline of the pocket piece


and gather it as tightly as you can.


Now put your front pocket onto your front shirt piece after you have sewn the sleeves on but before you sew the sides together.


Pin it at the top a inch ish away from the sleeve edge as seen below:


Pin both sides of the pocket edge to the shirt edge and for the bottom you can do a gathering stitch or do as I did and do a few small pleats.


Now set your machine to a 3 or medium length stitch and sew the top and sides and bottom of the pocket to the shirt front.


Now you will continue to sew the shirt as per the pattern! Not to hard was it? If you have any questions please feel free to ask us in the LAB group on Facebook!


Do you love it as much as my girl and I do? Please share pictures of any All the Rage Raglans you make with us on Facebook! We'd love to see!

Tuesday, October 22, 2013

Dresses are All the Raglan Rage! (A Tutorial for our Raglan Pattern!)


Hey all! Jeanine here again and this time with a super simple modification to girly up the all the rage raglan pattern! This pattern is a classic, with many options for length of the bottom hem and the sleeves, hood or neckband, and even has dolly sized patterns included for your 15" or 18" dolls :) 

For this tutorial we will just be working with the two main pieces for your front and back and the two ruffle pieces (which I will be telling you about). Everything else will be sewn as per the pattern. 

To start cut all your pattern pieces out. Now you will take your front/back piece and cut a ruffle strip that is twice the width of the front/back piece (as seen below). How long you choose to make your ruffle is up to you if you want it to be tunic length or dress length.


Now set your machine to the longest stitch length and do NOT back stitch, make sure you get a good tail end to start your sewing off as well.


and stitch along the top of each ruffle strip. I serged the edges first since I am sewing with a waffle knit and it is a little unstable and I was concerned about fraying.


Next you will gather each ruffle piece to the the width of the front/back pieces.


Then pin each ruffle to the bottom edge of the front and back pieces and stitch using your knit fabric stitch (shown below) or serger (or zigzag if you do not have either of those).


after the ruffle is sewn on flip the ruffle down and then I like to top stitch. 


Now your ruffle is attached on both the front and back pieces and you just continue to sew the pattern as directed! Nice an easy but oh so cute!


The waffle knit is a bit heavy and stretchy by the way, so, if you use it be warned that your fit will be a bit looser than if you use a more T-shirt like fabric.


and one last picture to show the hood option! I LOVE hoods in the fall (and I prefer putting a hood in to dealing with neck binding. shhhhhh... that can be our little secret)


And that is how I changed up the All the Rage Raglan! How about you? Have you made the pattern? Tried modifying it? Love bow fabric? Tell me all about it! And please join us on facebook in our Lab group