Friday, February 27, 2009

Raglan Revised

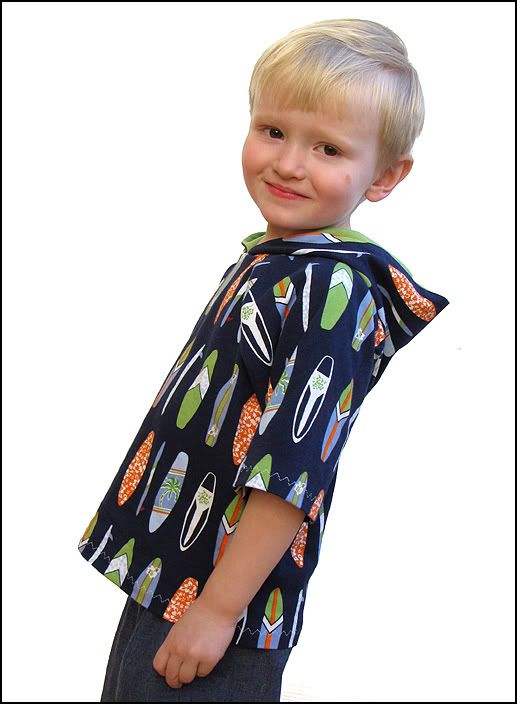
For the last couple of weeks, I've been working on updating the All-the-Rage Raglans eBook. This revision required lots of experimentation, which is a good thing because Louie needed shirts!

Photobucket


Photobucket

I made quite a few changes to the actual pattern for this one. I modified the angle of the sleeve attachment edge, which resulted in a narrower sleeve and a wider front/back. This gives a fit that is more in line with the standard T-shirt. I shortened the long sleeves (which were coming out too long because of the stretch of the knit) and lengthened the short sleeves (which just look cooler a bit longer). I also added multiple cutting lines to the Front/Back pieces so that the patterns can be made to make shirts in a range of hip to thigh lengths. Instructions for drafting custom lengths are also included.

In addition to the pattern modifications, I've included even more detailed instructions for selecting knits and tips/tricks for attaching the neckband. I've had a few customers write in and tell me that their neckbands came out huge. I double-checked the patterns and made some suggestions, but really couldn't give an answer as to why this was happening to them. One of the customers told me that she was using a ribbed knit and a thermal knit, both of which are very soft and stretchy. I decided to do an experiment with a similar material.
Photobucket

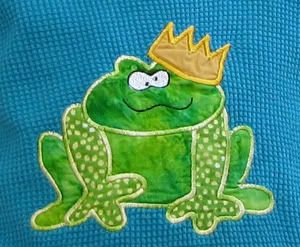
I used a thermal knit in a beautiful shade of blue. Before piecing the raglan, I added Kimberbell's adorable Frog Charming Applique. As I started sewing, I noticed that the fabric was deceptively stretchy. It didn't seem to recover like the other knits I had worked with, either. When I added the neckband, I took extreme care to avoid overstretching, and even added in some steps to keep the neckband in check. When I was finished, I had a great looking shirt with a normal sized neckband. Of course, I had to put it right on Louie to soak in the cuteness. My glee was short lived, as the neckband started expanding right before my very eyes. Within a half hour, my little boy looked like he was ready to "Flashdance" in his off-the-shoulder frock. My conclusion - very stretchy knits are not suitable for this project.

In the eBook, I now include a gauge to measure stretch, and I also give specific fabric recommendations based on what has and has not worked for me in the many raglans that I have made. Hopefully this will prevent future giant necklines. As for Louie's frog shirt, I was about ready write it off as unwearable and turn it into a dust rag. He was already so attached to that frog, however, that I just couldn't do it. Instead, I brought in a reinforcement.
Photobucket

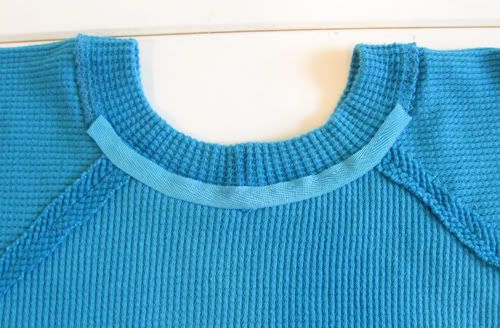
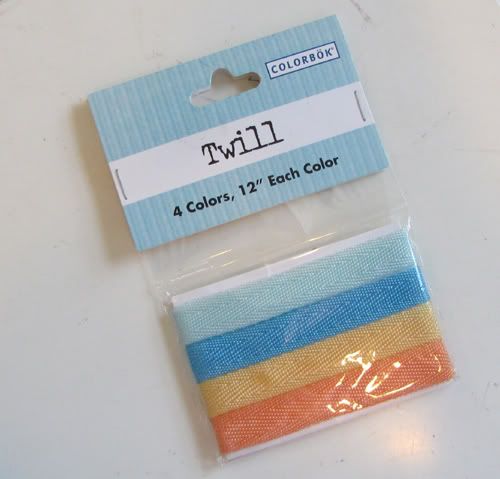
Twill tape is commonly used to stabilize seams in knit garments (I just looked in the hoodie I'm wearing, and it has twill tape in the neckline). Black and white twill tape can be found in the notions section at most fabric stores. I found this pack of pretty colors in the scrapbooking department. If you don't have twill tape on hand, you can also use grosgrain ribbon (it isn't as flexible, however).
Photobucket

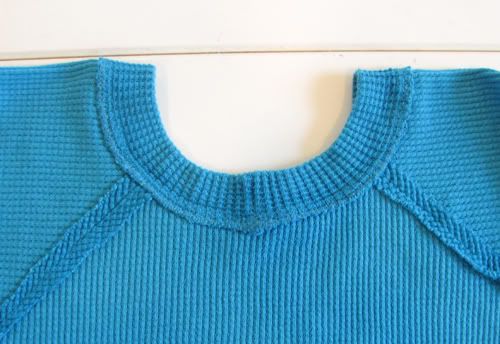
Before applying the twill tape, I washed and machine dried the shirt. This caused the neckband to shrink back to a reasonable size.
Photobucket

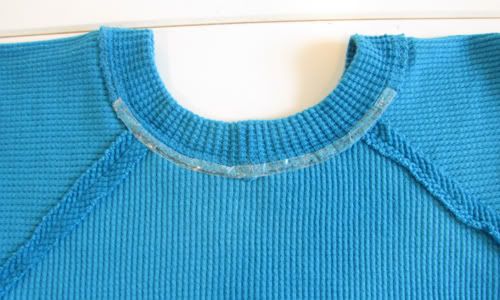
With the shirt turned inside out and the back side facing up, I added a piece of Wash-Away Wondertape (oh how I love that stuff) to the neckband seam allowance.
Photobucket

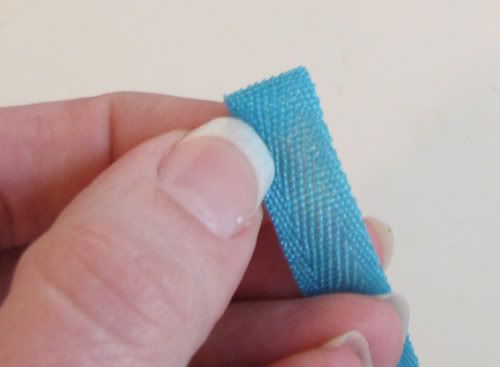
I folded the twill tape over 1/2" at one end to hide the raw edge...
Photobucket

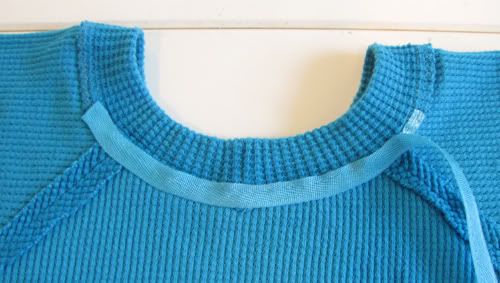
...and stuck it into place.

Photobucket

I trimmed the twill tape, folded the end under, and stuck it into place.
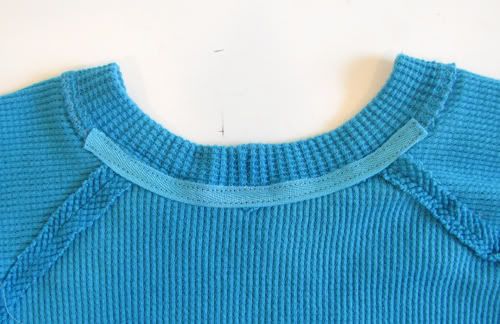

Photobucket

Using matching thread, I stitched the twill tape into place very close to the edges.
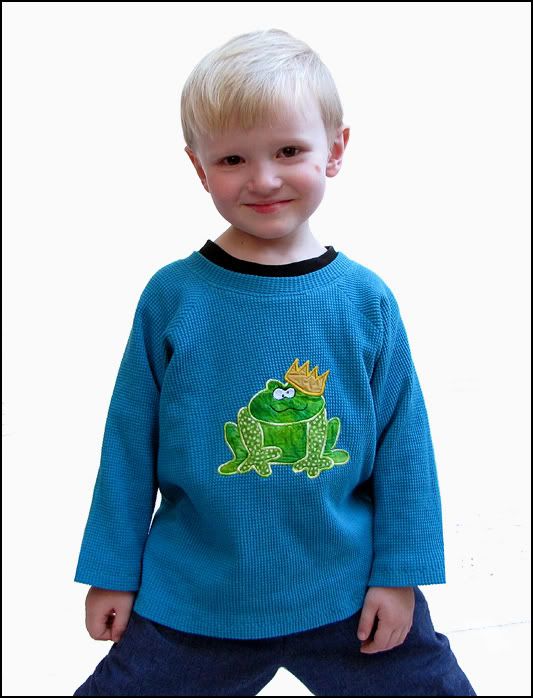
Photobucket

Long live Prince Froggy! The updated version of the Raglan eBook is now available at YouCanMakeThis.com. If you already own this eBook, the new file will be in your "My Library" section. Hop on over and check it out!

Monday, February 16, 2009

Garden plotting

This is the time of year when I normally spend lots of time cuddled up, flipping through seed catalogs and dreaming of spring. The last three places we lived were zone 5 climates, which meant killing frosts until about mid-May. Because of the snow, ice, and miserably cold temperatures, garden prep wasn't even conceivable until the about end of April. We are in a much warmer climate now, and it just hit me that I'd better get my sedentary self outside and get going on the new garden.


Photobucket

This is one of our outer borders. We had lots of fine little maple leaves come down in the fall, so I used them as mulch. The border is full of peonies, lilies, and other tall perennials. When the ground is dry enough to rototill, we are going to extended the perimeter out another couple of feet.


Photobucket

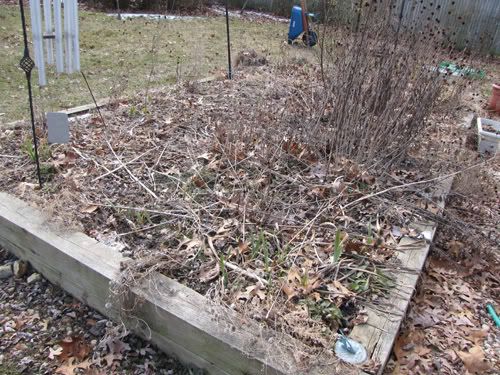
This is the main garden bed. Yes, it is a big mess at this point. Lurking under the debris are gorgeous irises, lilies, black-eyed Susans, lobelia, gaillardia, and poppies to name a few. The soil is rich, and the spot gets lots of light. Our plan is to transplant the perennials to the outer borders so that we can put most of our vegetables in here.


Photobucket

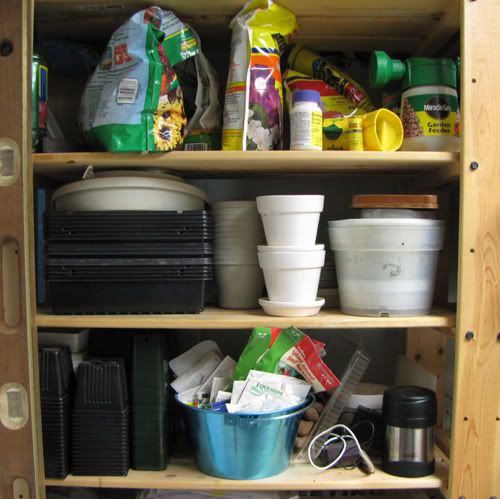
We generally start most of our vegetables from seed. We like a big, somewhat unusual variety, so it is really the only way to go. I have quite the "stash" of seeds, and they seem to keep sprouting year after year.


Photobucket

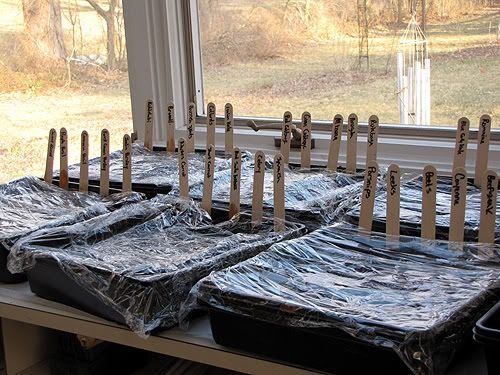
This year, we are doing the inital sowing in flats. My farmhand helped me mix the soil. I'm so glad that he enjoys grubbing around with me!


Photobucket

Our family room is practically a solarium, so we are going to try this without artificial lights. The top of the entertainment center gets full sun, so we are using it as our growing bench.


Photobucket

There are already some signs of life from the mustard family! These little guys are mizuna and arugula. In a few days, I will thin these out, and we will use the "microgreens" as a fun, yummy garnish.


Photobucket

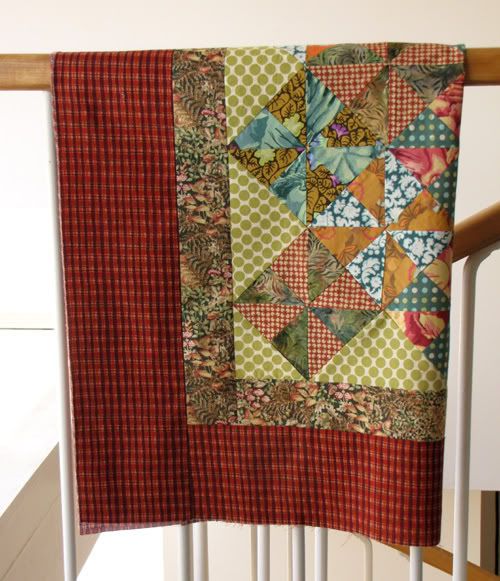
And speaking of borders, the last piecing step for the YCMT sew-along has been posted! I went with a woodsy print for the inner border, and a rich plaid for the outer border. I made the outer border a little bigger so the quilt will really fill in that big space above my bed. I'm looking forward to the quilting steps, which will be oh-so relaxing after the upcoming days of hard work in the garden!

Wednesday, February 11, 2009

Update x 3

It has been a few weeks since I released an eBook update. I haven't been slacking off, I promise! I've actually been working on three of them all at once - Festive Vests, Bowling Shirts, and Perfectly Preppy Skorts and Skirts. These eBooks are my most recent publications, so they didn't need a whole lot in the way of modernization. Reformatting and proofing took a while, however, as each of these eBooks contains numerous pages of instructions and multiple pattern pieces (lots of 1" squares to paste).

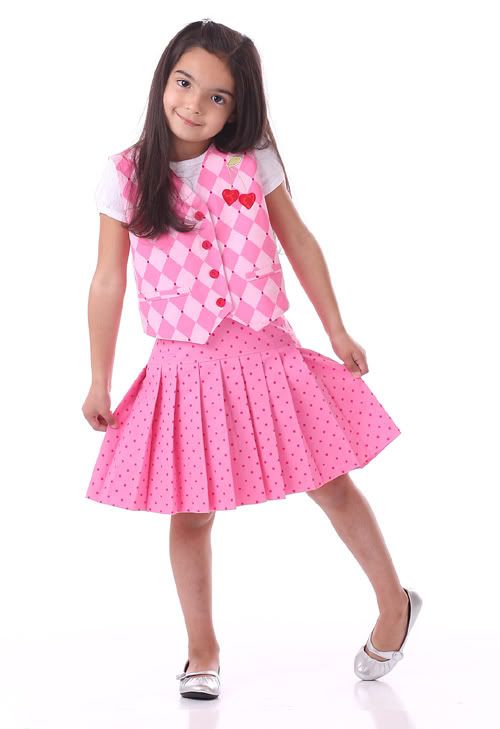
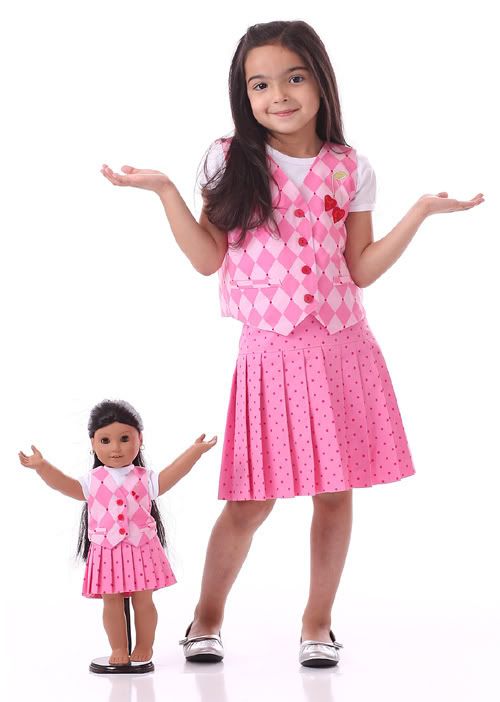
The update process wasn't all tedious computer work, I must confess. I had an absolute blast sewing up some sweet springy sets. Louie has been my "cover boy" for the bowling shirt and vest, but I wanted to show off the girlie potential of these two eBooks.

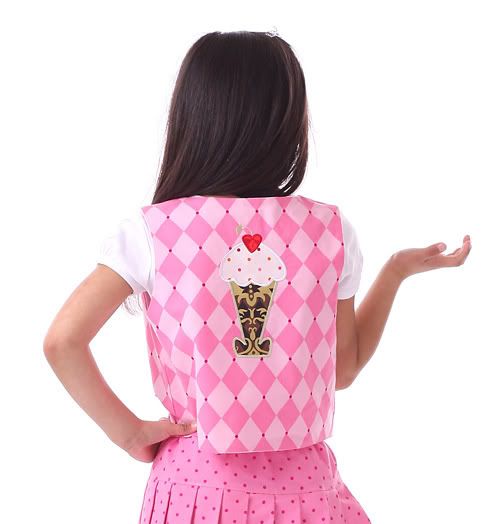
First up is precious Chloe modeling the Festive Vest and the pleated version of Perfectly Preppy. The fabrics are from the Andalucia line by the talented Patty Young. Those yummy colors combined with Kimberbell's applique design make for the perfect ice cream sundae! Our dolly model is Josephina.

Photobucket


Photobucket


Photobucket


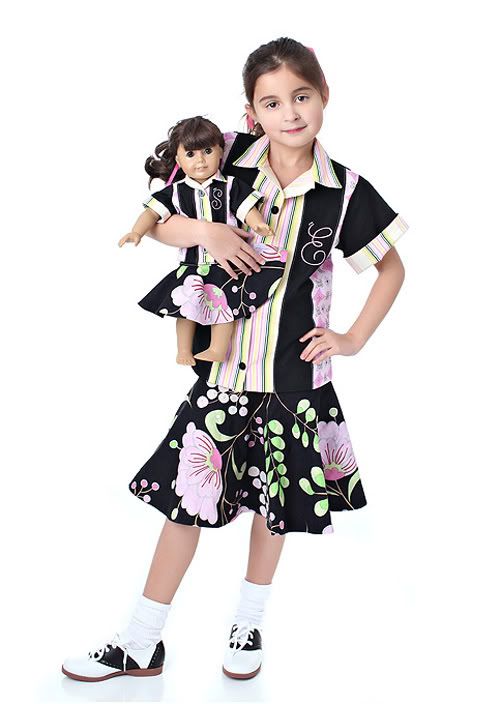
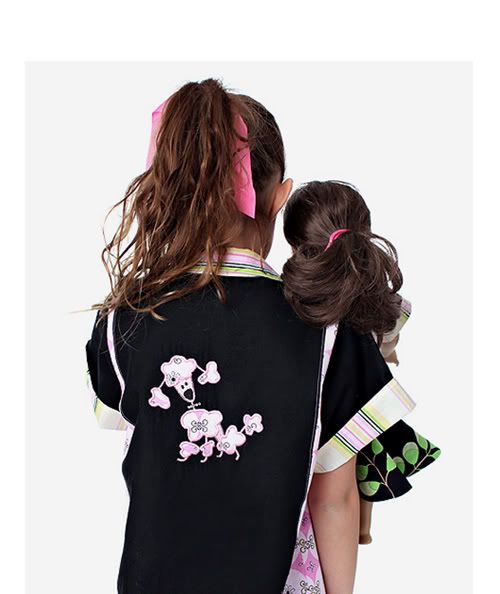
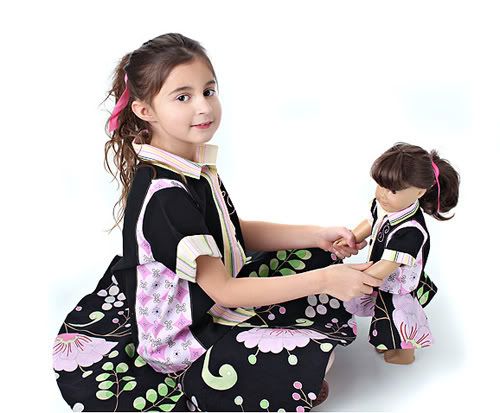
Next out on the runway is lovely Emma in a Bowling Shirt and the flouncy version of Perfectly Preppy. The fabrics are from the Snow Flower line from Dena Fishbein, who is not only an amazing graphic artist, but host of Embellish This! - one of my favorite DIY shows! The candy colors and whimsical prints are just spot-on for these retro threads. The requisite pink poodle design is from Kimberbell, and the little dolly gal is Samantha.


Photobucket


Photobucket


Photobucket


The freshened-up versions of these eBooks are now live on YCMT - if you already own them, the updated files can be found on your "My Library" page. I've also put together a brand-new bundle pack which contains all three of these eBooks. With this combo, you can create feminine ensembles like the ones shown above, or make coordinating pieces for sisters and brothers.

Thursday, February 5, 2009

Hip to be square!

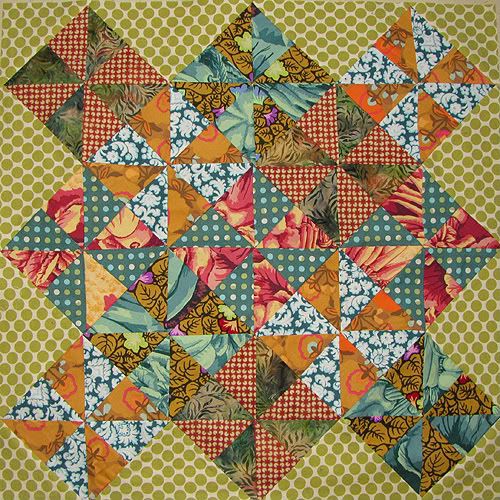
More progress on my YCMT sew-along quilt! I've pieced the rows, added corners, and squared up once again.


Photobucket


I'm very pleased with how it is coming together. This is the first time I've actually quilted with any guidance whatsoever. When I was young and full of myself, I figured that quilts were just a matter of geometry and would cut and piece willy-nilly. I didn't know a thing about squaring-off...heck, I didn't even own a rotary cutter until I was well over 30! Needless to say, I had some funny looking quilts. This quilt top lays so nice and flat, and I can already tell that I'm not going to have to make my borders and binding do fabric gymnastics at the end! If you want to get in on the fun, it isn't too late. There are lots of people reporting various stages of progress on the YCMT blog - the more the merrier!

Monday, February 2, 2009

Romantic Roses

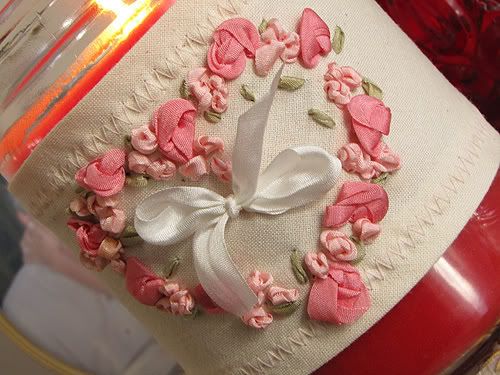
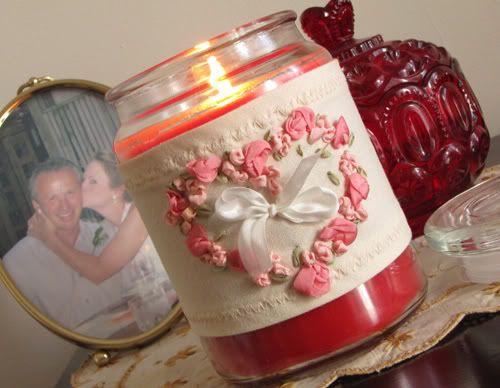
Silk ribbon embroidery is my absolute favorite form of embellishment. If you take a look at my gallery of collector doll clothes, you'll see that I added silk ribbon roses to just about every design. It is such a great way to give dimension and vintage sweetness without a lot of time or effort. In fact, I find silk ribbon embroidery to be MUCH easier than floss embroidery. Sure, there are fussy ways to make just about any type of intricate flower, but it is hard to beat simple little roses. Yesterday I made this candle cozy in about 15 minutes using only knots and straight stitches.

Photobucket


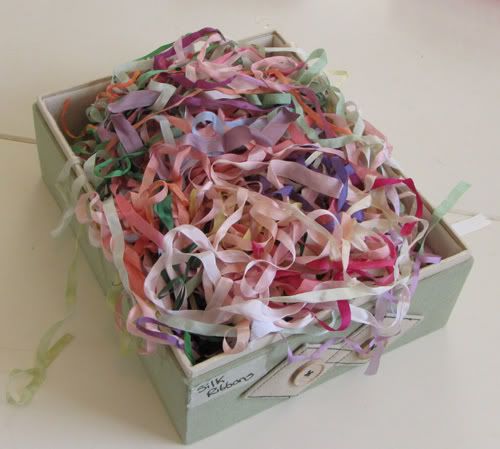
For this project, I used four different ribbons - 13 mm dark pink for the big roses, 13 mm white for the bow, 7 mm green for the leaves, and 7 mm light pink for the small roses. You can usually find the ribbons in packets at fabric and craft stores. If you want to get into some serious silk ribbon embroidery, eBay is a much more cost-effective source. I actually dye my own ribbon. I buy it by the roll from Dharma Trading, and do it up Easter Egg style with RIT dye. I have lots of colors on hand, but I always find myself reaching for the pinks, creams, and greens. It probably has something to do with the fact that roses often come in those colors :) .

Photobucket

As I mentioned, there are lots of proper techniques for making silk ribbon flowers. Quite a few articles and tutorials are available online, in fact. To show just how stinking easy it can be, I'm going to share two super-simple stitches. For both of these stitches, I use a thick, sharp tapestry needle.

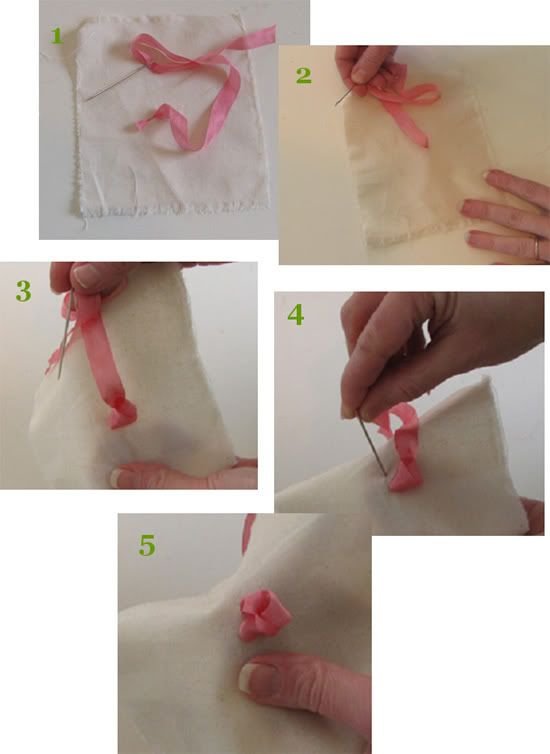
The first stitch is a knot. It isn't a French knot or a bullion knot, it is just a plain old knot. Thread a length of ribbon (I usually work with about 18" at a time) and tie a tight knot in the end (1). Stick the needle into the fabric at the desired position and pull the ribbon through (2). Tie a very loose, airy knot close to the fabric (3). The key to maximizing your ribbon and getting that dimensional look is resisting the urge to pull things taught, in fact. If you do over-tighten a knot, you can always stop and fluff it up. After you make your knot, reinsert the needle into the fabric near the knot and bring it through, again keeping everything light and loose (4). Voila, a rose (5)! If you are only making one rose, carefully tie off a tight knot in the back and cut the ribbon. If you are making another rose nearby, proceed to bring the needle through at that position, taking the utmost care not to pull on your first rose.

Photobucket

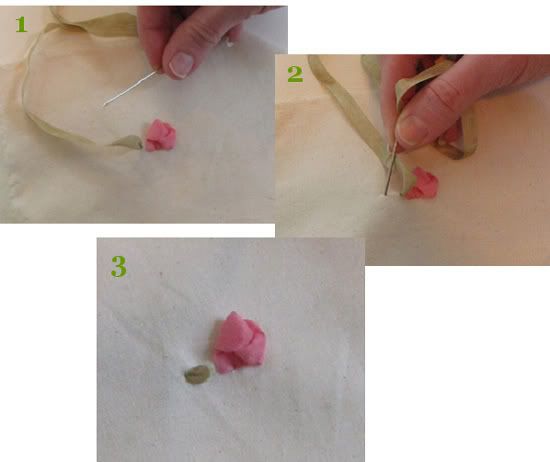
The next stitch is the straight stitch. Knot the ribbon at the end, pull through (1) and put back in (2). That makes a cute little leaf (3).


Photobucket

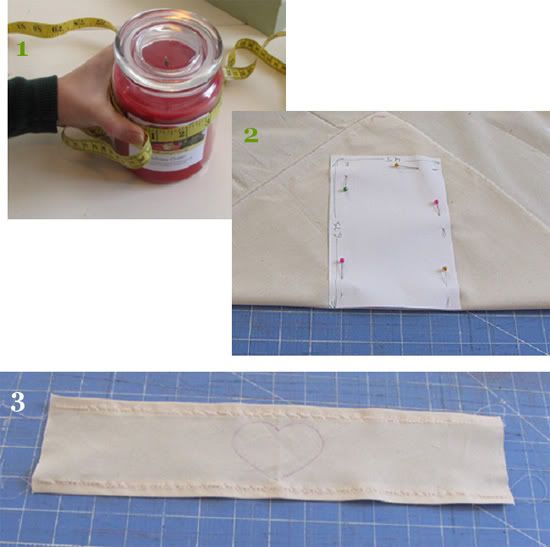
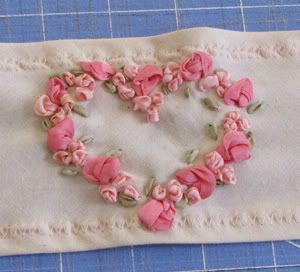
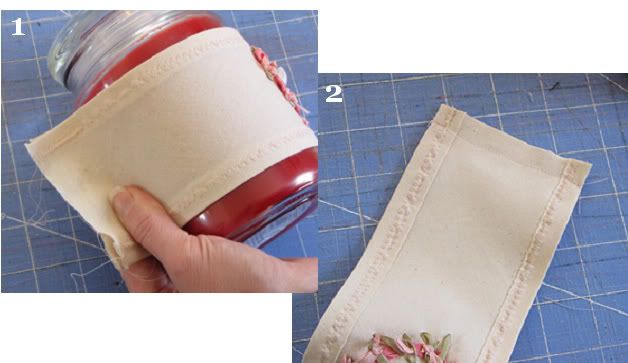
OK - yawn. One little rose isn't all that exciting. The way to make an embroidery impact is to put together clusters of roses of multiple sizes and colors, like I did on my candle cozy. The cozy, by the way, is just a strip of muslin cut on the bias. I measured the jar (1) and made a pattern that was 4.5" wide by 6.75" wide (1/2 the circumference of the candle + 0.5" seam allowance). I folded the corner of the fabric up into a triangle, and cut the pattern on the fold (2). I folded the top and bottom raw edges over, stitched them into place with a zig-zag, and drew a heart in the center (3).


Photobucket


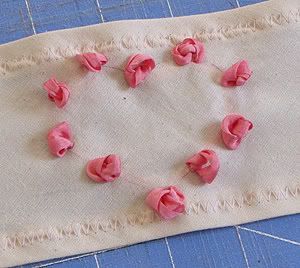
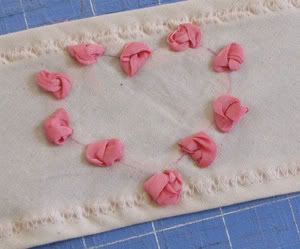
I generally don't start out with a set plan or pattern when I do silk ribbon embroidery. I started this wreath with big, loose knots using the wide dark pink ribbon. My knots aren't all identical, which is fine because no two roses are identical.


Photobucket

The big roses always come out a little puffy for my tastes, so I just smash them with a hot iron.


Photobucket

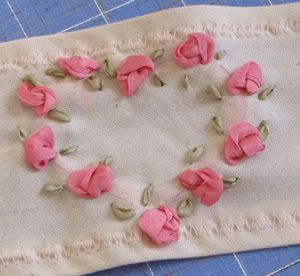
Roses need greenery, so I worked around the wreath, giving each rose two or three straight stitch leaves.


Photobucket

I filled in with clusters of small roses (I generally don't press these).

Photobucket


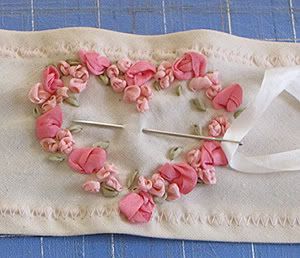
I decided that the center needed something, so I added a bow. I pulled a length of ribbon through the fabric with the needle.

Photobucket

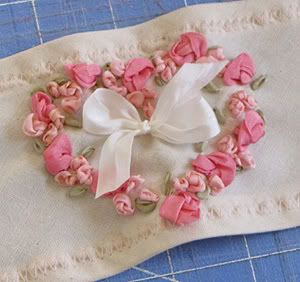
I then tied the bow and trimmed the ends.

Photobucket

Since the cozy was cut on the bias, it was a bit stretchy. I ended up placing my stitching 1" from the ends and trimming the allowance.


Photobucket

I slipped the cozy over the jar, and grouped it with with a wedding picture and a vintage candy dish. I lit the candle...instant romance!

Photobucket