
Hi! Jeanine here again!
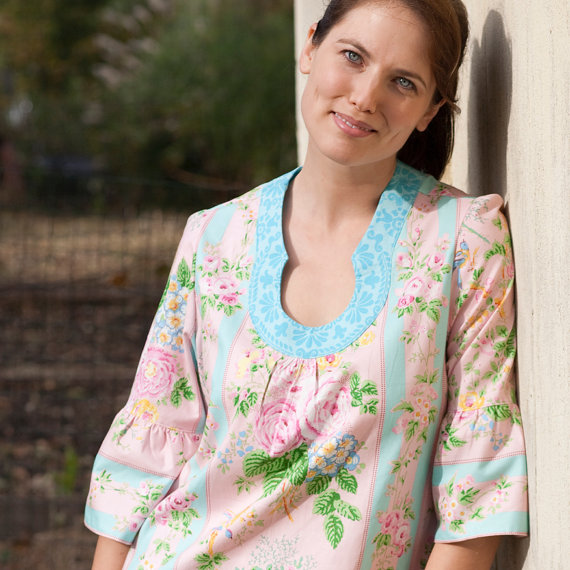
We are starting the Sew-a-long today!!! YAY! First a few pictures to show you what we will be sewing up!
.JPG)
The Shana Tunic is super cute in corduroy for the fall I discovered! It is also great in cotton wovens as you can see in the product photo's below. The patterns are also on a limited time sale for only $5 each!

Now a quick note about printing the pattern up. I read the directions off my computer screen or tablet and so using the handy dandy print guide I just print the pages I need for the size I am (that is the top arrow). When printing be sure to print actual size/fit and double check you are not scaling (second arrow) and that the page size is set to 8.5x11inches (star). Once you have printed be sure to measure the one 1x1inch square that prints up with your pattern pages - each size will print one square on the first sheet of that size (hand).

Once you have printed it is time to assemble. I put the A layer, B layer, ect together first like you see on the bottom and then I put those layers together like shown at the top of the picture.

Once that is done we get to cut our fabric! Now I know normally I don't get as detailed with these steps for a sew-a-long but I wanted to point out a few things :) The notches - there are a LOT of them about the collars I know - but they are SUPER important!

I found it easiest to cut them using my little thread snip scissors since my big sewing scissors had a hard time working those little spaces.
.JPG)
For my Shana I decided I didn't want to do bell sleeves... Mainly out of concern for how the corduroy would gather up.... so I am going to show you how I did straight sleeves!
Take your Shana/Emily sleeve pattern pieces - the top and the bell and tape them together, and then you fold in the side I left mine angled out just a bit so although not gathered they are still a bit bell-ish for staying with the look, but you could do straight or even taper them in a bit.
.JPG)
Next get those collar pieces onto the interfacing and all together these are the pieces you should have!

And that my friends is day 1! Easy peasy right? Well tomorrow we start sewing! Don't worry - the collar is MUCH easier than it looks :)
Remember to find us in our facebook group! The sew-a-long album will be in there for you to upload pictures into! Prizes will be given in the facebook group for participation (random.org picks the winners on Sept 4th, 2013) And we are always happy to help with any sewing troubles or questions you have!
See you tomorrow!
No comments:
Post a Comment