Wednesday, November 18, 2009

Tiny Bubbles....


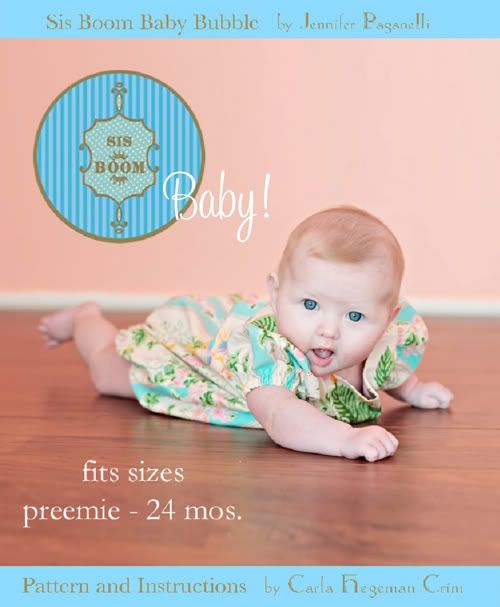
Jennifer Paganelli and I are proud to announce our newest arrival...the Sis Boom Carly Bubble Romper! Carly is the first of a series of Sis Boom Baby patterns, and she is making her debut on YouCanMakeThis.com!
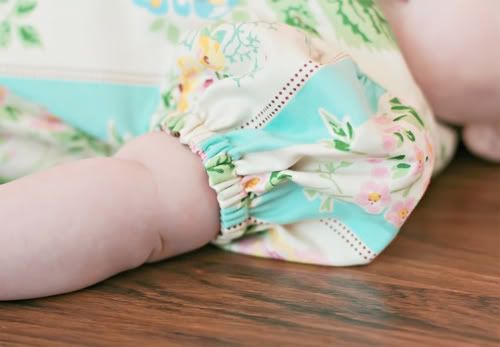


We just love this little sweetie, which includes separate patterns for sizes preemie, newborn, 3m, 6m, 9m, 12m, 18m, and 24m. Babies grow so fast, and we wanted to cover every stage!
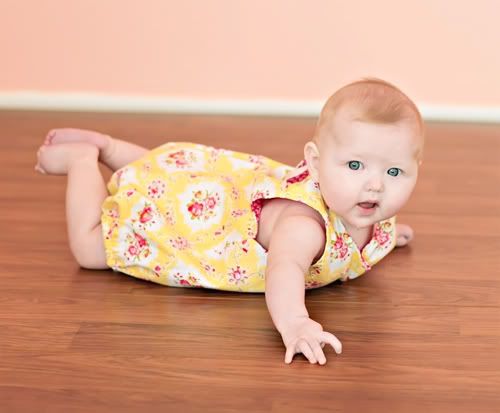


There are 3 sleeve options - sleeveless, ruffled sleeves, and puffed sleeves.
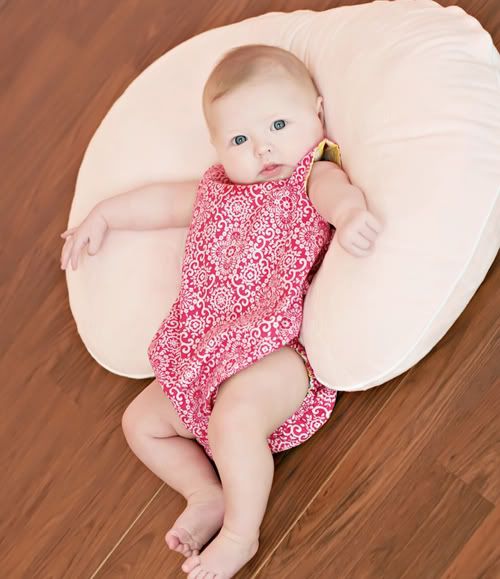


And best of all, this romper is completely and totally reversible (I didn't originally plan it that way, but it worked and I ran with it - LOL)!
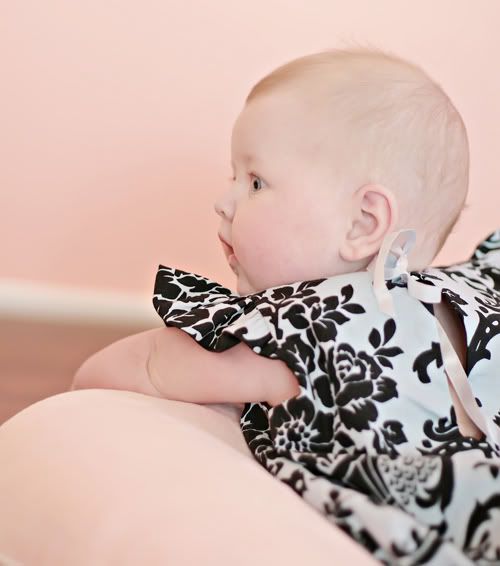


There are also multiple options given for the back and crotch fasteners.
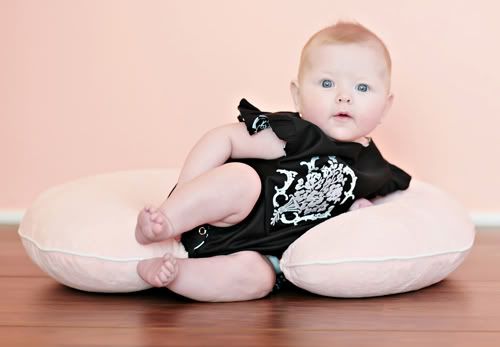


These rompers are soooo perfect for personalization with applique or embroidery (think baby shower gifts)! The ruffle-sleeved romper above has the Amanda Fleur 5x7 embroidery design on one side, and the Amanda Fleur fabric on the other side...fun, huh? Thanks so much to my friend Laura for the amazing pics of her sweet baby girl, and big thanks also to my team of testers, who made some VERY cute rompers which you simply must check out on the product page over atYCMT!


Tuesday, November 10, 2009

Easy Fits for everyone!

The Easy-Fits Pants Pattern for Tweens, Teens, and Adults is now available on youcanmakethis.com! It truly is the "grown-up" version of the popular child-sized pattern. Use it to make comfy jammies, casual capris, board shorts...there are so many options!


As always, my awesome testers were incredibly helpful with sizing, accuracy, and keeping me motivated! They were very enthusiastic about the finished product, and I love how their pants came out! Check out their pictures and testimonials!!!


I am now wearing the most comfortable pants EVER!!!! I finished my easy-fits and I LOVE THEM! I made a drawstring waist with a couple of button holes and some ribbon. I made a large and they fit over my belly now and I can cinch the waist for later. (note: this is from the very pregnant tester :) )

The easiest, quickest, most comfortable pants just grew up! Easy Fit Pants, by Carla C. was previously only available for children. Not anymore! With the creation of "Easy Fit Pants for Tweens, Teens and Adults", the entire family can now enjoy the the comfort and ease of the perfect pants! And with the ease that these pants go together, even the beginning seamstress or tailor can outfit an entire family in just a matter of hours! Stitch them up in cozy flannel or fleece for cozy sleep pants. The sports fan would love a pair stitched up in his/her favorite teams licensed fabric. Denim, corduroy or twill will dress this pant up for every day wear. You'll find endless possibilities with this versatile pattern that will quickly become a staple in your pattern file that you will reach for again and again! You won't want to be without either the Easy Fit Pants, or the Easy Fit pants for Tweens, Teens and Adults!

My favorite pattern EVER now comes in every size! Thank you Carla! Easy Fit pants are the simplest most adaptable pattern I have ever used and always the first pattern I recommend to new sewers. I have so much fun creating these in all sorts of styles and fabrics. My tween has outgrown the children's sizes and now I'm thrilled I can make her (okay, and myself as well) Easy Fit pants! I can't wait to get started on matching family pj pants!

YIPPEE one of my favorite kids patterns now in adult sizes for men and women!!! This pattern should be in the pattern hall of fame along with it original easy fits for kids. It is the perfect pattern for comfy pj's or cute comfortable pants. It is probably one of the easiest patterns to make too! It is a must have for everyone!

Big thanks to all of the testers for all of their great feedback and support! I also want to give a big shout out to Mari H., the wonderfully talented and sweet photographer who took the excellent pictures of the pants (lots of 'em) for the cover and product pics!

Thursday, November 5, 2009

Sew Comfy...


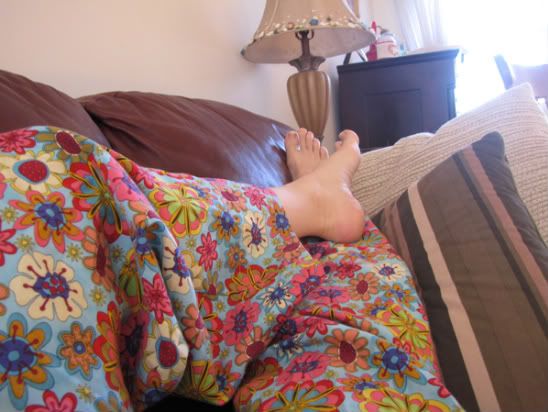
Oh why oh why didn't I make the grown-up version of the Easy Fit Pants Pattern YEARS ago? Oh well, it is probably a good thing I didn't come up with them sooner because when I put them on I just want to lounge about! The pattern should be out within the next week IF I can get up off the couch to add the last little details. I'll blog more about it next week, but basically it has the same options and easy-peasy construction method as the child's version. The size range goes from XXS to 3XL, so you will be able to make Easy Fits for everybody!

Speaking of comfortable clothing for us grownups, The Sis Boom Shana Tunic is now available on YouCanMakeThis.com and Etsy. This stylish, relaxed top is just perfect with jeans, leggings, and capris. Jennifer blogged her mama wearing her Shana Tunic a few months back, and I knew it was something my mama would love too...


Isn't she gorgeous? And don't you just love that neckline??? It is perfect for showing off beautiful necklaces...particularly ones like this that are made by Kay Adams. Mom and I are big fans of this talented lady (you might be seeing the both of us on her blog in the coming weeks :) ).

Tuesday, October 20, 2009

Belle of the Ball

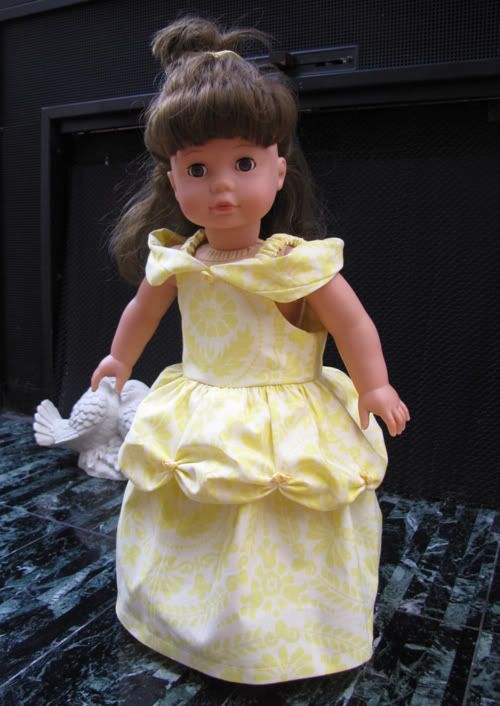
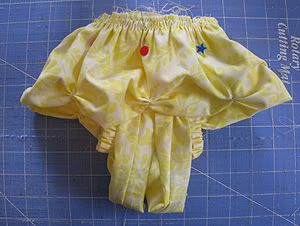
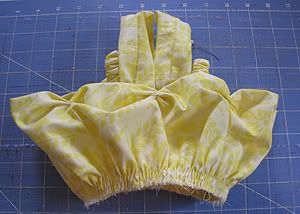
Ready for the next "princessification" of the Simply Sweet pattern? This beauty is a lovely yellow gown with off-the-shoulder swags and gathered peplum. These elements are very easy to add (despite the number of pics in this tutorial). Simple twists of the fabric give these elements the extra fullness needed to keep them light and poofy.


This dress is all yellow, which happens to be my favorite color :) . You could use multiple shades of yellow to add interest, or use a tonal printed fabric like the gorgeous Marie from Jennifer's Pretty Please line.


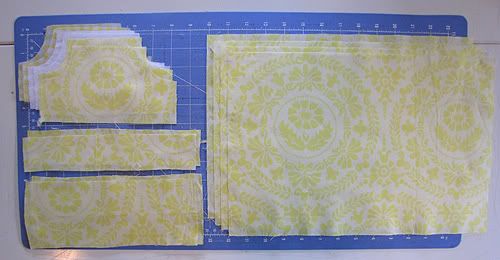
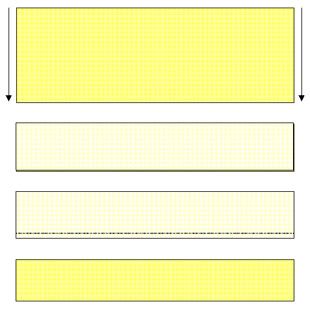
For this dress, I am using the jumper bodice (natural waist length option) with scrunched elasticized straps. Cut the pattern pieces as described. Also cut two strips that are the same length as your strap pieces, but twice as wide (bottom left on the photo below). These will be used to make the swags.

Using the charts provided, determine the dimensions necessary to make a skirt that is calf to ankle length. Cut the 2 skirt pieces as described. In addition, cut 2 pieces (same size as the first 2) for the peplum.


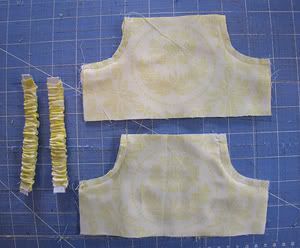
Sew the scrunched elasticized straps as described on page 13, and stack the bodice pieces and stitch the armhole edges as described on page 16.


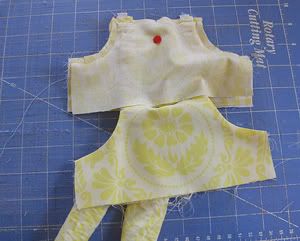
Insert the straps into the front bodice as described, but only stitch the top edge at the position of the straps. The center should be left open for the swags.


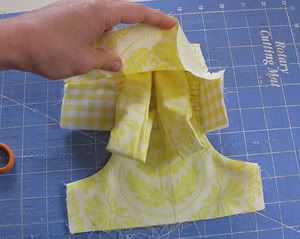
Make the swags by folding the strips in half lengthwise, right side facing in. Stitch 1/4" from the long raw edges. Turn the tube right side out.


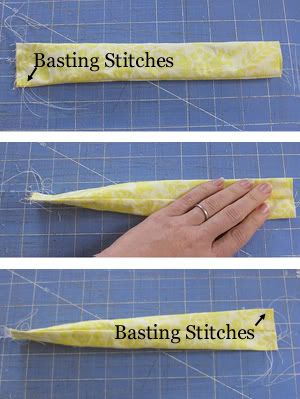
Run a two rows of basting stitches at one end of the tube. Open out the other end, and refold it so that the seam is centered on top. Maintaining this fold, run two rows of basting at this end. The swag should look like a tube of toothpaste at this point.


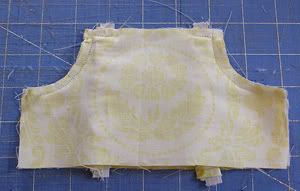
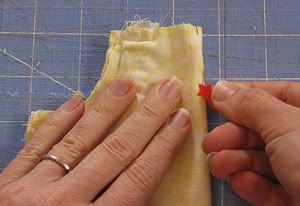
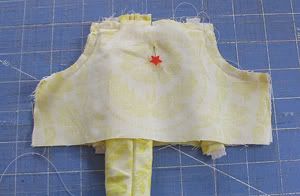
Fold the front bodice in half. Insert a pin through all layers at the center fold.


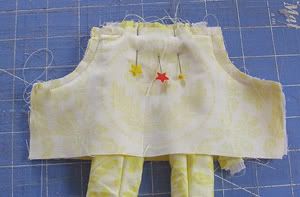
Gather the centered seam end of a swag and insert it between the the front and back layers, between the scrunched strap and the pin. Stitch into place. Note - I inserted my swag with the seam facing up, because I think it adds interesting detail. If you don't want the seam to show, just flip it over.


Repeat with the other swag.


Stitch the swags into place 1/4" from the top edge.


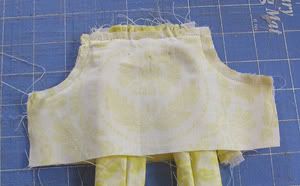
Turn the front bodice so that the right sides are facing outward,


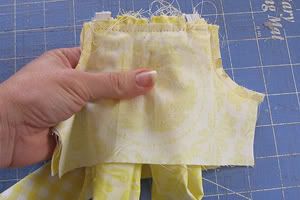
Move the swags out of the way for now. Insert the scrunched straps into the back bodice piece as described on page 18. Stitch the straps into place, but leave the center open as you did for the front piece. Fold and pin through all layers at the center.


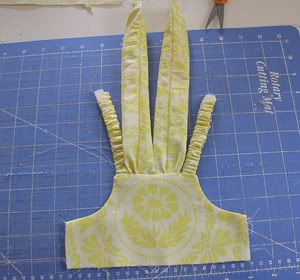
Gather and insert the other ends of the swags. The edges with the seams should be right next to each other in the center. Make sure the straps look like mirror images of each other at this point with no extra twists or turns.


Stitch the swags into place 1/4" from the top edge.


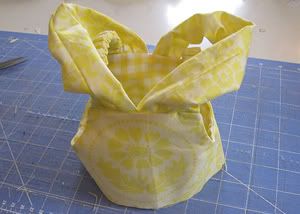
Assemble the bodice as described in the eBook. Notice how the swags stand on their own? That little twist makes a big difference!

Make the hemmed skirt as described as on page 45 and set it aside.


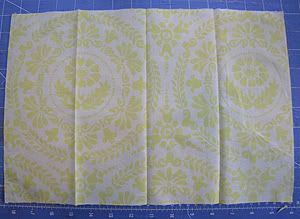
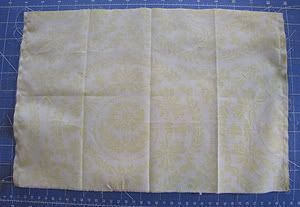
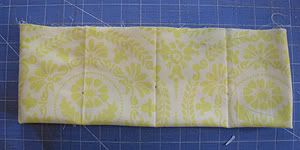
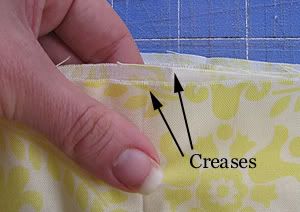
Fold the peplum pieces widthwise into 4ths and press to make creases.


Fold the front and back pieces lengthwise with the right side facing in. Using a water soluble marker, make dots for the gathering points. Put dots on all of the creases, and right next to the side edges on the front pieces only. You can place all of the dots at the same height, or stagger them like I did. For the doll skirt, I made the front center marking 1" from the folded edge, and made the others progressively lower. For a "big girl" skirt, I would start at 2".


Place the front and back pieces together, right sides facing. Make sure the dotted ends are together. Stitch 1/4" from the short side edges. This will make a tube of fabric.


Fold the tube in half lengthwise, wrong sides together. Align the raw edges.


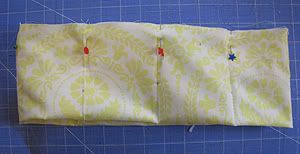
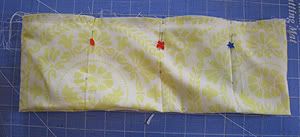
We are also going to work a little twist into the peplum so it is nice and full like the swags. At the top edges, shift the fabric so that the creases are 1/4" to 1/2" apart. Pin the layers together just between the creases.


Shift in the same direction at every crease and seam. Notice some poof forming?


Run two rows of basting stitches at the top edge.


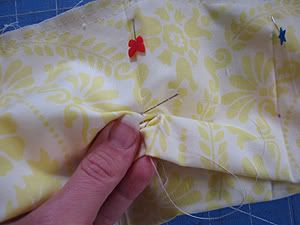
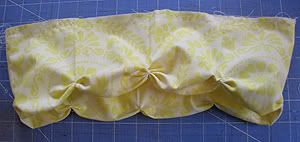
Now is a good time to go ahead and gather from the points to the folded edge. Using a hand needle and thread, make big stitches through both layers, which should be slightly shifted at that position. Use the thread to draw the fold up to the point. Secure the gather with several knots at the end of the thread.


Make the gathers at the other dots.


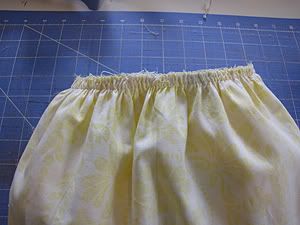
Pull the bobbin threads to gather the peplum and align the raw edges of the peplum with the bottom edges of the bodice. Arrange the gathering so that the seams and midpoints are in line.


Zig-zag stitch over the edges to "set" the gathers in place. Remove the pins and gathering threads.


Add the skirt as described on page 51.


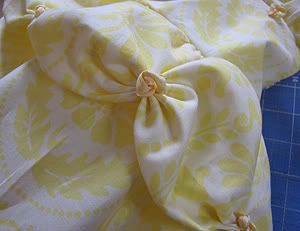
Optional - add embellishments to the gathering points on the peplum, and between the swags at the top of the bodice. I made simple silk ribbon roses as described in this tutorial, but you could use pre-made ribbon roses, bows, or even artificial flowers.


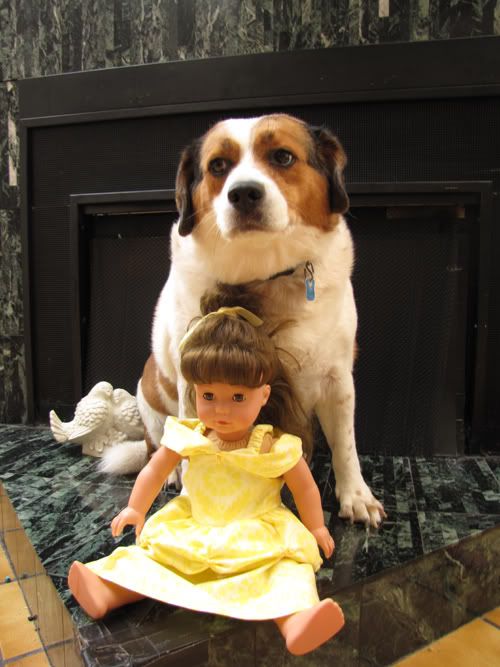
Now Beauty is all set for an evening with the Beast!

Doesn't Buddy look like he has a faraway romantic look on his face? He was actually eying my burrito over on the coffee table!