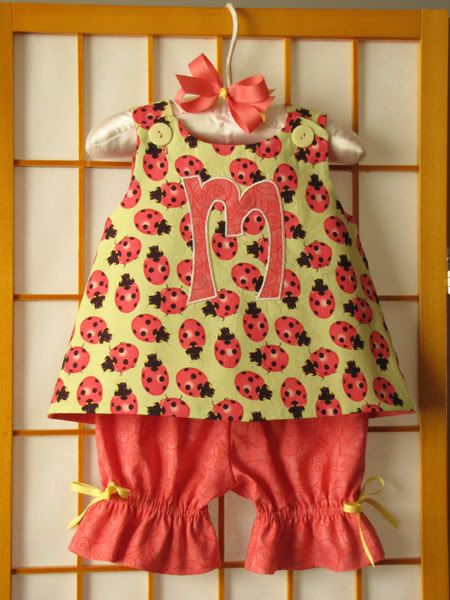
Earlier this month, I signed on to participate in March of the Tools over at Heather Bailey's blog. March has just about marched out of here, so I'd better start talking tools! I'm going to take the easy way out and feature a tool that I've already written quite a bit about - the ruffler attachment.

As the name suggests, this little contraption attaches to the sewing machine and transforms flat fabric into ruffles. It can be set to make tiny little gathers, or deep, precise pleats. For big projects like twirl skirts, pettiskirts, and window treatments, it can save many, many hours of thread (and hair) pulling.
My ruffler and I did not get off on the right foot (pardon the pun). I bought it from a small, local sewing machine dealership. The owner knew that I made lots of ruffly things, and she convinced me that I needed this miracle tool. She didn't have one that would fit my machine in stock, so she ordered it for me. In the week waiting period, I dreamed of all the things I was going to ruffle. At the time I was making doll cribs with ruffled bedskirts, so I set aside a gorgeous piece of silk dupioni for the maiden run (baaaad idea). When my attachment came in, I took it right home with the expectation that ruffles would be flying out of my machine in minutes. Ha ha ha. There were tears, broken needles, and plenty of expletives.
The instructions that came with the ruffler were pretty useless, so I went to the internet and googled phrases like "ruffler instructions" and "how to use a ruffler attachment." Now, I can usually find a fix for anything on the internet (including how to extract a washcloth from the toilet), but not a whole lot came up. I did manage to find bits and pieces of information in forums and in a handbook from the early 1900's. Between that and trial and error, I eventually figured the thing out.
I really want my customers to have the absolute best possible experience when sewing from my eBooks. When I wrote the Embellished Patchwork Twirl Skirt eBook, I was torn as whether to mention the ruffler attachment or not. I knew it could be a huge timesaver, but also a source of great angst. At that point, my ruffler was behaving, and I decided to go ahead and give it a mention in the eBook. In the months that followed, I got lots of questions from people who either a) were considering buying a ruffler and wanted more information or b) had already purchased a ruffler and were having problems with it. When I started my next ruffle-intensive eBook (the Portrait Peasant), I was again faced with the decision of plugging the ruffler. I opted to include it, but felt morally obligated to put together a guide to taming the thing.

The Ruffler Unruffled is available in the free section at YCMT. I love reading the testimonials and seeing how so many people have mastered the ruffler attachment. It is really a useful tool, and can make sewing boutique-style clothing so much easier. Since releasing the eBook, I've come up with a few more musings on the ruffler:
1) Watch your speed - I've found that my ruffler is very sensitive to stitching rate. The faster the speed, the tighter the gathers. Consistent speed is important for consistent ruffles. If you have speed control on your machine, use it. You can set it at a rate that gives nice even ruffles, but not so slow that you fall asleep during the process.
2) Eyeball it - I'll admit it...I almost never optimize my ruffler. I've used it so much that I have a pretty good idea of the ruffling factor just by looking at the gathers. I leave the tension on the low side so I can make post-ruffling adjustments (the "wiggle room" method), but I usually come up pretty close. This is really helpful when working with strips that are pieced from multiple fabrics. A few weeks ago, I made a twirl skirt that had fabrics with slightly different thicknesses and textures. At my regular 2X setting, the thinner fabrics would ruffle too tight, and the thick fabrics would hardly ruffle at all. I ended up using speed to vary the ruffling. I took it nice and slow through the thin fabrics, and sped through the thick ones, eyeballing the gathers as I went along and adjusting accordingly.
3) Keep the wrong side up - When working with pieced strips, bulky seam allowances can get stuck in the guide and stall ruffling. I've found that if I feed the strips in with the wrong side up, I have an easier time feeding the allowances through. Plus, it gives me much more control over the positioning of the allowances so that I can make them all lay in the same direction, giving the inside of the finished garment a neater look.
And finally, for those of you who don't have a ruffler, but are considering getting one:
4) Make some calls - I mention this in the eBook, but it is very important to get the right ruffler for your machine. The absolute best thing you can do is take your machine into a dealer and try before you buy. If this isn't an option, you can call your machine's manufacturer to find out if they make a ruffler for your machine. If they don't, that doesn't mean that there isn't a generic out there that would work for you (and even if they do, a generic could save you some $). There are lots of great sources for generic rufflers on the internet, including Allbrands and GoneSewing. These folks sell lots of attachments, so get in touch with them and ask which one to get for your machine. That said, there are some machines out there that just aren't ruffler friendly. My ruffler works so much better on my old cheapie machine than my fancy electronic version.
I'm still working away on the new eBook. I promise to share some sneak peeks before April gets here!


