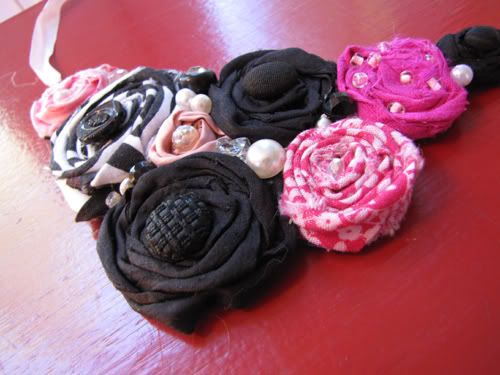
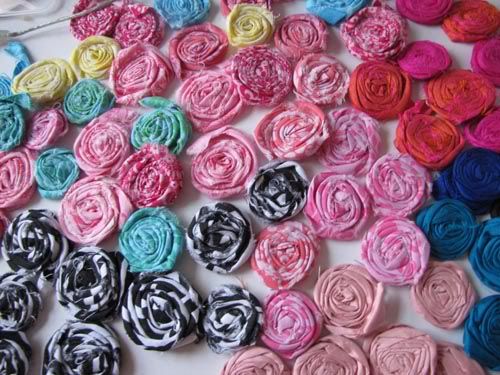
Since I was planning on making a dozen or so necklaces, I went ahead and made LOTS of rosettes. They don't take very long to make, and it is nice to have a "stash" to work from while creating. I used a mix of Sis Boom fabrics (mostly soft tonal prints, but I couldn't pass up the wild zebra stripe) and silk dupioni. The silk was very stringy, so it took a little more effort, but the resulting rosettes were so decadent. In addition to the rosettes, you will need:
Felt
Fabric-Tac glue
Thin needle and sturdy thread
Assorted beads, buttons, and baubles
Ribbon
Hot glue gun
A scrap of knit fabric
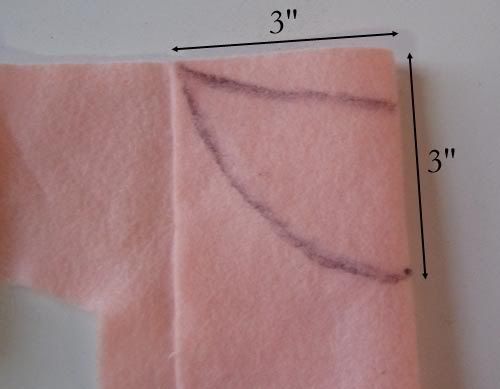
The first step is to cut the felt backing. I found a good, comfortable (yet still bold) size to be 6" wide by 3" long. I just folded the piece of felt in half lengthwise and cut half a crescent shape that was 3" wide by 3" long.
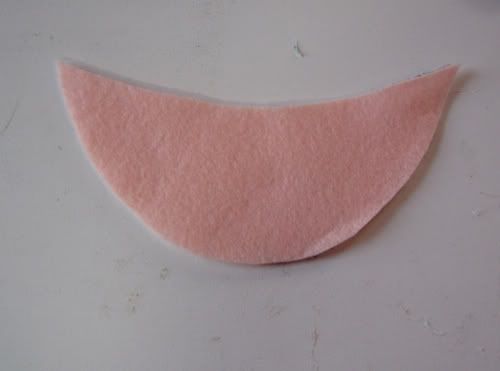
You can play with the shape on paper before you cut the felt...you might prefer something smaller, bigger, pointier, or even more asymmetrical. Just hold it up to your neck and see how you like it.
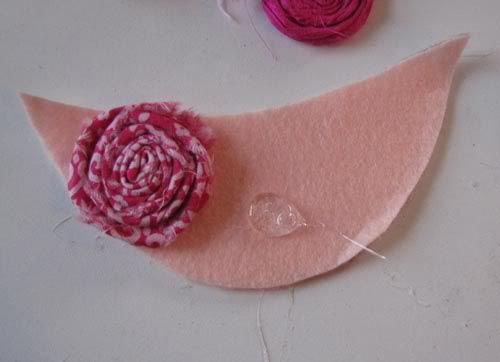
Now for the fun part...adding the rosettes! I like to use Fabric-Tac rather than hot glue at this point because it takes a while to set. I don't really have a plan when I start out, so it is nice to be able to move the rosettes around. Make sure to keep a warm, damp washcloth on hand so you can wipe off any glueblobs as that accumulate on your fingertips (those little boogers really stand out on black dupioni - ewww).
I made all of my rosettes pretty much the same size, but it adds so much more visual interest to use a mix of sizes.
I made all of my rosettes pretty much the same size, but it adds so much more visual interest to use a mix of sizes.
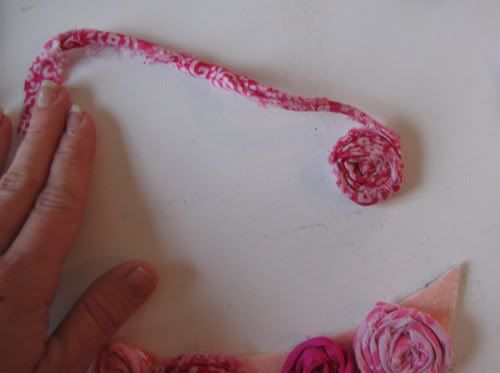
It is very easy to unroll the rosettes to make them smaller. Just unroll until you get the desired diameter, and clip away the excess.
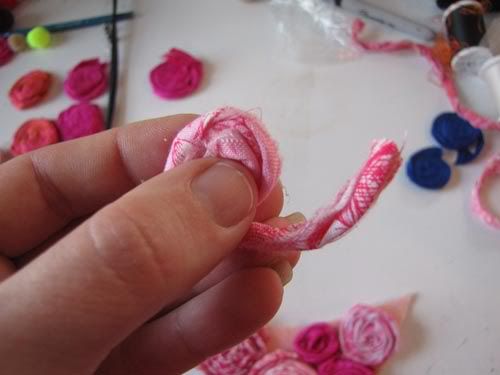
The cool thing is that the excess can be re-rolled into a second small rosette!
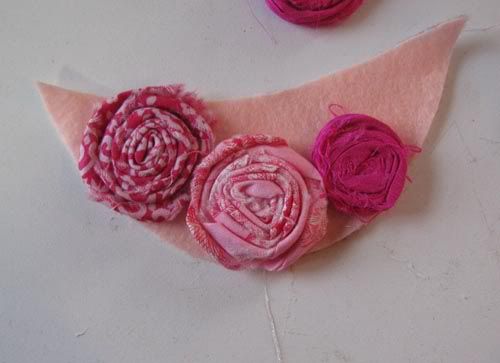
Glue the rosettes into place, covering as much felt as possible. Don't worry about small gaps between the rosettes, however. You can cover them with beads or buttons in the next step. Once you are happy with the rosette placement, let the glue dry.
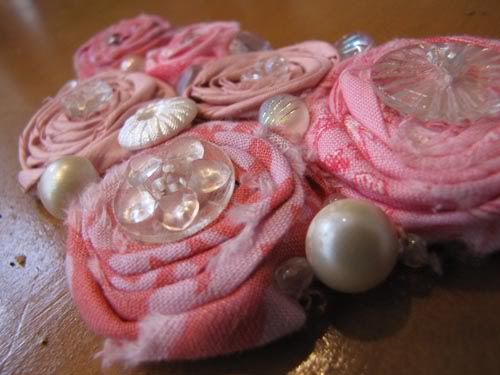
Now, grab your box(es) of beads, buttons, broken jewelry, etc., and start embellishing those rosettes! You could glue the embellishments into place with a very strong glue, but it is actually really nice to sit in a comfy chair and sew them . Plus, I just think the stitching gives a better feel and more durability to the piece. I also ran some extra stitches between the rosettes and the felt (out of sight) to really make sure the glued rosettes stay put.
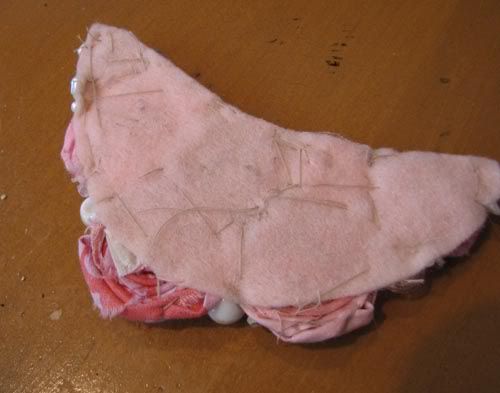
The back won't look too pretty, but that is OK because we are going to cover it up. First, though, we need to glue the ribbon to the back. I used silk ribbon because it is soft and nice and I have a ton of it. Satin or grosgrain ribbons would work well too - width and length are a matter of personal preference. I'd recommend starting with a yard and trimming down as needed.
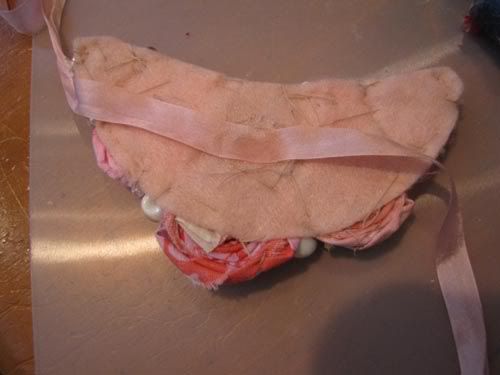
Hot glue the center of the ribbon to the center of the backing.
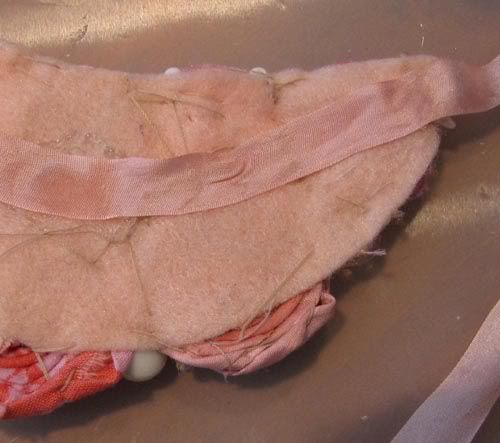
Make a line of glue from the center to the corner, and work the ribbon into place. Get it as flat and smooth as possible.
The last step is to cover the backing. I uses knit scraps for this because they are soft, flexible, and won't fray when cut. Cut a piece that is slightly larger than your backing.
The last step is to cover the backing. I uses knit scraps for this because they are soft, flexible, and won't fray when cut. Cut a piece that is slightly larger than your backing.
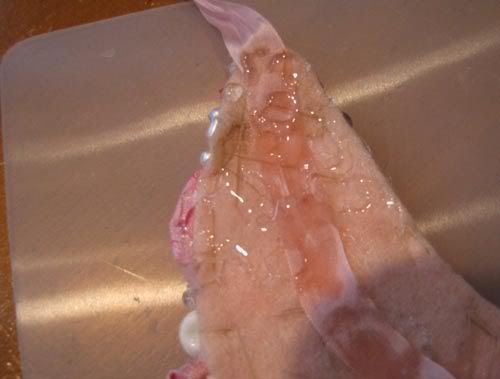
With hot glue, it is always best to work in small sections. This prevents premature setting and massive burns. Squirt a bit of hot glue on one corner of the backing.
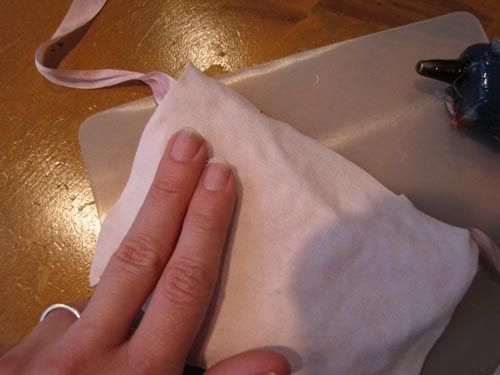
Place the knit fabric over the glue and gently press into place with your fingertips. When it is cool, pull back the fabric and apply glue to the backing. Repeat until the entire backing is covered with the knit fabric.
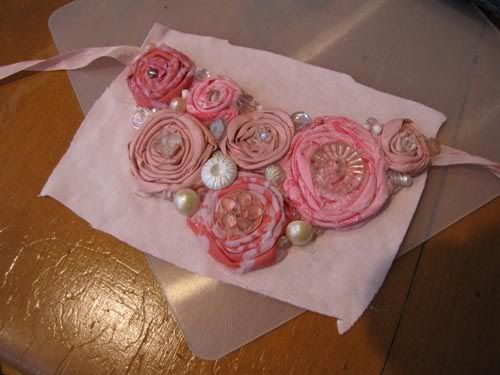
Check the edges to make sure the felt is attached securely. Do touch-ups, if needed. Also apply a bit of glue to any baubles or beads that seem loose.
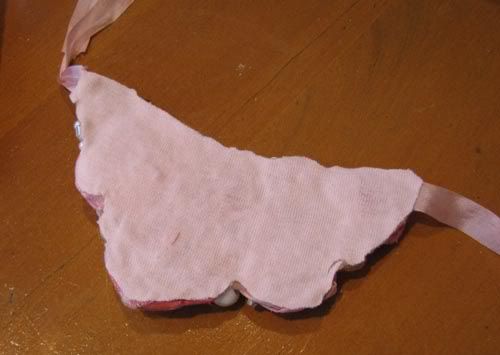
Trim the knit to the shape of the backing. If desired, tie some knots in the ribbon near the corners.
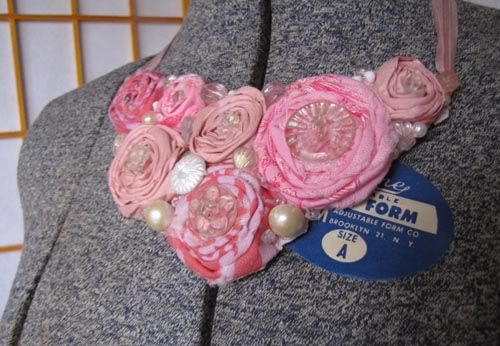
The necklace is ready to wear - simply tie around the neck! Can't you just see this with a little black dress or a v-neck tee? Here is an article that gives some great tips for wearing these fashion statements!

10 comments:
Thanks for the inspiring bib necklace tutorial. I really like the use of textiles in jewelry design. Time to assess my "stash" to make my own version!
What a cool tutorial Carla! Thank you so much!!!!
I JUST looked for a tute on this last night. In a smaller size, I think Emily would have so much fun with these! Thanks for the tute.
Very pretty...and it doesn't seem as hard as I thought it would be. Thanks for the tutorial!
What fun! You know I was looking for reasons to make more of those fun rosettes! I'm looking forward to trying one!
Oh so cool! I love it! It is going on my list of to do's....someday :-)
I have not forgot about you, btw, just got caught up in Holiday things. I will be sewing up a storm real soon :-)
((hugs)) rosie/the fabric shopper
I love those!
love these roses--thanks.
Thanks for the tut you are right it does make a wonderful necklace...appreciate it.
This is genius! I'm gonna make this for my little girl. Thank you.
Post a Comment