Saturday, April 17, 2010

PROOF(s) that I have been working...


Photobucket

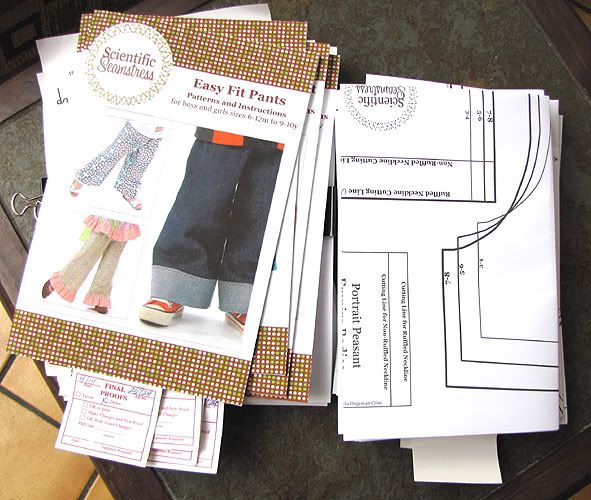
Ok, I'm ready to spill the beans!!! For the last month or so, I've been reformatting some of my best-selling eBooks to print as physical paper patterns. Moving around words and graphics gives typos the opportunity to sneak in, so I have been doing tons of proofreading. This has meant lots of time staring at the computer screen and pouring over stacks of printouts. I was SO relieved to send them to the printer earlier this week. It all seemed like a distant dream, and then yesterday UPS delivered proofs - WOW! I'm so excited to hold the booklets in my hands...I can't stop flipping through them. Now I just need the focus to do a final check for boo-boos, take a deep breath, and sign off on the proofs!

I'll do a longer post with all the details about the paper patterns when I have the goods in hand. Please put any questions you may have in the comments section and I'll address them in that future post, or email me directly (carla (at) scientificseamstress.com). I honestly didn't think I would ever make this leap, but there are so many people that prefer the look and feel of a paper pattern, so I wanted to provide a product that incorporates all the detail of an eBook, but in the more traditional form. That said, I LOVE publishing in eBook format, and will continue to introduce all new patterns as eBooks :) .
Photobucket

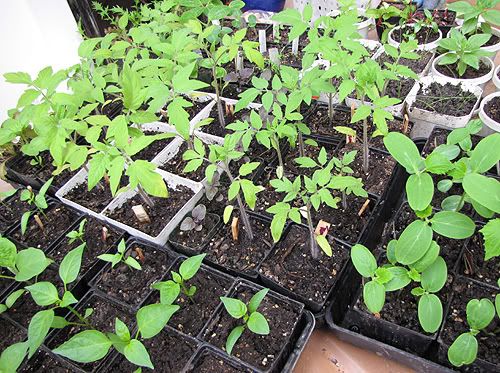
I've been spending my "break" time tending to the plants. The seedlings I started inside are getting big, so I need to start letting them spend some time outside so they can harden off. Our average last frost date is supposedly next week, but I've heard it is best to wait and plant the tender stuff after Mother's day. We'll see if I can hold out that long!

Photobucket

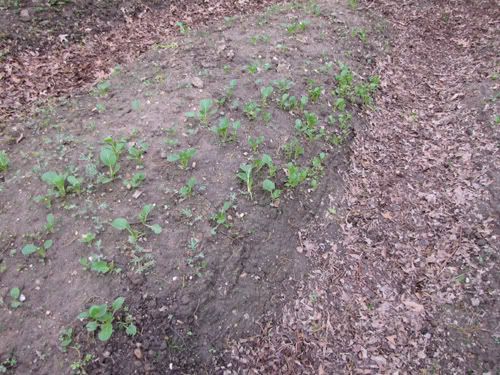
The babies from the seeds I sowed outside are coming along nicely, too. They are small compared to the plants inside, but they are very sturdy and healthy. In just a few short weeks, we'll be enjoying our first salad of the year (and we will probably be doing it outside, because the dining room will be packed full of patterns - eeeek)!

Saturday, April 3, 2010

Finery in a flash!


Photobucket

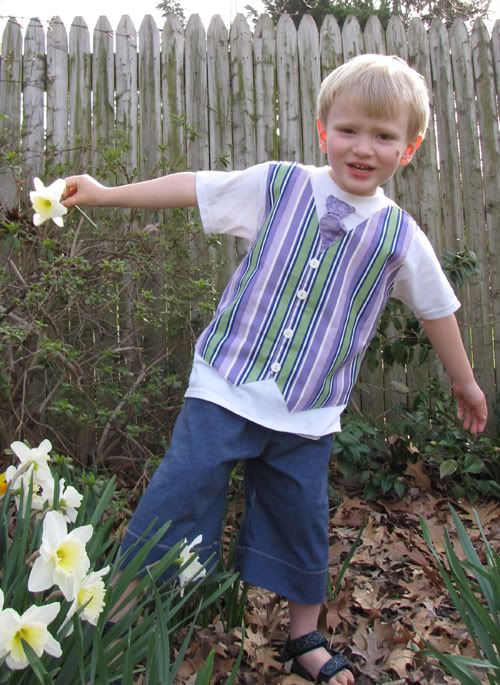
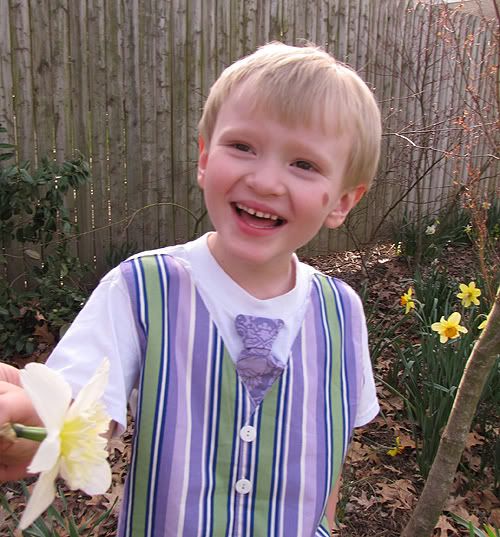
I really wanted to make Louie a dapper outfit to wear on Easter Sunday...something special and neat looking for church, but comfy for egg hunts and lounging around after a big dinner. He is five...definitely a big boy, but still pretty cooperative when it comes to clothes. I've been too busy to go all out, but knowing this might be my last chance to put him in pastels, I whipped up something sweet. The "tie" is made from a simple strip, and the "vest" is sewn right to the shirt.

Photobucket

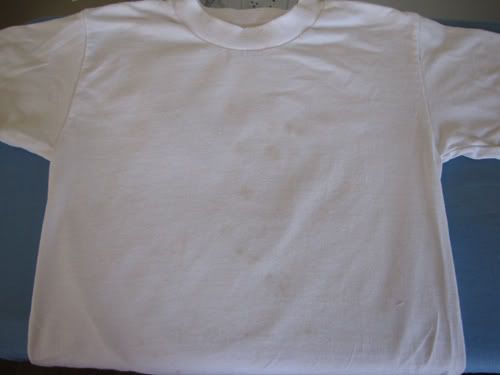
I was originally going to applique a bunny on a shirt, but the only light colored tee I had on hand was this white one, which was pre-stained with chocolate. I probably could have bleached it, but that would take effort and I'd invariably ruin my own clothes in the process. I opted to cover the stains with the faux tie and vest. Here is how I did it:

Photobucket

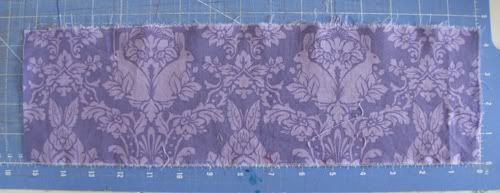
The tie started out as a 4.5 x 15" strip of bunny fabric (from Tula Pink's awesome Full Moon Forest Collection).

Photobucket

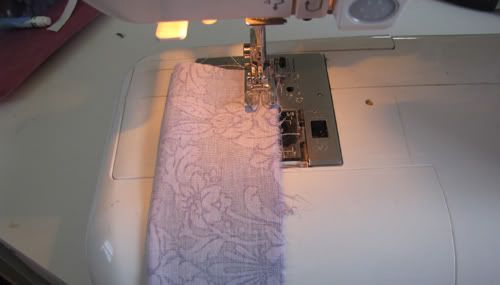
I folded it in half lengthwise, right sides facing in, and stitched 1/4" from the long raw edges.


Photobucket

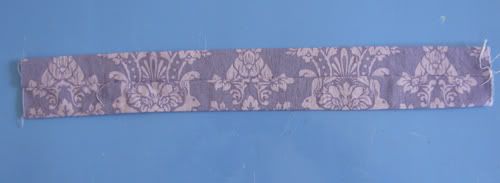
I turned it right side out, arranged the seam so that it was in the center of one side, and pressed.


Photobucket

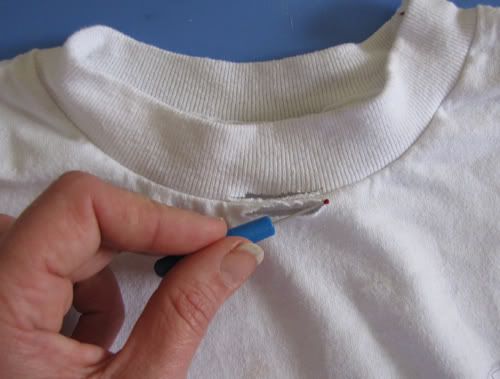
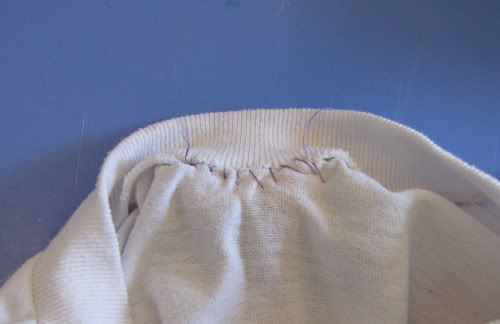
I used the seam ripper to make slits in the neckline (one above the seam and one below the seam). Now the shirt is looking really trashy!

Photobucket

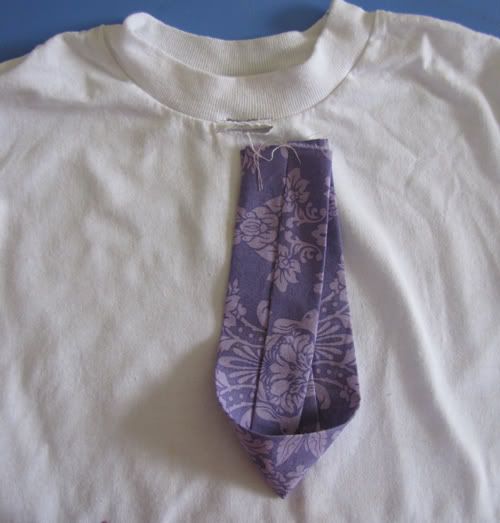
I folded the "tie" to make a point as shown in the picture above.


Photobucket

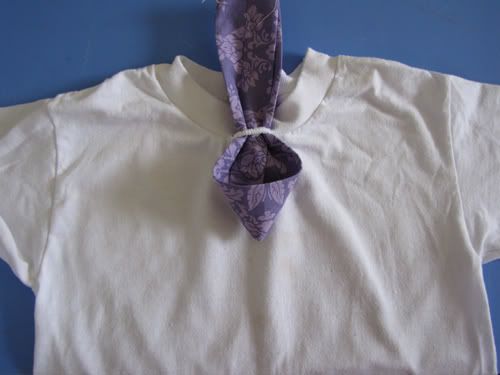
I slipped the tie through the loop formed by the slits, then brought the ends down through the point.


Photobucket

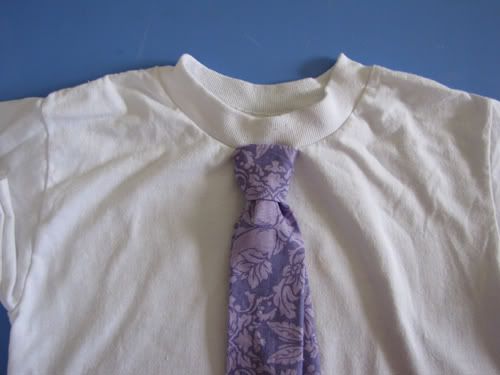
Voila - a faux Windsor knot!


Photobucket

After arranging the knot to my liking, I whipstitched the slits together, catching the layers of the tie fabric so that the knot would stay put.


Photobucket

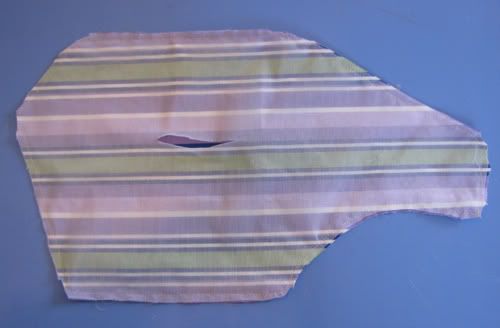
The vest is essentially a big, 2 piece applique made from awesome Sis Boom stripes and fusible tricot interfacing. I used my Festive Vest pattern, but you could use any vest pattern, or even draw your own to fit the shirt. I cut 2 mirror image pieces from fabric, and 2 mirror image pieces from the interfacing. With the fusible (rough) side of the interfacing facing the right side of the fabric, I aligned the edges of the facing with those of the fabric. I stitched all the way around the pieces, 1/4" from the edges. I trimmed the allowance around the points, and made a small slit in the center of the interfacing.


Photobucket

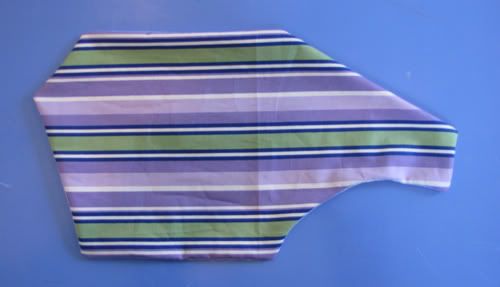
I turned the pieces right side out through the slits in the interfacing. This put the fusible side of the interfacing on the outside back of the vest.


Photobucket

I placed the pieces on the shirt (right hand side overlapping the left for boys), and fused them into place on the front of the tee.


Photobucket

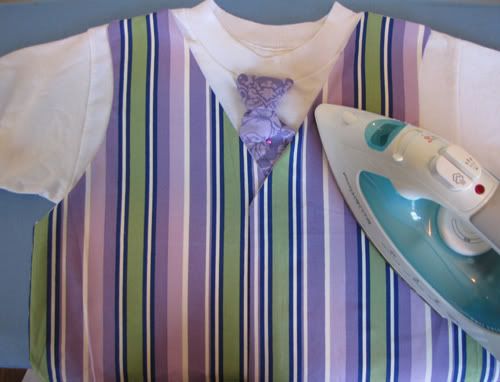
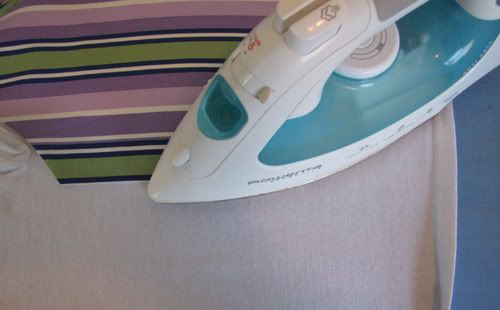
There were overhangs at the side, so I slipped the tee over the ironing board to press those into place.


Photobucket

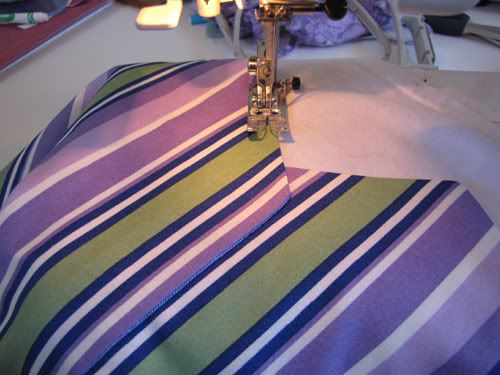
I edgestitched along the exposed edges...


Photobucket

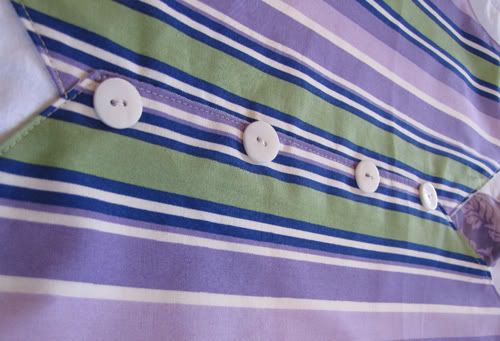
...and added buttons as a finishing touch (so nice to skip the buttonhole step)!

Photobucket

The shirt took me about 30 minutes to make, and it probably would have gone even faster if I hadn't been taking pics along the way. To complete the outfit, I spent another 30 minutes and I made some Easy Fit Pants out of a crisp, light denim. Now my little man is all set for a hoppin' good time!

Thursday, April 1, 2010

Wandering outside...

I know I haven't posted any decorating projects lately, but I wanted to let you all know that I haven't totally abandoned my New Year's resolution to make my home a nicer place. I've just refocused my energies outside. After such a heinous winter, I NEEDED to get out in the yard as soon as spring sprung.

Photobucket

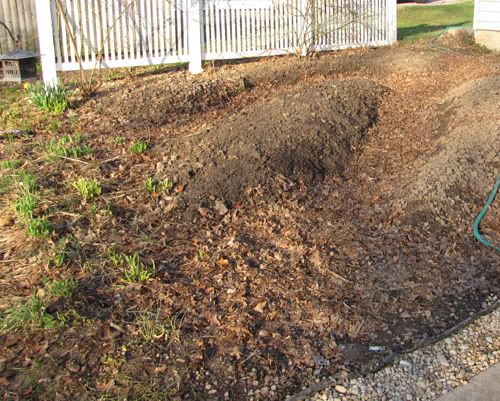
The very first thing I did was clear the veggie beds to make way for new plantings. The side bed (pictured above) was a big mess. It used to be a rose garden, but most of the bushes had been transplanted elsewhere. Last year we rototilled, plopped in squash and some greens, and watered every now and then. We didn't actually go into that garden much after it was planted because the remaining thorny rose bushes would attack us. As a result, the veggies succumbed to disease and weed overgrowth by mid-season. This year, I moved the rest of the roses (they put up a fight, believe me) and hand-dug some raised beds. The pathways are mulched with shredded leaves, so hopefully that will encourage us to go out and give the plants a bit of attention every now and then.

Photobucket

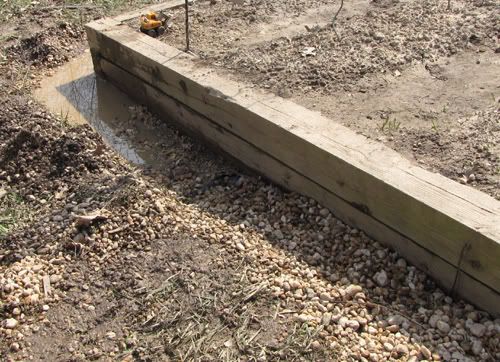
The main bed was in pretty good shape this year, except for the fact that the surrounding gravel was choked with dirt and weeds. I went a little crazy and dug out all of the rocks, washed them, then put them back over a fresh layer of landscaping cloth. It was A LOT of work, and I don't think I have ever been so muddy in my whole life. Hopefully it will stay weed-free for a few years.

Photobucket

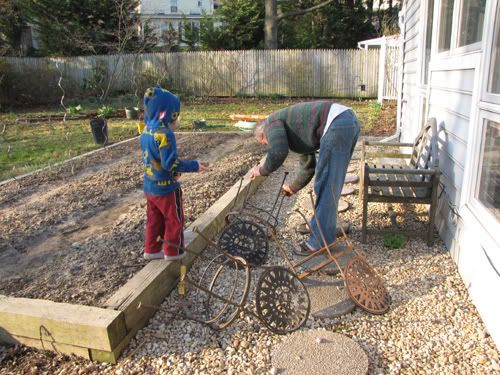
While I was wallowing in filth, Del and Lou neatly worked on their own outdoor decor project. We found these seatless, wrought iron chairs in a free pile about seven years ago. After moving them three times, we've finally decided to make them functional. The guys cleaned them up and spray painted them a really nice shade of green - I'll get pictures as soon as the seats are installed.

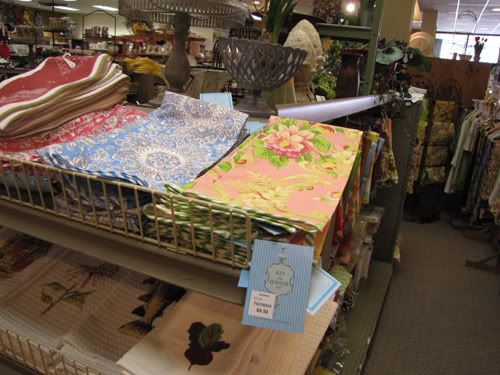
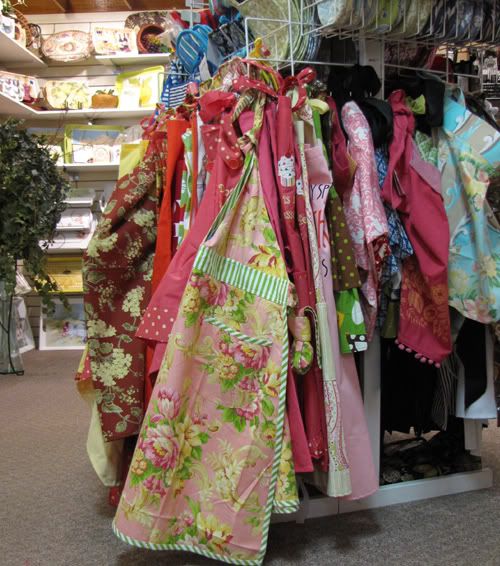
Speaking of paint, Stebbins Anderson is a great shop that is right around the block from us...it is part hardware/garden shop, part upscale boutique. It is very convenient for things like bolts and plant stakes, so I'm always running (ok, fast-walking) over there. I love to visit the upstairs (the fancy part of the store) to soak in inspiration from all the gorgeousness. I was absolutely THRILLED when I found out that they were carrying Jennifer Paganelli's Sis Boom aprons and table goodies! I had to trot right over and get some pics!

Photobucket


Photobucket

PATTERN UPDATE: The Sis Boom Marlo Top is almost here, I promise! We've been waiting for the weather to cooperate so we could get just the right pictures for the cover. If you want some sneak peaks, head on over to Jennifer's blog! I also have some exciting stuff in the works for my Scientific Seamstress line of patterns, but I'm not quite ready to spill...I promise to fill you in soon!