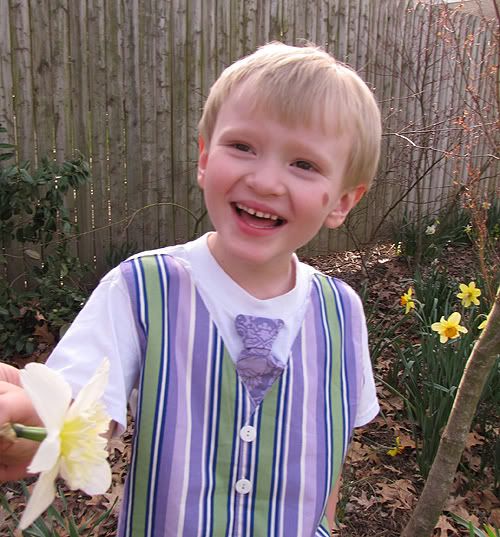
I really wanted to make Louie a dapper outfit to wear on Easter Sunday...something special and neat looking for church, but comfy for egg hunts and lounging around after a big dinner. He is five...definitely a big boy, but still pretty cooperative when it comes to clothes. I've been too busy to go all out, but knowing this might be my last chance to put him in pastels, I whipped up something sweet. The "tie" is made from a simple strip, and the "vest" is sewn right to the shirt.
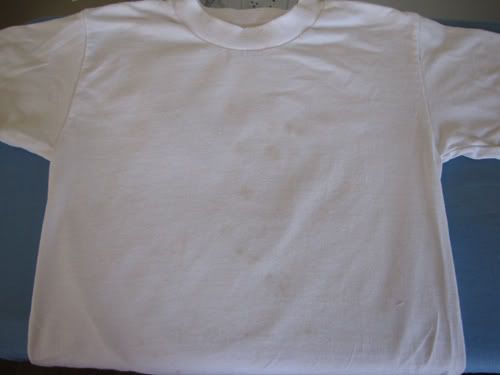
I was originally going to applique a bunny on a shirt, but the only light colored tee I had on hand was this white one, which was pre-stained with chocolate. I probably could have bleached it, but that would take effort and I'd invariably ruin my own clothes in the process. I opted to cover the stains with the faux tie and vest. Here is how I did it:
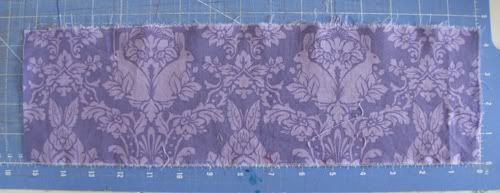
The tie started out as a 4.5 x 15" strip of bunny fabric (from Tula Pink's awesome Full Moon Forest Collection).
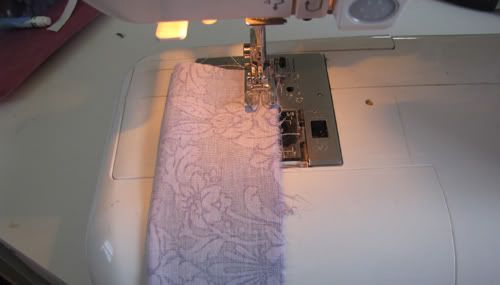
I folded it in half lengthwise, right sides facing in, and stitched 1/4" from the long raw edges.
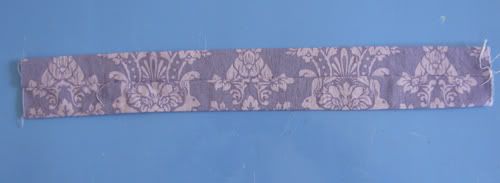
I turned it right side out, arranged the seam so that it was in the center of one side, and pressed.
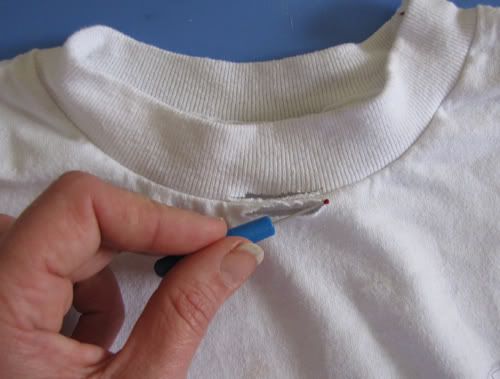
I used the seam ripper to make slits in the neckline (one above the seam and one below the seam). Now the shirt is looking really trashy!
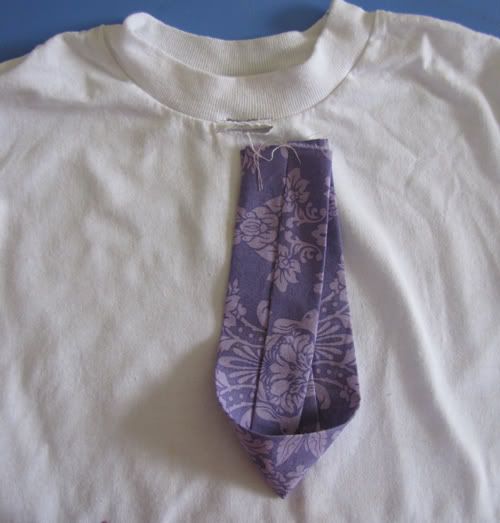
I folded the "tie" to make a point as shown in the picture above.
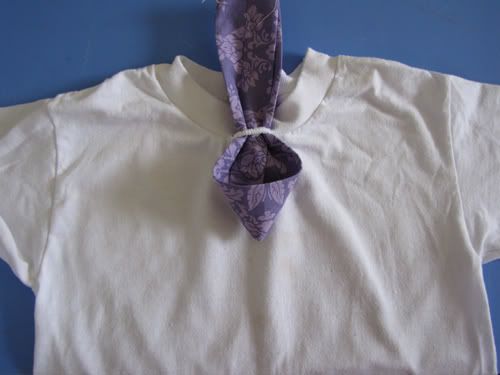
I slipped the tie through the loop formed by the slits, then brought the ends down through the point.
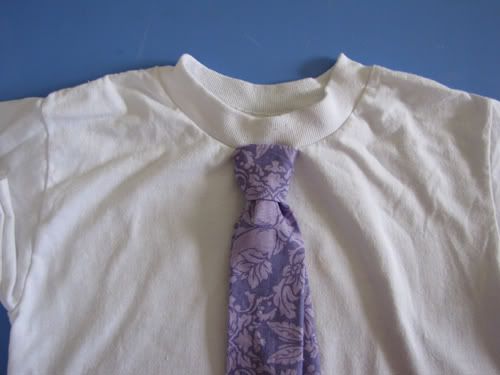
Voila - a faux Windsor knot!
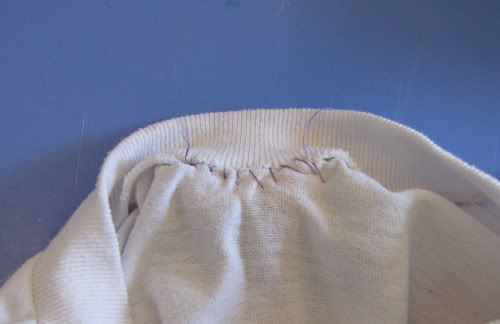
After arranging the knot to my liking, I whipstitched the slits together, catching the layers of the tie fabric so that the knot would stay put.
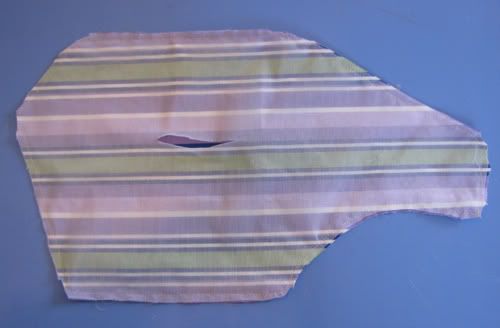
The vest is essentially a big, 2 piece applique made from awesome Sis Boom stripes and fusible tricot interfacing. I used my Festive Vest pattern, but you could use any vest pattern, or even draw your own to fit the shirt. I cut 2 mirror image pieces from fabric, and 2 mirror image pieces from the interfacing. With the fusible (rough) side of the interfacing facing the right side of the fabric, I aligned the edges of the facing with those of the fabric. I stitched all the way around the pieces, 1/4" from the edges. I trimmed the allowance around the points, and made a small slit in the center of the interfacing.
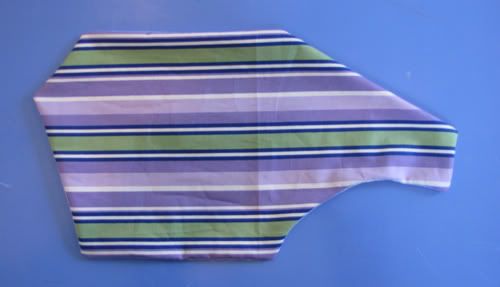
I turned the pieces right side out through the slits in the interfacing. This put the fusible side of the interfacing on the outside back of the vest.
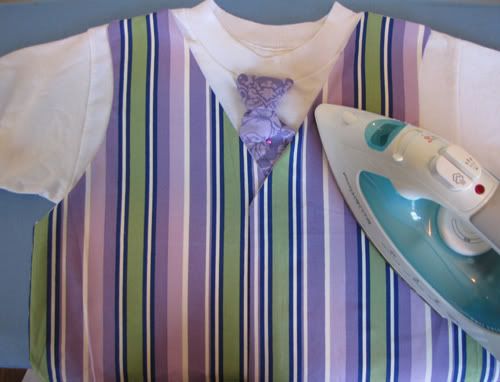
I placed the pieces on the shirt (right hand side overlapping the left for boys), and fused them into place on the front of the tee.
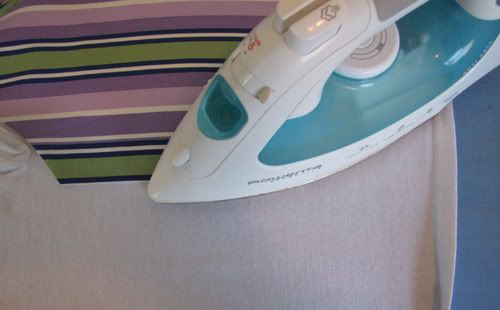
There were overhangs at the side, so I slipped the tee over the ironing board to press those into place.
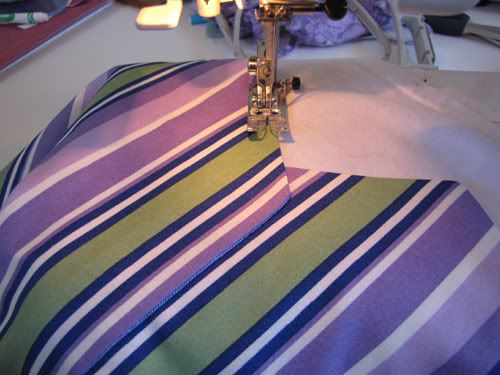
I edgestitched along the exposed edges...
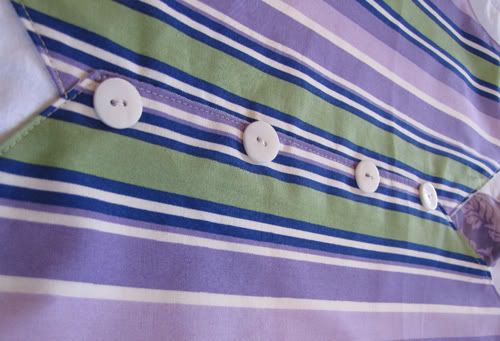
...and added buttons as a finishing touch (so nice to skip the buttonhole step)!
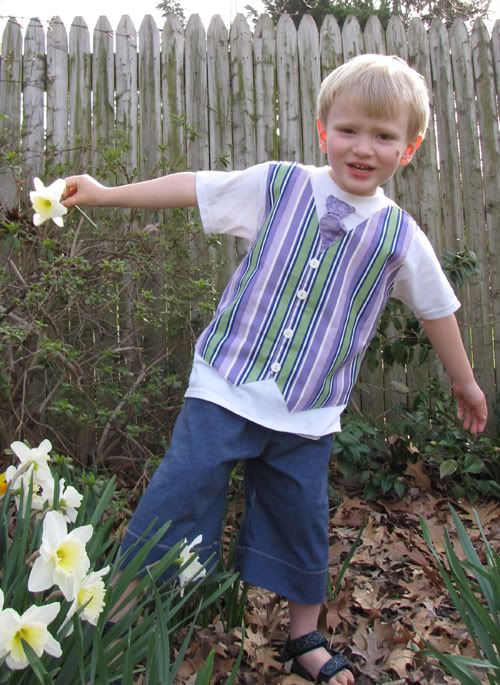
The shirt took me about 30 minutes to make, and it probably would have gone even faster if I hadn't been taking pics along the way. To complete the outfit, I spent another 30 minutes and I made some Easy Fit Pants out of a crisp, light denim. Now my little man is all set for a hoppin' good time!

19 comments:
I want to hug that boy up!!!!!!!!!!
and for boys the most important thing is that it's comfy..out of the park once again...Happy Easter to my Louie and the Easter Bunny of course!!!
I don't think Louie or the outfit could be any cuter!!!! I love the built in vest...perfect for the day and I bet it is comfy to wear. I gotta remember to buy some soft denim...perfect for making adult and children's capris and shorts for that matter. Thanks Carla....Happy Easter!!!!
That is absolutely adorable!
Absolutely amazing! You are the queen of clever and he looks amazing!
Adorable!! I just might have to whip one up for Little Man tonight!
GENIUS! As always!
And how cute is that little man! He's getting so big!
Oh My - that is adorable!! Louie - you look so cool!!!
Carla ..you are amazing girl! Louie is such a cutie and that little vest shirt is just perfect! Thanks so much for sharing your talent!
Happy Easter and many Hugs,
Suzann
Love it! As a Mom of a boy myself I am so happy to see this tutorial. Thanks for sharing.
Thank you for sharing this great tutorial! You patterns are amazing! I just finished up 2 "Precious" dresses for my girls to wear for Easter. I couldn't be happier with how easy your patterns are to use and follow!
How cute is that! You are so stinkig creative! And that Louie is precious. My 9 year old JUST might go for that shirt. Maybe not pastels. But he is an out of the box thinker. I may run the idea past him.
What a great look you created here!
Louie looks so cute! And he perfectly matches my kids in their Easter outfits! (I'll get photos eventually!) My Lu already thinks your Lou is his "mini me" LOL. You are so clever Carla!
this would be AWESOME for a little girl (I have the fabric waiting in my stash ;)) w/ a pleated perfectly preppy skirt!!! Very PUNK ROCK!
I have awarded you with the Sunshine Blog award!
http://www.coveredbydesign.com/2010/04/sunshine-blog-award.html
ok want to see table Del built!!!!
Wonderful. I love it! You are absolutely amazing.
wow, a very smart idea and cute to boot! to get some more wonderful good out of a stained, but otherwise good tshirt that's fun to wear. thanks for doing the tute.
Post a Comment