Thursday, January 29, 2009

Shaping Up

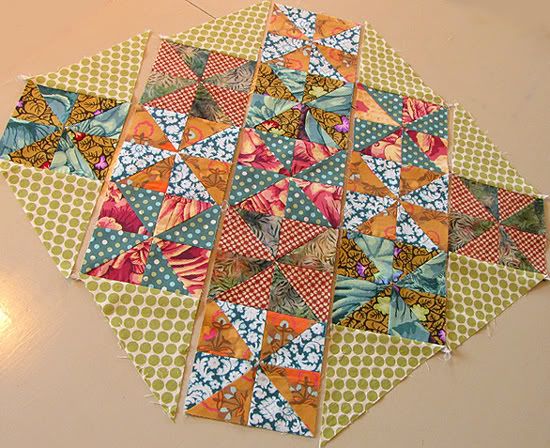
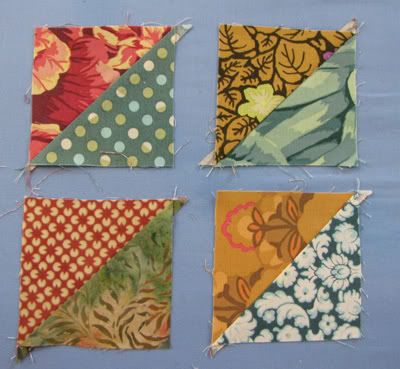
Kim posted two more steps for the YCMT Sew-Along - squaring up (again) and piecing. For the piecing step, I went with the option of setting the squares "on point" and filling in the sides with triangles. To keep things simple, I used the same happy dotty fabric for all of the triangles. I love how it sets off the blocks!

Photobucket

I'm still working away on the eBook updates! At this point, I'm mostly reformatting and sewing some springy sets for models. Hopefully I will have several ready to re-release next week!

Friday, January 23, 2009

Sash it up!

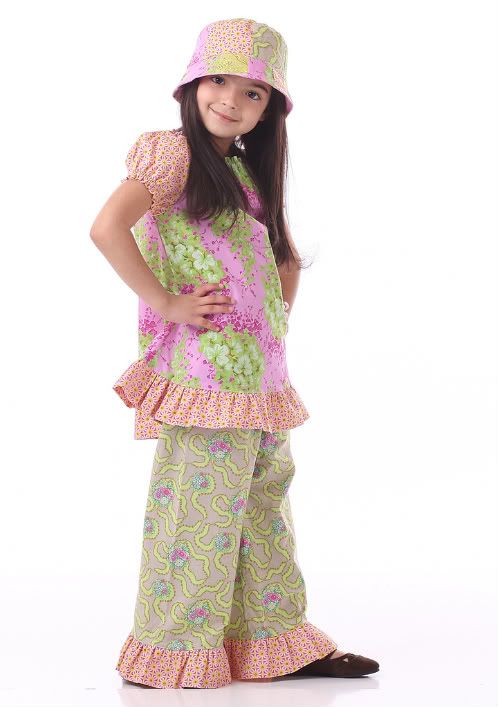
After I drafted the elongated Portrait Peasant patterns last week, I made a some test tops. This springy one went out to an adorable little model (along with a pair of ruffled Easy-Fit Pants and a Patchwork Bucket Hat), and I am beyond thrilled with the pictures:

Photobucket


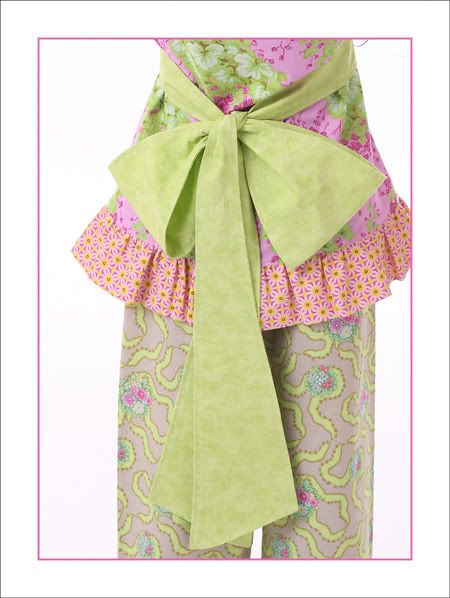
My friend Shannon suggested that I add instructions for a sash. I thought it was a great idea, but had to admit that I was "sash challenged." The sashes I've made have either been too big or too wimpy for my liking. My ideal sash would have a big pretty bow and a nice looking belt. I decided to do some experiments with different widths of fabric. What I found was that the loop part needed to be wider than the belt part to get the look I was after. This is what I ultimately came up with - back view:

Photobucket


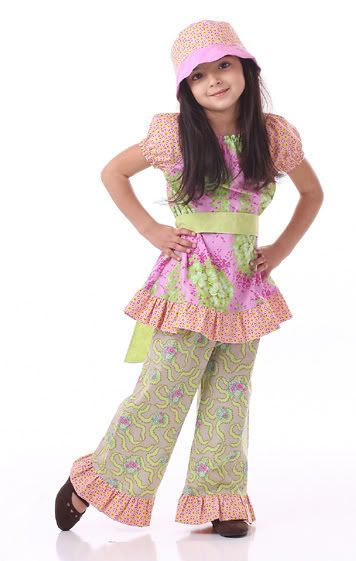
...and front view:


Photobucket

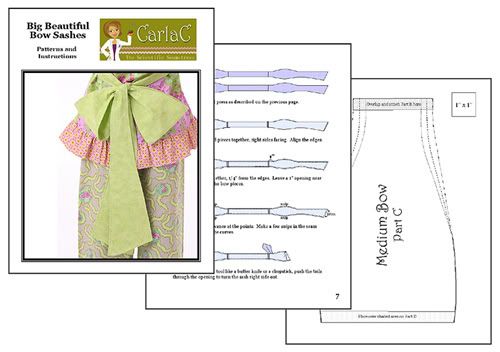
My original plan was to write up my findings and post them "tute" style here on the blog. After illustrating 10 pages of instructions and drafting 3 sizes of bows (with cutting lines for 3 belt sizes each), I decided to put everything together in eBook format:


Photobucket

You can download it for FREE at YouCanMakeThis.com. The belt part can be custom sized, so you can tie bows around just about anything. I'm going to make a set of sashes to spiff up my dining room drapes. I might even make one to wear with a long denim skirt that I have hanging in my closet.


Friday, January 16, 2009

Bathed Blocks

Two more steps have been posted for the YCMT sew-along - squaring-up and piecing. My half-square triangles are now pretty pinwheels!

Photobucket

I had to skip the squaring-up step. A little gremlin threw all of my blocks in a hot bath that was intended for me. Instead of luxuriating, I spent the next half hour carefully laying my blocks out on towels. The good news is that the blocks were still nice and flat (and quite clean) after the incident. The bad news is that they were about 1/4" smaller. Despite the shrinkage, the pieces came together nicely.

My points aren't perfect, but I don't think it will be noticeable at all in the finished quilt. Besides, it is going above my bed - I don't think it will get that much up-close scrutiny. I'm really enjoying this sew-along. You know how some people get into a book and can't put it down until the last page? I'm like that with quilts etc. It makes me very grouchy, and by the time I'm finished, I'm sick of the thing. Doing it a bit at a time is so much more relaxing!

Thursday, January 15, 2009

Portrait Peasant Perfection

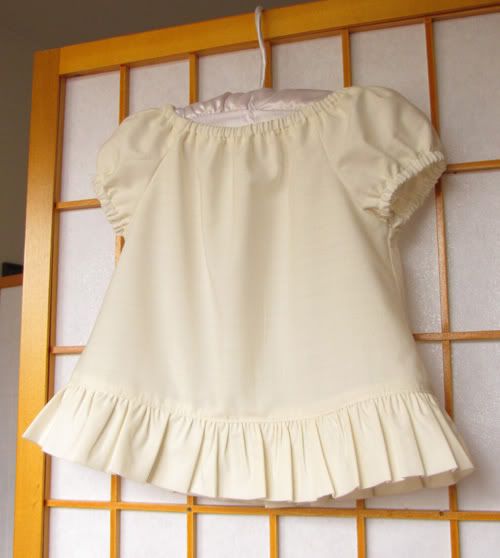
Time to showcase another update! This time the Portrait Peasant is in the spotlight. The original eBook included patterns and instructions to make a "babydoll" style peasant with several different skirt options. Now, in addition to the empire-style bodice pattern, an elongated top-length bodice pattern is included. The sides of the new bodice are flared, and the base has a gentle curve, giving an a-line shape to the finished garment. Instructions for finishing the top with a hem or a ruffle are included. Here is a ruffled one that I made as the final piece of the baby gift I've been working on:

Photobucket


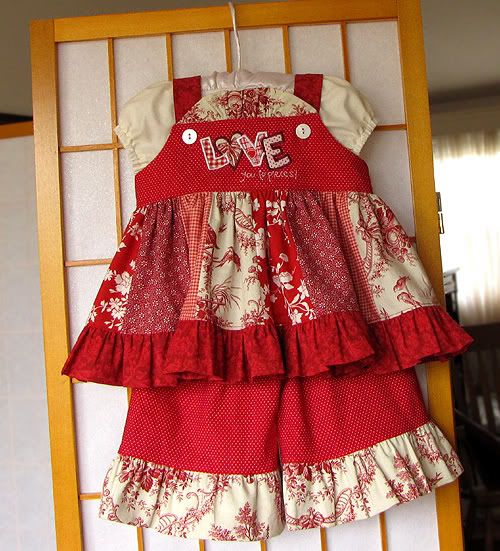
And here is the completed set:

Photobucket

I'm actually going to meet the recipient this weekend! I have a few other little things that I am going to finish up for her today. Babies are SO much fun to sew for (especially those of the female variety)! I just love making these sweet, ruffly confections. My funny friend T refers to this jumper/peasant/pants combination as the "Trifecta." In her honor, I've put together a new bundle pack with all of these updated eBooks.

Monday, January 12, 2009

Stripwork Rework

The updated version of the Stripwork Jumper eBook is now available on YCMT!

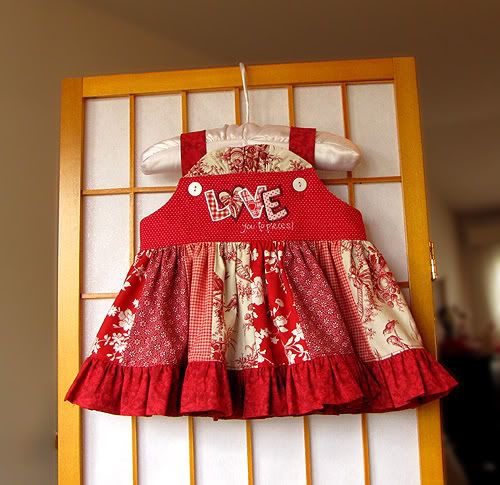
As with the Easy-Fits, I added size 6 months for the little ones. Here is the tiny test jumper:

Photobucket

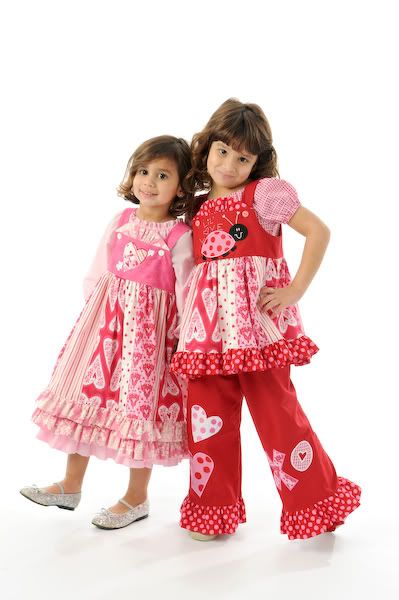
The "Love You To Pieces" applique is by the talented Kris of Starbright Designs. This design couldn't be more perfect for the jumper! The size is just right for the itty-bitty bodice, and the "pieces" theme ties in with the stripwork on the skirt. Kris also digitized the adorable designs on the jumpers that these cuties modeled for the new eBook cover:

Photobucket

So besides an extra size and a new look, what else did I do to this eBook? The answer is LOTS. I wrote this eBook when I was still offering paper versions, so I tried to keep the page count down. All the steps were in there, but they were more condensed than my current style. So I fleshed things out a bit, adding details and diagrams where I felt they were needed.

I worked in directions for underlining the bodice. Underlining adds so much body and stability, which is really needed to support the weight of the skirt. Also, I've noticed that the neckline ruffles have a tendency to give in to gravity in the larger sizes. I resized them a bit, and gave a much more in-depth description of how to add them. Between that and the underlining, your ruffles will behave and stay upright now. In addition, I included dimensions/instructions for making a solid skirt. It is a modification I've seen made many times, and it so fast and easy to "whip up."

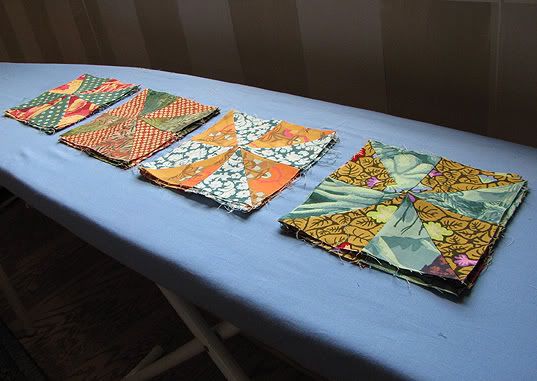
In other news, Kim just posted a new step for the Scrappy Quilt Sew-Along! Here are some of my squares:

Photobucket

So far this hasn't been much work at all, and I'm learning some new approaches to quilting. I'm looking forward to the next step!

Saturday, January 10, 2009

Handing Out Roses

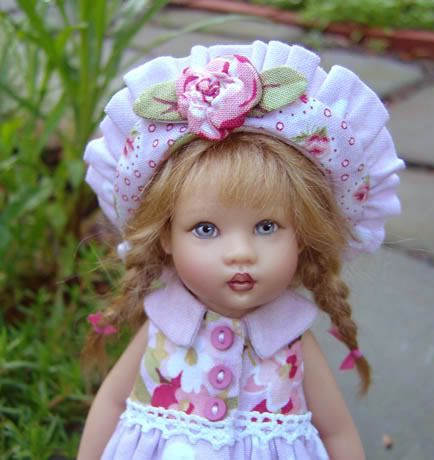
In preparation for Valentine's Day (and to break up my eBook update posts), I'm going to share some of my favorite rose-making methods. This week's rose is made with a simple needle sculpting technique. Here is an example on a tiny hat I made for 7.5" tall Riley Kish.

Photobucket

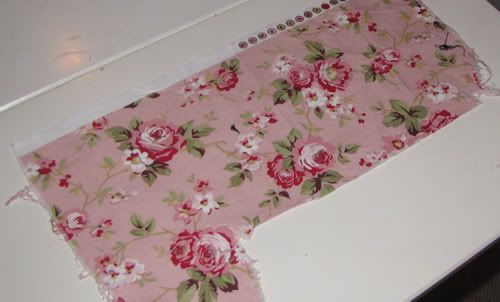
The fabric is from a line called Hannah Bella by Robyn Pandolph. It is an extremely lovely collection of shabby chic roses and coordinates. It is out of print, and very hard to find. I still have a few precious scraps in my stash.


Photobucket

This technique takes advantage of the detail in the floral print. Choose a fabric with roses (or any other full, open flower) that are 2" wide or larger. Keep in mind that the finished rose will end up less than half the size of the original.

Photobucket

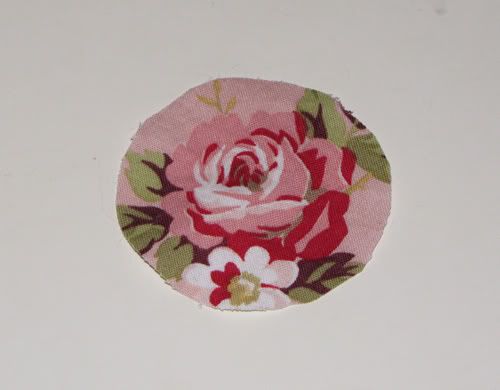
Cut about 1/4" from the edge of the chosen rose. Don't worry about leaves or any other background elements - they won't show in the finished rose.

Photobucket

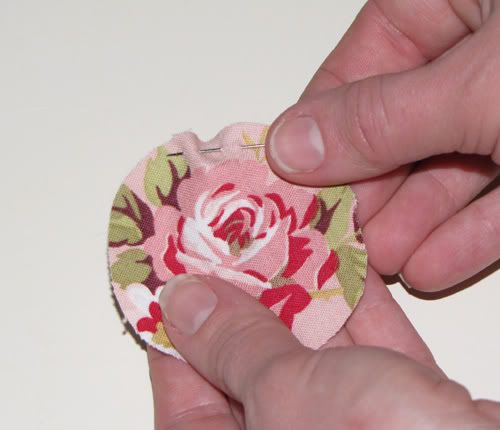
Run a basting stitch around the perimeter with a hand needle. Center the stitching between the edge of the rose and the edge of the fabric.


Photobucket

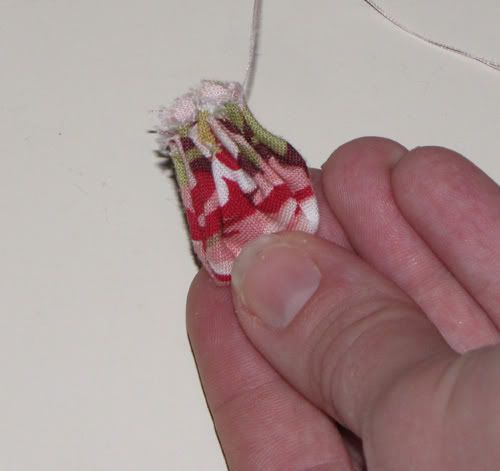
Pull to gather like a tiny drawstring pouch.

Photobucket

Wrap the thread around the site of the gathering several times. Run the needle through the allowance as shown above and tie off. For a small rose like this, I recommend trimming the allowance a bit .

Photobucket
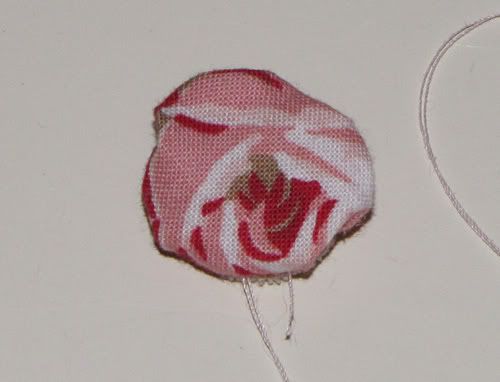
Arrange the pouch so it looks like a little pillow with the gathered section in the center back.


Photobucket

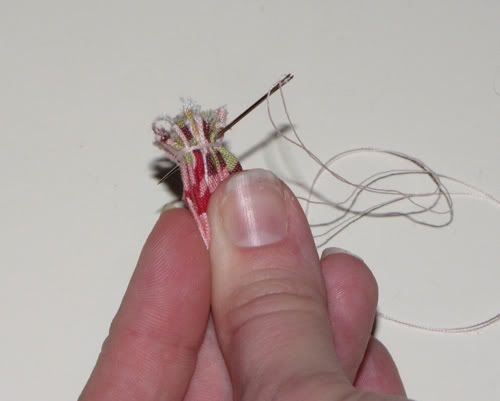
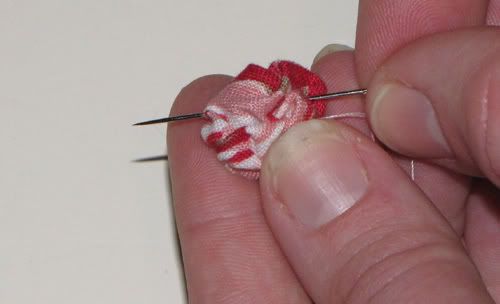
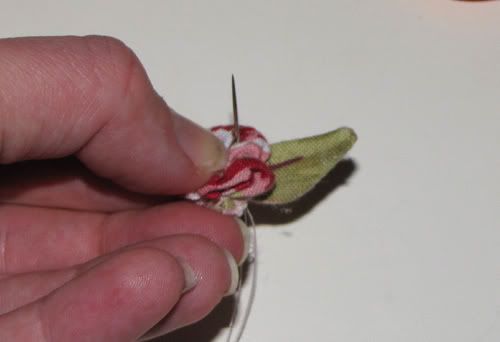
Wad the top part of the fabric between your fingers. Arrange to your liking, and run the threaded needle back and forth through the wrinkles to hold the shape. Go from side to side and up and down, placing the stitches inside the little folds.

Photobucket

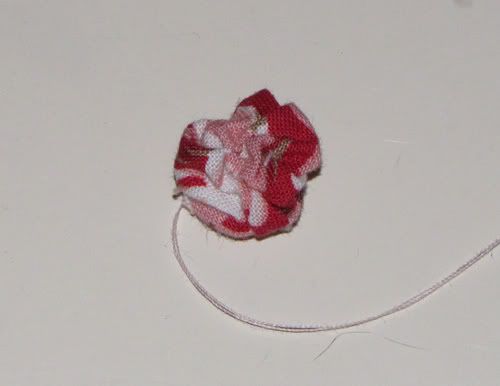
The flower is finished. The next step is to make the leaves.


Photobucket

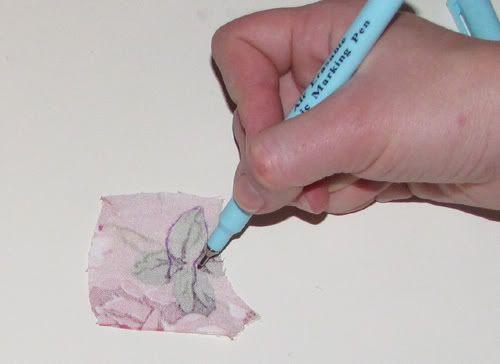
Choose a leaf. Working on the wrong side of the fabric, draw a stitching reference line. Trace around the top and sides of leaf, and make a "stem" at the base that about 1/2" long and just a bit narrower than the width of leaf.


Photobucket

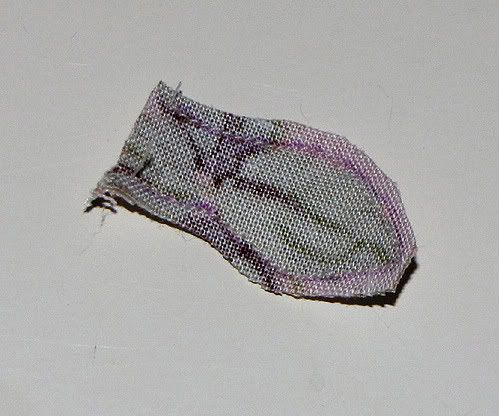
Place a second piece of fabric under the first, right sides facing. Use a machine to sew along the line. Use tight, tiny stitches Cut out the leaf, leaving a very small allowance around the stitching. Snip off the allowance at the very tip of the leaf.

Photobucket
Turn the leaf right side out using chopstick or a knitting needle (this can be a little tricky). Use a needle to pick out the tip.


Photobucket

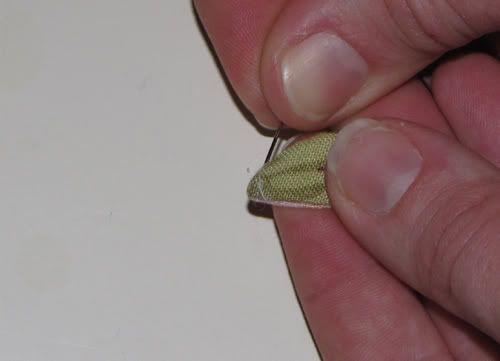
Make a stitch in the leaf at the base. Wrap the thread around the base several times. Make another stitch and tie off. Trim the allowance to about 1/4".


Photobucket

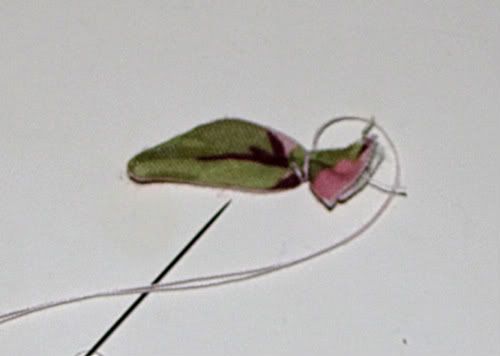
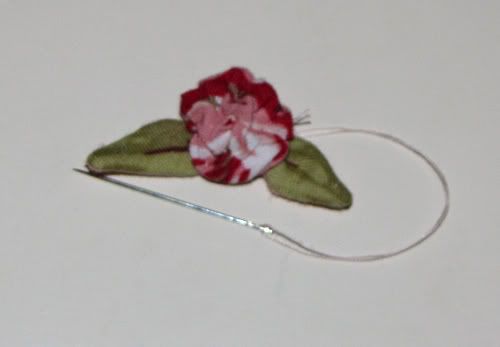
Place the leaf under the rose and sew it into place. The stitches can be hidden in the folds.

Photobucket

Add a second leaf, if desired. The rose is ready for your embellishment project. If you are putting it on something like a trinket box or a picture frame, you can hot glue it into place. If you are adding it to a piece of clothing or a quilt, it should be sewn on securely.


Photobucket
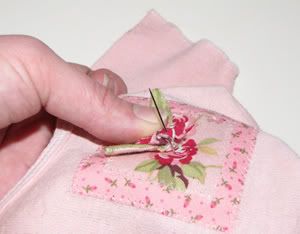
Stitch through the fabric into the folds in the flower. Make sure the raw edges of the allowances are hidden. Add some stitches near the edges of the "petals" if needed.


Photobucket

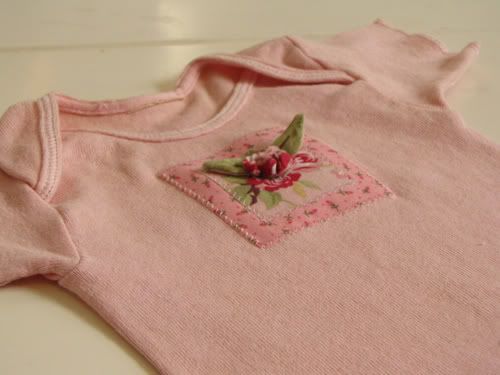
I used my flower to add dimension to a simple patch applique on a baby shirt. I'm going to pair it with little reversible pants and give it to friend who just had a sweet baby girl.

Thursday, January 8, 2009

I'm sewing along!

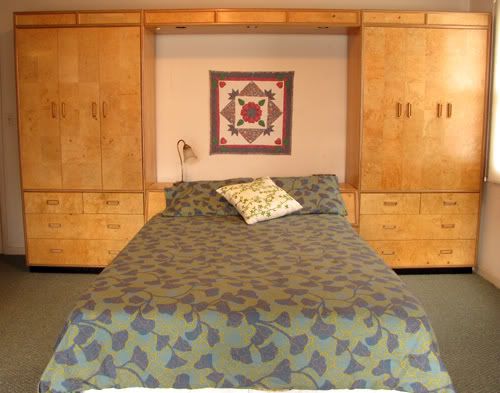
A few nights ago, Kim announced a scrappy quilt sew-along on the YCMT blog. At first, I thought "hmmm...sounds nice, but there is no way I should be diving into another project at this point, especially something as mentally taxing as a quilt!" Then I read on to see how fun and easy this project was going to be, and how she would make up all the instructions as we sewed along (read - no thinking for Carla). I decided to make a quilt for a spot in my house that is crying for some warmth and color. Meet my bedroom wall...

Photobucket

The previous owner of our home actually left us this gorgeous birds-eye maple storage headboard combo. She was downsizing, and we were beyond thrilled to get it! I can't remember exactly, but I think she had a beautiful print hanging above the bed. I didn't unpack our pictures for about 3 months, so I just pretended the array of nailholes on the blank wall was somehow artistic. When I finally got the decorating bug, I couldn't find a single picture I liked for that spot. I finally slapped up a little quilt that I made for my very first apartment back in 1995. As you can see, it is too country, too small, and too girlie for the space. It would make me much happier hanging in my sunny sewing room.

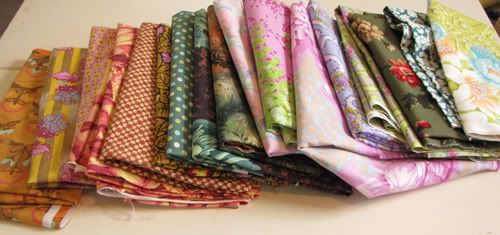
I went through my stash (which is still amazingly organized), and couldn't find a good array of pieces in the colors/styles I wanted for that space. So I decided to stop by my local quilt shop and pick up a few fat quarters to work around. I hadn't been in a quilt shop since well before the "Thrifty Under Fifty" challenge, so I went a little crazy...

Photobucket

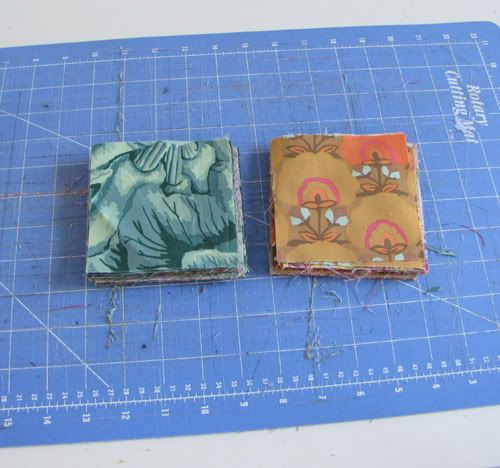
The shop was in the middle of inventory, and lots of gorgeous designer bolts had been relegated to the clearance section for $3 a yard. At that price, I flippantly bought a yard of everything that appealed to me. I figured that whatever I didn't use for my quilt would revitalize my dwindling stash. I ended up going with the green and rust toned fabrics for my project. Since the new fabric was nice and flat (unlike my previously wadded-up stash), I was able to just "stack it and whack it."

Photobucket

I cut 32 rust-toned squares and 32 green-toned squares in about 5 minutes. It would have taken me hours to press and cut my wonky stash pieces, so I feel my fabric splurge was justified.


Photobucket

Part 2 of the sew-along was posted last night. I'm trying to decide exactly which green fabrics to pair with which rust fabrics. I don't want to think about it tooooo much - I need to save my brainpower for all these eBook updates. I have another one just about ready, so look for the details very soon!

Wednesday, January 7, 2009

Easy-Fits 2.0

The updated version of the Easy-Fit Pants eBook is now available on YCMT!

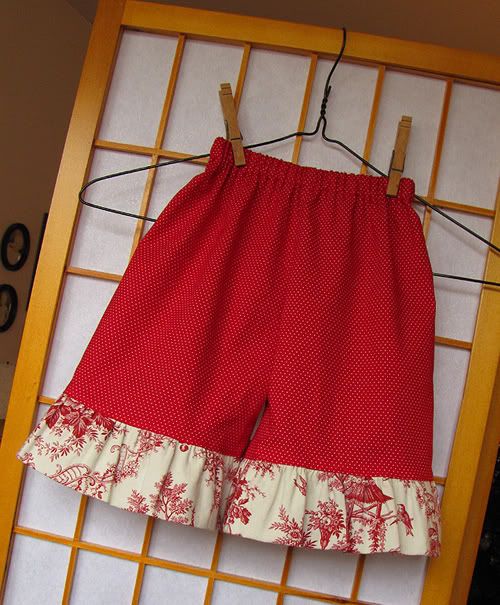
There seems to be a baby boom going on right now, so I added size 6 months to the already huge size range of 1-10. I also included illustrated instructions for adding ruffles to the leg openings. The wide-legged style is perfectly suited for cute ruffles, and the simple measurement technique is the same as for the cuffed version. Here are some ruffled test pants I made in the new tiny size:

Photobucket

They will be part of a set that I am putting together for a long overdue shower gift. If you check out the "I Made This" slideshow on the product page, you will see many ruffled Easy-Fits in there already. I've had lots of emails asking "how can I do that?" It is actually very simple to do, and adds such sweet, feminine flair to the pants.

The one "correction" I made was to take some impossibly short lengths out of the leg charts. Because of the deep rise, shorts that short would actually go up beyond the inseam and would end as mini skirts - yikes. It hasn't been an issue because most people aren't making "shorty shorts" for kids, but I have had a few sets of sharp eyes catch the boo-boo :) .

The rest of the changes are treatments that all of the eBooks will receive over the next month:

Separate files for the child-sized patterns and doll-sized patterns
- The doll patterns/instructions are still included with your purchase, but they are going to be in a different file. The dolly instructions are often involve different notions and extra steps (like hook and loop tape). For organizational reasons, it makes sense to have all of dolly's information in a separate file.

More labeling on the pattern pieces - I've included 1" test squares on every page, and the name of the pattern on each piece (thanks for the great suggestions, Teresa and Kathy)!

Even clearer instructions - I spend a lot of time lurking about boards and blogs where folks talk about my patterns (Hi Disboutiquers! - LOL). As creepy as that sounds, it is really helpful for me to learn about possible stumbling blocks. Sometimes adding a word or an arrow to a diagram can make all the difference in the world for a beginner (or someone like me who tends to skim instructions). So with each eBook, I'm going to add anything and everything that I think will be helpful and result in the highest possible rate of sewing success.

And of course, a new cover look! As I mentioned, if you already purchased this this eBook from YCMT, the new version will be in your "My Library" section. Enjoy!

Saturday, January 3, 2009

New year, new look!

Happy New Year!!!

My brain is just bursting with ideas for 2009! Before I jump right into my next project, though, I'm going to step back and do something I've been wanting/needing to do for the longest time . . . a MAKEOVER. Now as much as I love being primped and pampered, this makeover isn't for my body. Rather, I am going to scrub, pluck, buff, and polish up my eBooks. Here is a little preview of an upcoming transformation:


That is just the cover page, but it reveals quite a bit about what this overhaul is about. The most notable change is the title. I'm saying goodbye to SewBoutique4Dolly. I thought it was pretty catchy a few years ago, when my grand plan was to sell boutique-inspired doll clothing and patterns on eBay. Then YCMT came along, and Kim and her customers gave me the encouragement I needed to branch out into children's wear. Nowadays, my focus is on fun, wearable clothing for boys and girls, and the doll clothes are just a little bonus. In fact, I've never heard any one refer to my eBooks as SewBoutique4Dolly. Everyone just calls them CarlaC eBooks, so I will too :) .

I'm also putting my little "Scientific Seamstress" on the covers. She allows me to be myself - a detail-oriented geek who struggles a bit with creative expression and social interaction. Having her on my blog has really helped me to get out and communicate with the rest of the world. Plus, my eBooks are written a lot like scientific papers with background information, materials and methods, and detailed illustrations. I've come to the realization that the whole scientific approach is what makes my eBooks unique. It is so nice to finally celebrate my inner nerd!

Over the next month, all of my eBooks are going to get "the treatment." Most will just get a little touch-up with fresh, new graphics and pictures, but a few of them will undergo some pretty major procedures. Unlike celebrities with their secret nose-jobs and botox injections, I will keep you posted as to what changes are made. When each makeover is complete, the file will be uploaded to YCMT. If you already own the eBook, the new edition will automatically be available to you on your "My Library" page.

I am really feeling good about making these changes in 2009. After all of the eBooks are attended to, maybe I'll treat myself to a facial :) .