I have bias tape on the brain because our next Sis Boom pattern requires significant amounts of it :) . I'm not ready to spill the design details yet, but I will share my recent personal progress in bias tape making.
Generally, when a pattern calls for bias tape, I just run out and buy it. Most fabric stores carry an array of colors and widths, and I can usually find something that works for the project. But for this project, I really really really wanted to use fun prints for the bias binding.
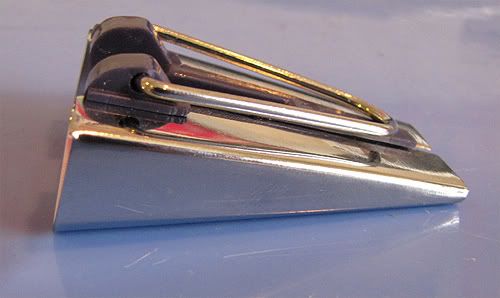
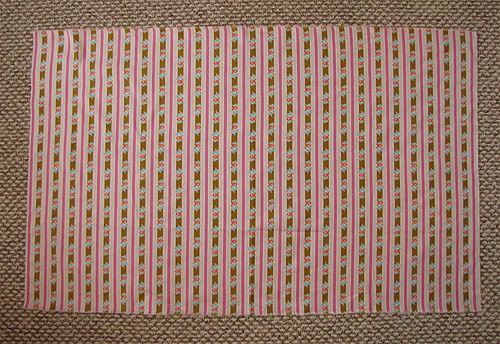
A few months ago, one of my sewing friends mentioned that I needed a bias tape maker. Well, I thought she was talking about one of those expensive automated appliances that cost about as much as a basic sewing machine. I filed it in my brain as a "maybe someday when I have more money in the bank and a really amazing coupon" thing. Turns out she was referring to a simple little notion that you can find in the quilting section of your favorite fabric store for well under $10! Pictured above is a 1" (25 mm) bias tape maker. It is perfect for making what is known as 1/2" double-fold (or extra wide) bias tape.I'm going to take you through the bias tape making process from start to finish...don't worry, it won't take that long! I particularly love striped bias tape, so I used Siobahn from the Poodle line for this tutorial. The first step of course is to cut the bias strips. I'm starting out here with exactly 3/4 yard (27") of 45" wide fabric. I've cut away the selvedges, so it is more like 43" wide.
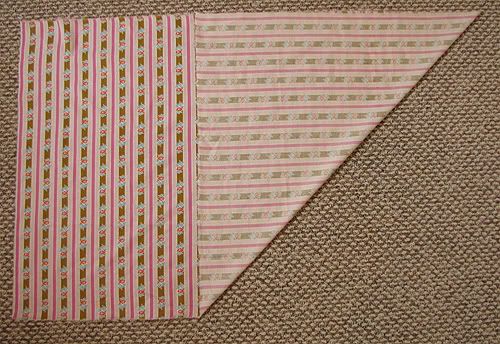
Fold one of the short edges up to meet one of the long edges. For best results, press the fold.
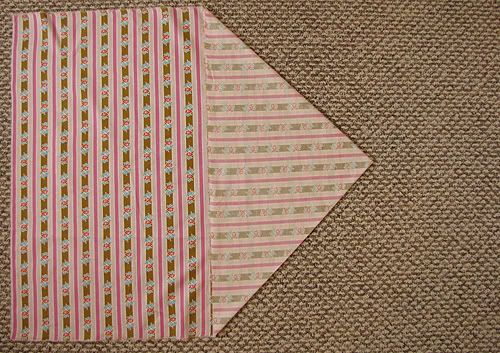
Next, bring the top and bottom corners together as shown in the pic above. Align the folded edges. Again, press the newly formed fold for best results.
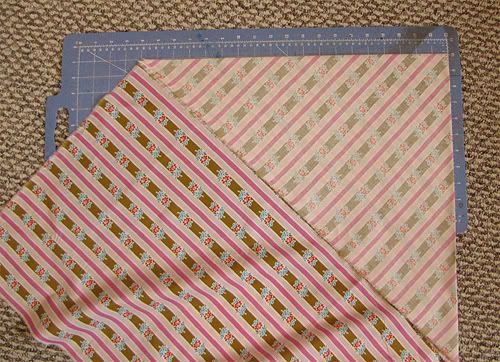
Now, place this most recent fold on your cutting board (which is hopefully larger and less defaced than mine).
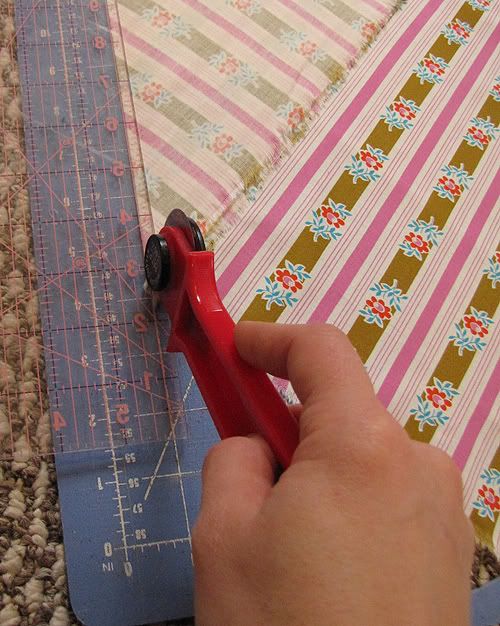
Use a rotary cutter and a clear ruler to cut off 1/4" beyond the fold. This will give you a nice straight guideline for cutting your strips.
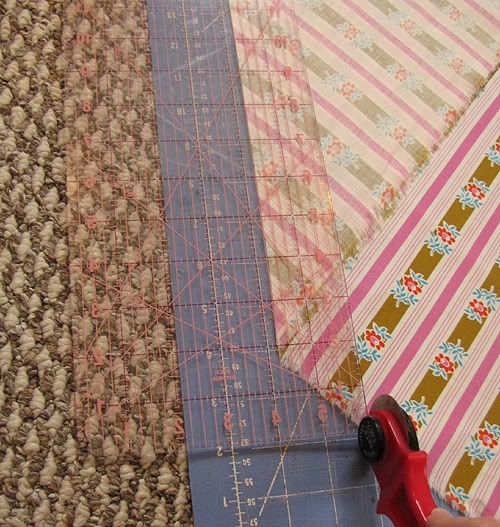
Cut 1.75" wide strips through the folded and single thickness layers. The first cut will yield two strips: one that is about 37" long and one that is about 34" long. With each cut, the second strip will get about 3" shorter, but the first will remain at 37".
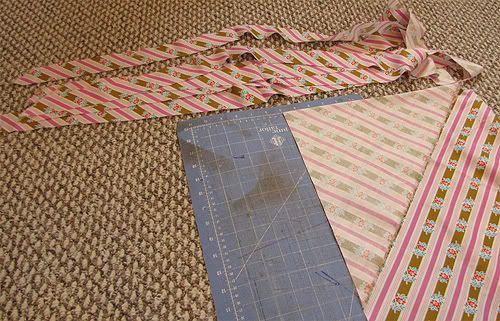
Basically, you just keep cutting until you get enough bias tape for your project. Here is a little cheat sheet for a 3/4 yard starting rectangle (numbers are approximate).
1 cut = 71"
2 cuts = 139"
3 cuts = 203"
4 cuts = 263"
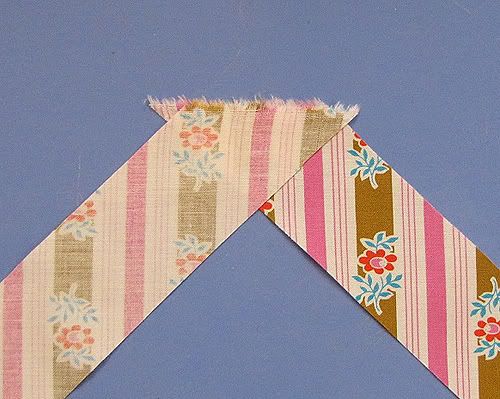
To join the pieces, put two ends together as shown in the pic above. If you can't get two ends to do this, try the other end of one strip. Make sure there are little dog-ears that are just over .25" long on each side.
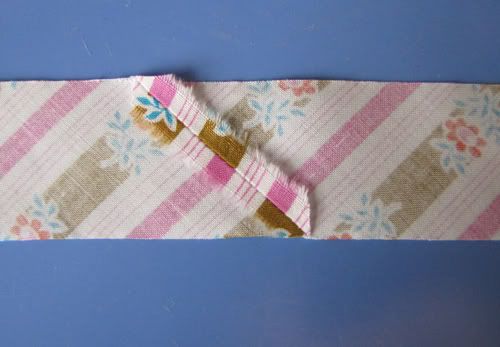
Stitch together, 1/4" the aligned edges. Press the seam open, and trim away any overhangs.
OK, so far I haven't discussed anything truly revolutionary. Now we are getting into the fun stuff...
The first time I tried using a bias tape maker, I was a little disappointed. I followed the manufacturer's instructions to the letter, but I kept getting uneven, wrinkly bias tape. Part of the problem was that I wasn't a very good "driver" along the tape and the folds were coming out very inconsistent. I couldn't really figure out the cause of the wrinkles, however. I did a little experimenting, and now I am getting picture perfect bias tape every time :) .
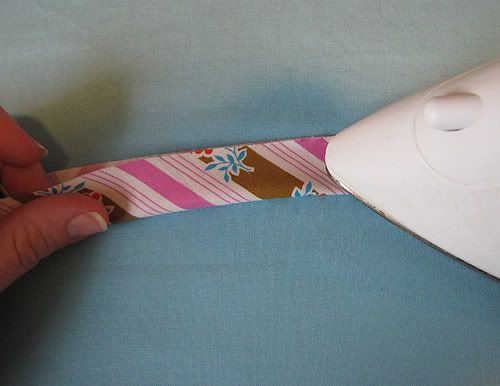
The uneven fold fix: If you are a wild driver like me, I highly recommend folding your bias strips in half lengthwise and pressing to create a crease. The crease acts as a guideline for drawing the fabric through the bias tape maker.
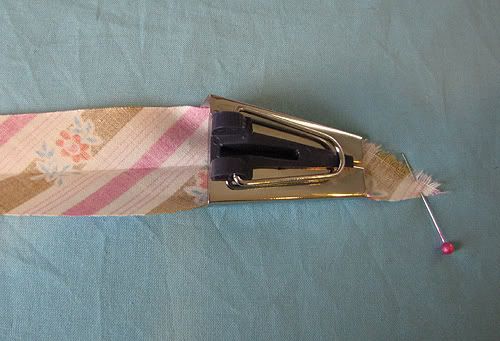
Insert the pointed end of the strip into the wide end of the tape maker. If needed, you can coax the fabric through the small end with the tip of a straight pin. It is a little hard to see in the photo, but there is an opening in the center top of the tape maker. As you make your tape, the crease should be visible in this window all times so that you get nice even folds.
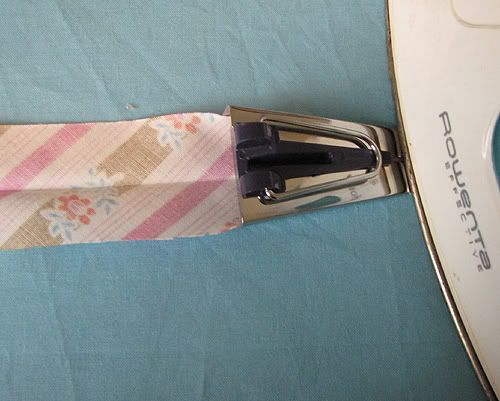
Now for the wrinkle fix: The illustration on the packaging shows the iron a few inches away from the short end of the tape maker (even though the corresponding text says to keep the iron close to the tape maker). I've found that the side of the iron needs to be smack dab against the tape maker opening to get nice flat tape. In fact, rather than pulling on the tape maker as shown in the illustration, I just use the iron to push the tape maker along the tape, and I use my other hand to keep the crease centered. It really helps to go slowly and use lots of steam.
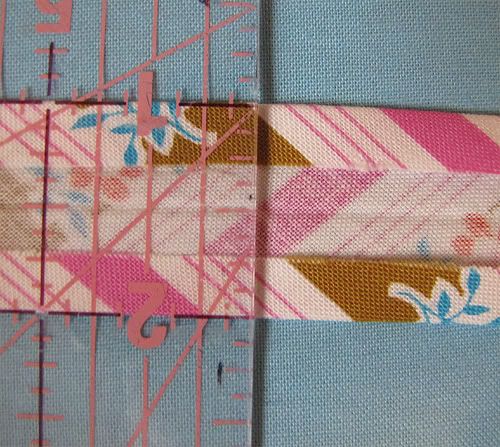
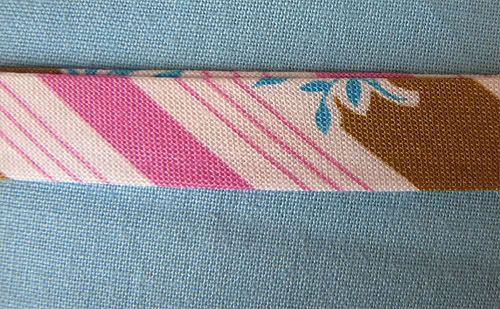
And here is the result - perfect 1" wide single fold bias tape with .25" folds!
But we want double fold, right?....
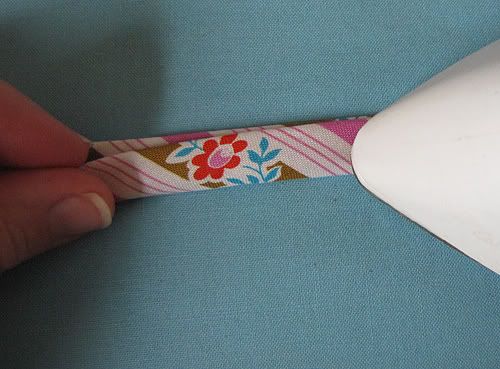
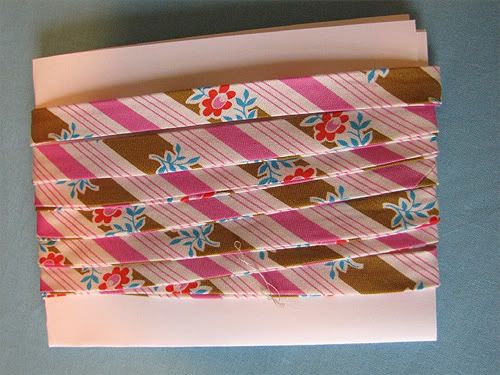
Easy - just fold in half lengthwise and press. Depending on how you will be using the tape, you can simply align the folded edges. However, if you want to make bias tape that is just like store-bought, make sure that one edge protrudes slightly (1/16 of an inch or so) beyond the other.
For a great explanation as to why store-bought bias tape is like this, check out Angry Chicken's hilarious and very informative video tutorial!

11 comments:
I love this Carla! Thank you so much for showing us how. I JUST bought the same bias binding tape maker and I was befuddled on how to feed the fabric through without mangling it. Now I know! yay! Can't wait to see the new pattern!
Thank you! I will use this!
Thank you Carla. I have one of these (in every size LOL) and the problem I have is at the seam. The seam doesn't want to come out flat. Maybe I'm doing it wrong (I like your crease idea) but maybe you can post pictures of what your seams look like when they come out of the gadget? I was seriously thinking about seaming the strips together afterwards instead of before.
What size is the bias tape measure you used? I need to shop now. . . lol!
I have one of those bias tape makers, just never been brave enough to use it.
Carla, you're a genius!!! This is an awesome gadget if you can follow your tips to get it to work. Think of the money I will save with just a little bit of effort!!! That darn bias tape is expensive! Thanks again Carla from the sewing masses!!!
I couldn't get my bias tape maker to work at all- can't wait to try it again- thank you for the tutorial!!!
Great tutorial! I don't even have one yet but plan to buy one soon!Thank you for posting!
Thank you so much for putting this together!! I have referred to it several times!
Hey, thanks I was wondering how wide to make my bias for the 25mm tape maker. Have you seen is tute: http://www.addicted2decorating.com/sewing-basics-how-to-make-continuous-bias-for-welt-cord.html
Combined together bias binding becomes a total breeze. Just made about 3 metres in 20mins from a piece of fabric 30x60cm. It still blows my mind!
i have the electric cutter and the electric bias maker, its not worth the money, i will use ur method, and put the other item away are sale them. But they will never be used in my sewing room.
elaine
Post a Comment