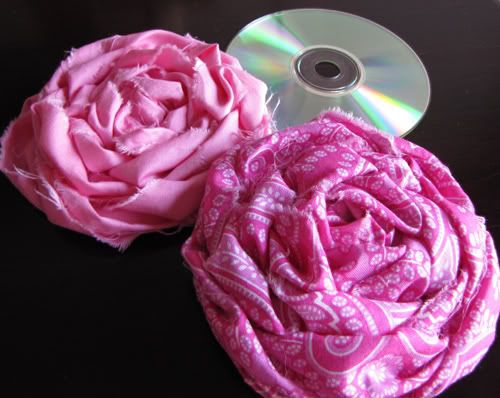
All you need to make these big, beautiful rosettes are 1) an old, scratched up CD, 2) about 1/4 yard of fabric and 3) a hot glue gun.
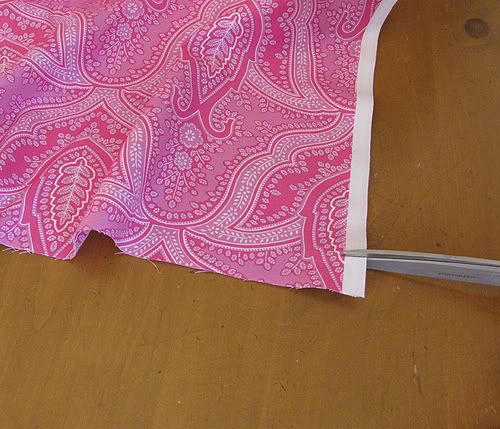
For the demo, I used gorgeous, hot-off-the-press pink Maeve from Jennifer's Queen Street line. To start out with a nice even torn edge, you will need to snip an inch or so above the cut edge, then grasp either side of the snip and tear (for more details on snipping and tearing, download the Frayed Rosettes tutorial).
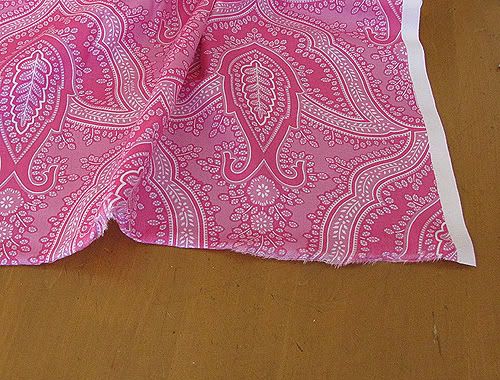
Once you have this edge, you can start tearing off the components for your rosette.
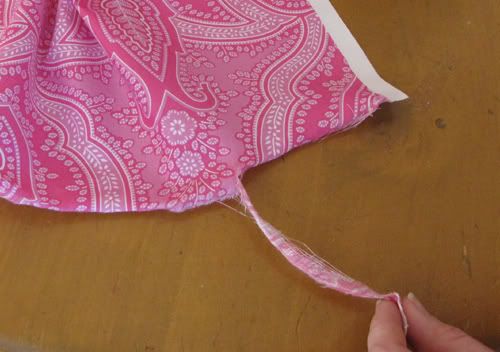
Make your initial snip about 1/2" from your torn edge and rip.
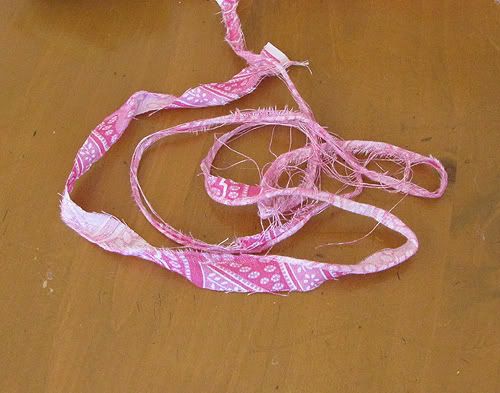
This will give you a thin, stringy piece.
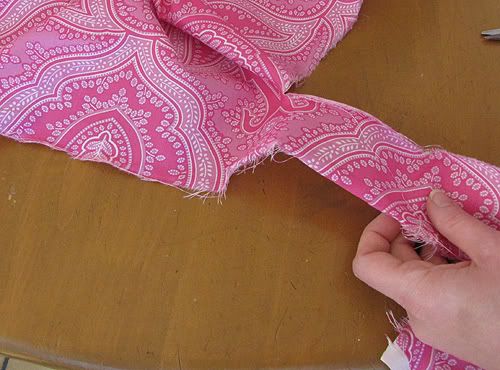
Then snip and rip about 2" from the edge. Repeat.
At this point you should have one stringy skinny piece and two wider pieces.
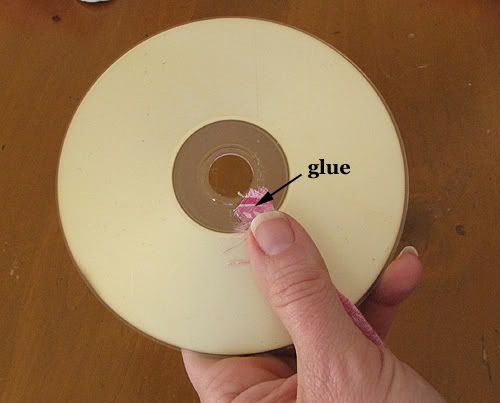
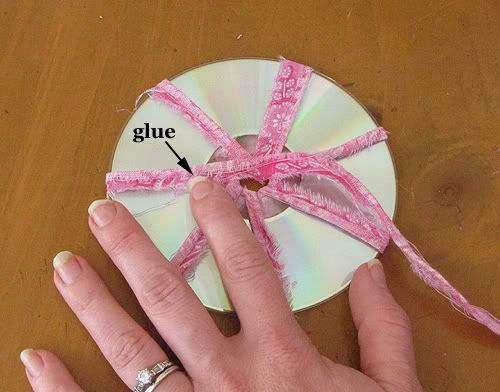
Squirt a drop of glue near the center of the CD, and stick the end of the stringy piece into place as shown above. Normally, I would give you hot gluing action shots, but my glue gun is a hot mess! So I'm substituting with arrows...they indicate where the hot glue should be applied.
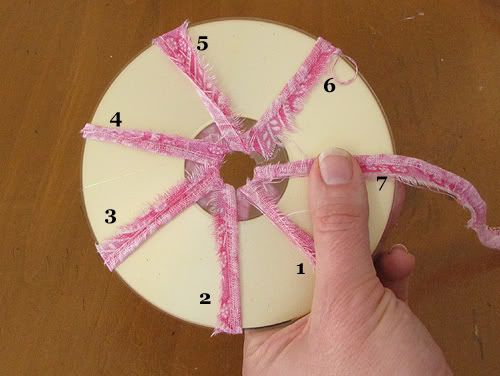
Bring the stringy piece through the hole so you have exactly seven wraps (no more, no less).
Flip the CD over to the other side and glue the stringy piece into place and trim. You should have exactly seven wraps on that side too.
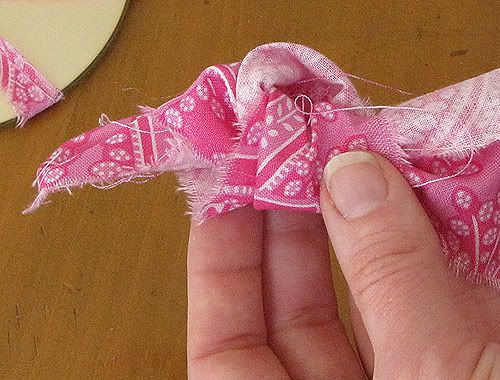
Tie the end of one of the wider strips into a loose knot.
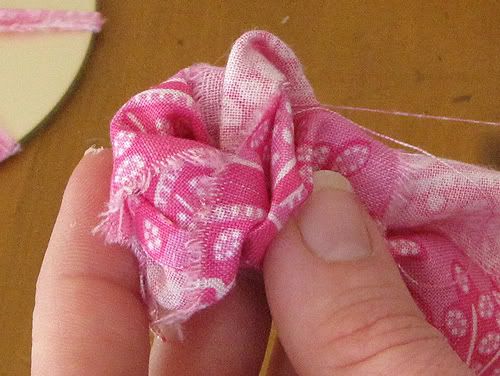
Tuck the tail into the knot, and add a drop of glue to hold it in place.
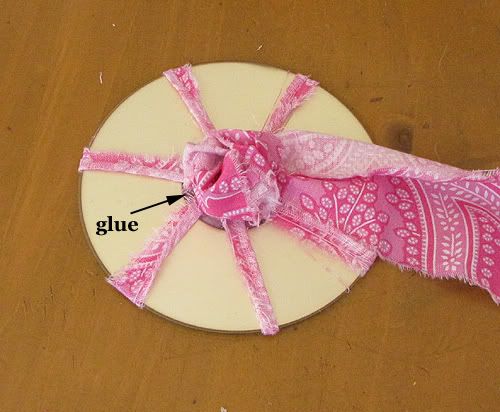
Glue the knot to the center ring of the CD.
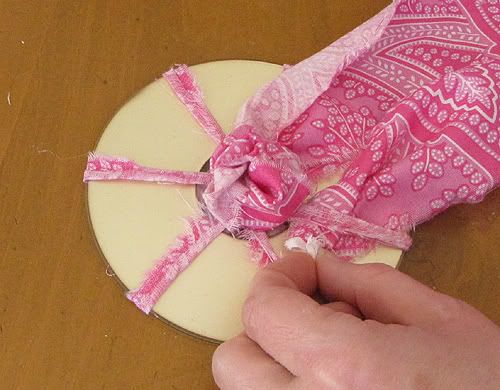
Now for the fun part! Weave the strip between the wraps (go over the first one, go under the next one, etc, etc).
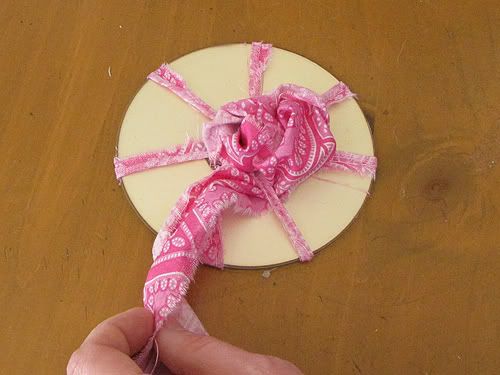
For best results, keep the material loose and fluffy for those first wraps, then gradually tighten up as you get further from the center. This will give a more authentic domed rosette shape.
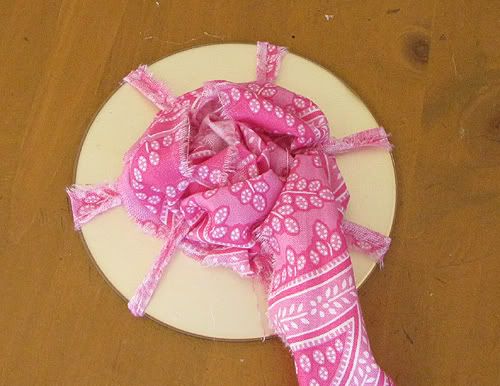
Try to keep the wraps evenly spaced as you go along.
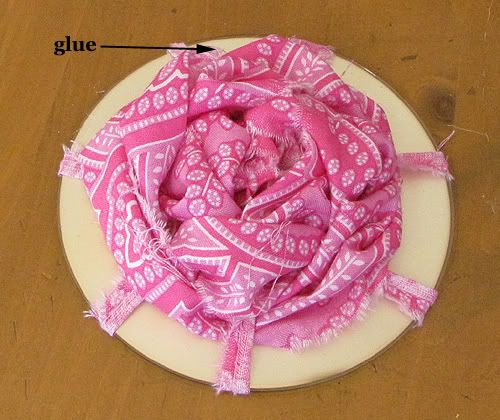
When the first strip runs out, tuck the end under the adjacent "petal" and glue.
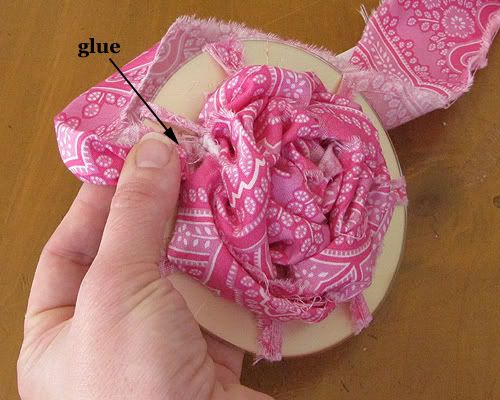
Pinch the end of the second strip, and glue it into place right next to the end of the first strip.
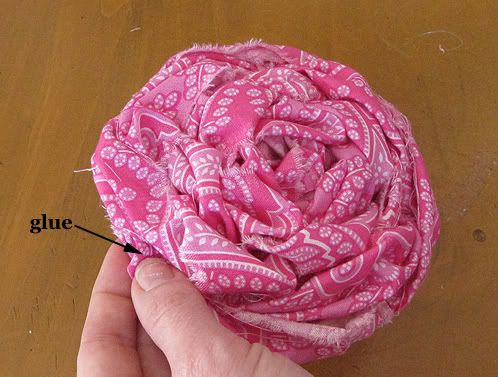
Weave this strip in and out until you get to the end. Tuck and glue the end into place. Arrange the outer edge petals so that they cover up any glimpses of the shiny CD. Glue wherever you see fit.
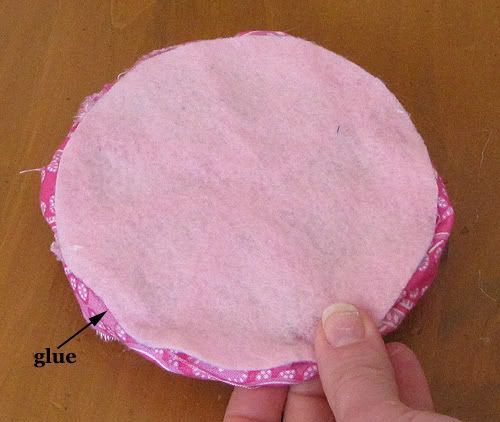
If you want to cover up the back, simply trace around another CD on felt. Cut the felt circle out, and glue it to the back of the CD.
That is really all there is to it...experiment with solids, prints...or even other materials.
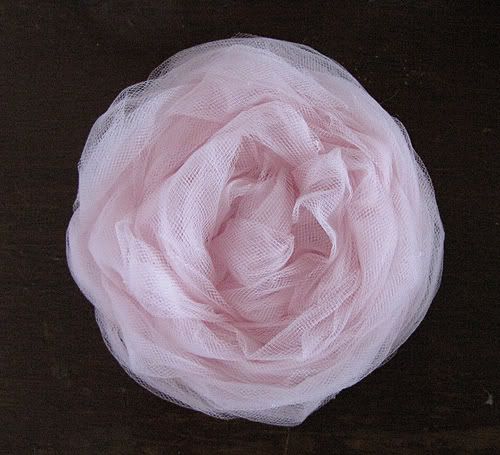
Here is a tulle rosette (I used 180" of the 6" wide tulle that comes on a roll, but I doubled it up to make the process go faster).
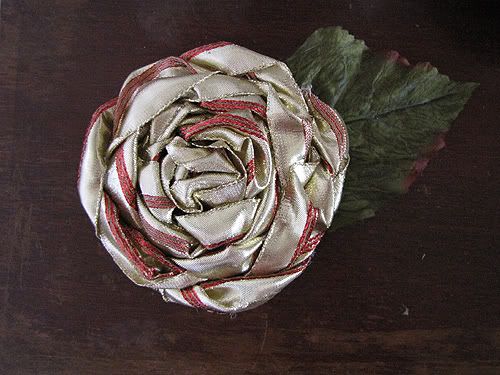
I also tried it with shiny wired ribbon (90% off bargain post-Christmas at JoAnn's last year), and it will make a beautiful bow alternative!
I'm plotting all kinds of things to do with these big, fun rosettes...make brooches, stick 'em on walls, use them as ornaments...etc!

17 comments:
Oooh, I LOVE! Thanks again my genius friend!
They turned out PERFECT!
Thank you for sharing and the Happiest Thanksgiving Wishes!
monica
Those are so cool!!! Thanks for the great tute!!!
Pretty cool!
Fab idea! I'll have to try it.
I just found your blog thanks to "Sew News". WOW!!! I posted about you on my blog.
Great patterns and fun tutorials, it doesn't get much better!
I'm looking forward to reading through your back posts and trying out patterns.
Carla, they are GORGEOUS! You are GENIUS!
I just finished reading through all of the 2010 posts. I'm so pumped about trying some of your epatterns! I think 2011 is going to find me spending a LOT of time in my sewing room.
I love this! I teach sewing to high school students, and they're going to love this project. Thanks for sharing!
Lovely tutorial!!!
this is awesome! Thanks so much for sharing! I can't wait to try this!
What a great idea - thx 4 sharing!
Pretty cool idea! Thanks.
Fabulous tutorial, Carla.. very clear and easy to follow! I can't wait to try it myself! TFS
I made one this morning. I think I need to make it a little loser and fluffier. I love it though. Posted a pic on my blog, http://stitchonepootwo.blogspot.com/. Thank you so much for the lovely idea! Sandi Jo in KC
I wish you had your posts in a printer friendly version. I am going on the road and wanted to try this.
wowwwwwwwwww cheers! this is fantastic! Congratulations
Dolly
Post a Comment