Monday, October 18, 2010

REblanking the walls...

Remember how my New Year's resolution was to just go crazy and give my stark, contemporary, house some color and character? Well, I did pretty good job of adding my crazy little touches until spring sprung, and then I felt like I needed to be out in the garden (tilling, weeding, planting, etc). At that point, I was semi-balancing work life and home life and just happily chugging along. Then mid-summer (right about vacation time), my husband had a heart-to-heart with me. Basically, he thought it was time to transition to a more sustainable career in a more affordable part of the country (he is a classically trained chef, but has been managing large corporate food service accounts in urban venues for the last 5 years). Anyway, he wanted to better connect with the customers (and the food), even if that meant taking a step back. We agreed this was the right long-term course to pursue, but suddenly I lost interest in making this house a home.

You see, we've moved just about every year since Lou was born. People ask if we are a military family, but we aren't...just corporate nomads. I've (over)decorated so many homes, only to turn the keys over to another family a few months later. So when I realized I needed to detach from this home, I just focused on work, Louie's upcoming school life, and zoning out in front of fail blogs/reality TV. As the summer wore on, it became more and more apparent that a move was imminent. Then, on Lou's first day of school, things all fell into place and we knew that there was no question...we were moving. Scary thing was - we didn't know exactly where we were going. We wanted to live in a place that was beautiful, affordable, and close to both of our families. We kept gravitating towards the Lancaster County area in PA...gorgeous landscapes, wonderful people, abundant produce, and quilt shops galore! Our prayers were answered, and Del got a great, fulfilling job that he loves in Honey Brook, PA. For now, he is making a 2 hour commute each way, but of course our goal is to sell this house and find a "forever" home up there.

So in a way, it is a good thing I dropped the ball on "personalizing" this home. Most of the decor is still pretty neutral - we just needed to do lots of painting, cleaning and purging. Thank goodness for PODS! We were able to pack up lots of stuff that was in the way (but couldn't quite bear to part with). Here are a few pics of our cleaned up, thinned out abode...
Photobucket

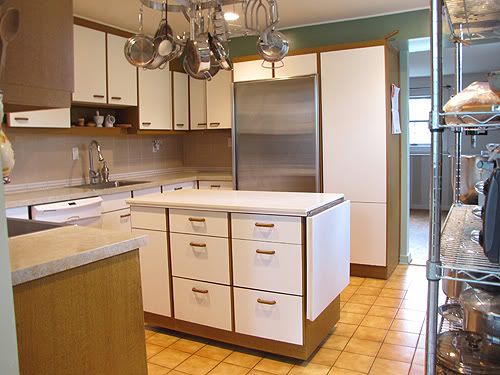
The spotless, shiny kitchen (I have to admit, the very basic Scandinavian cabinets are so functional, and super easy to clean)!
Photobucket

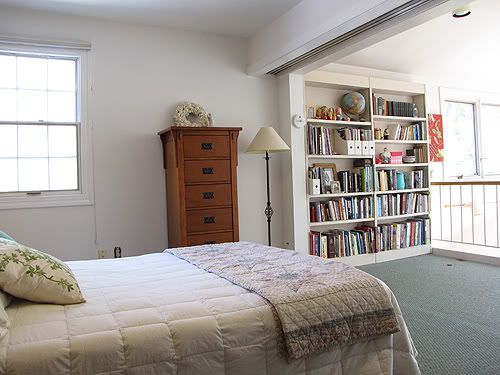
Our totally repainted bedroom and loft/library area (there are sliding doors for privacy, but we've always loved waking up to the view beyond the sunroom windows).

Photobucket

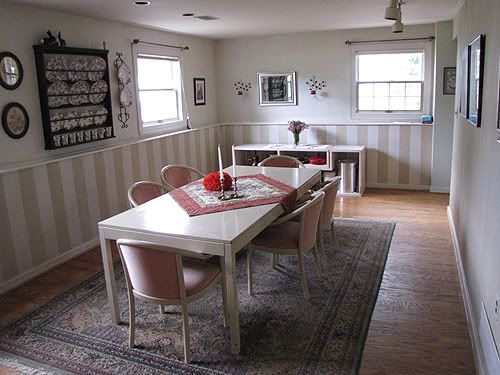
Our dining room...the previous owner left us the gorgeous rug and nice large dining set. I did the decorative painting when we first moved in, and the cool plate rack was made by my dad (I've hung it proudly in all of our dining rooms).

Photobucket

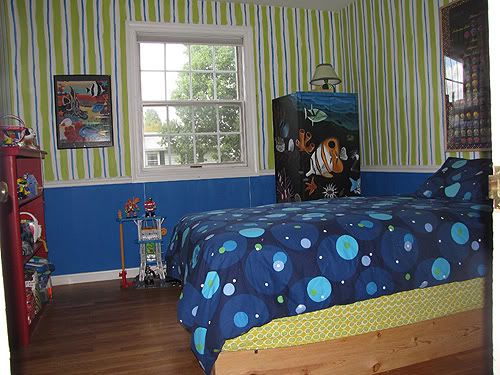
Louie's room - I didn't change much, just took out a few pieces of furniture. He has been great about handing down toys and clothes to his younger cousins, so we have been able to make lots of room in there.

Photobucket

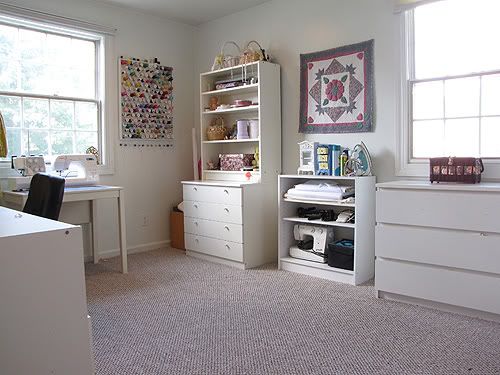
Here is the big transformation...my sewing room! Remember how happy I was to rip out the carpet? With all the other fix-up projects we had going on, we just couldn't even conceive of refinishing hardwood before the house went on the market. So we had some nice, new carpet installed, and it looks great! I will admit, I'm a lot more careful about dropping straight pins now!

Photobucket

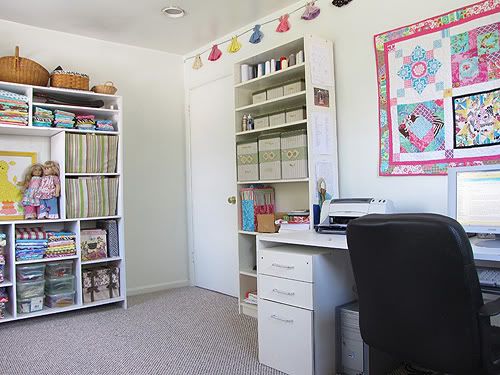
Lots of furniture (and the bulk of my fabric stash) went into storage. I still have scads of beautiful Sis Boom fabric on hand, which is a good thing because Jennifer and I have LOTS of new patterns in the works (I promise to blog about the latest this week)!



Photobucket

So there you have it...my biggest distraction as of late. I do hope this beautiful home finds new owners who appreciate its spaciousness, warmth, and gorgeous setting as much as we have these last two years. We've made lots of memories in this home...Del's cooked astounding meals, I've sewed up so many designs in my cozy work space, and Louie made the transition from toddler to big kid here (sniff). I am very exicted to move on to the next chapter, however, and I know that there are so many great times to come in our next residence.

Sunday, October 17, 2010

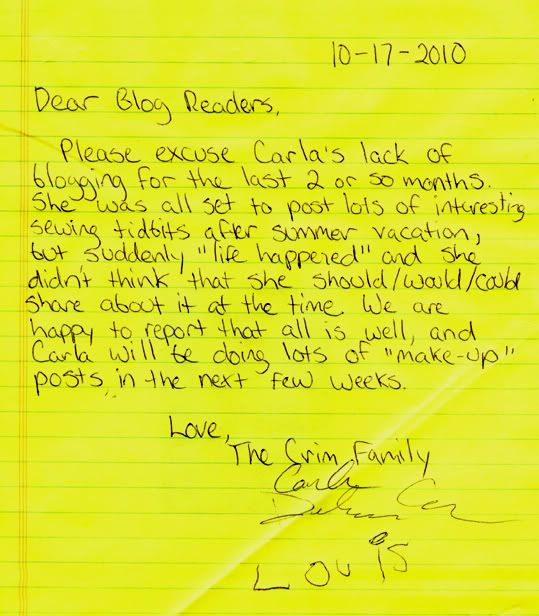
My handwritten absence excuse note...

Photobucket

I am sorry to have been away for so long. We've had a tough couple of months, and I've been very stressed out, withdrawn, and grumpy in general. There have been so many times when I've thought "OK, I should just let everyone know what is going on...they will relate...they will be supportive" - but, frankly I didn't want to bring anyone down. In this day and age (read - this economy), our problems are minor, and just watching the news for a few minutes would remind us of our blessings. Still, it is hard to be in financial limbo, even in the strongest of families. So many of our prayers have already been answered, and we know that we are making choices that will lead us to a very peaceful, fulfilled existence. I usually try to keep this blog pretty happy-crafty, but I feel like I owe it to you to share some of our recent trials and tribulations. I'm sure many of you have had similar experiences, or if you haven't, you can still relate and share some much needed warm hugs and encouragement. I have truly missed my "bloggy friends!"
Saturday, August 7, 2010

Food, family, and friends...

...that pretty much sums up our July! We drove up to New York State for the 4th. We attended a great party on Lake Ontario, and then spent the next few days in the Ithaca area. We stayed on the go, visiting friends and family and hanging out at old haunts. At the end of the week, we picked up my sweet step-daughter, Emily, and headed back to Maryland. She stayed with us for over 2 weeks, and we did lots of sewing, shopping, and of course eating out of the garden. Then last week we made a quick trip down to NC to see Del's mom, his sisters, and niece and nephew. On the way back up, we stopped for a night at my folks' house, and I got to see my new baby nephew. That is the Cliff's Notes version of the month. Now I'm going to bombard you with vacation pictures :) . Oh, and I did manage to get some work done in between all the socializing. If you look carefully at the pics, you'll see sneak peaks of the next Sis Boom pattern (which is in the final testing stages)!


Photobucket

Party on the lake


Photobucket

Fireworks


Photobucket

Walking on the rocks in the gorge at Treman Park


Photobucket

Mindy and Julie at Julie's house. Mindy's legendary scones recipe is in Julie's cookbook, by the way.

Photobucket

Wine and cheese on the porch at Cole and Caryn's


Photobucket

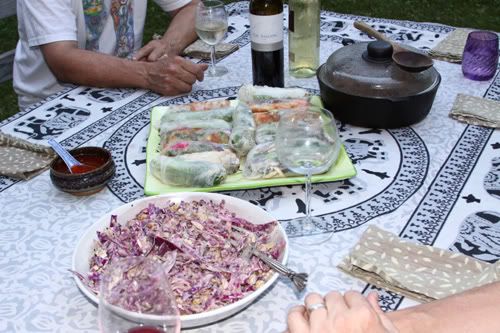
Delicious summer rolls and coleslaw


Photobucket

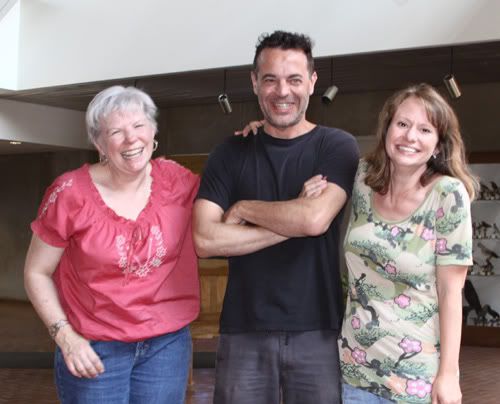
Visiting with science buddies Barb and Stephane at Cornell


Photobucket

Del and Executive Chef Tony


Photobucket

Louie with big brother Dan and his sweet girlfriend, Anna


Photobucket

Emily munching on a homegrown brandywine tomato


Photobucket

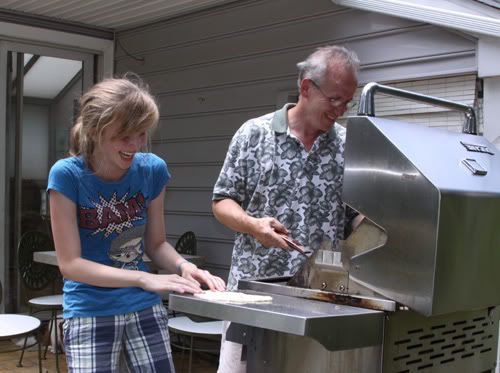
Em and Del making pizza on the grill

Photobucket

YUM!


Photobucket

Enjoying the pool at the motel in NC


Photobucket

Louie with his fun cousins Del and Marissa


Photobucket

She is such a little doll!


Photobucket

Welcome baby Ethan!


Photobucket

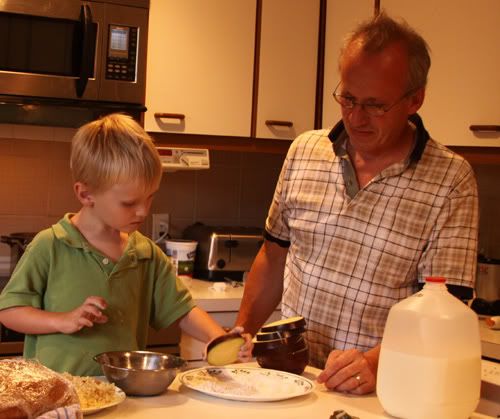
Making Eggplant Parm


Photobucket

Me in my shirred sundress - perfect for hot July weather! I love that fabric so much, too! Please ignore the funny expression on my face...it was very bright out!

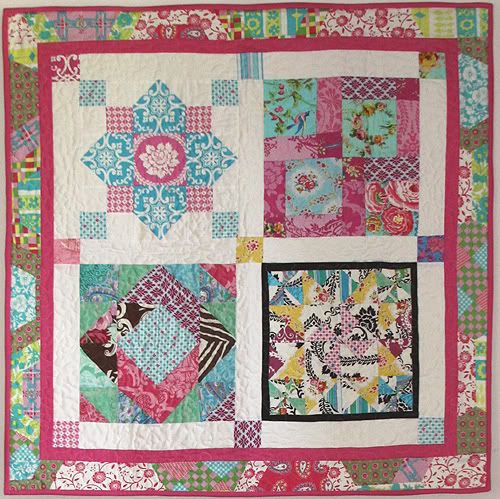
Oh, and I turned 38 on the 23rd. I was beyond thrilled to get a special gift in the mail on that very day! Tom, Cathy, Shannon, and Marlo each made a quilt block, and then Tom assembled and quilted everything.


Photobucket

Isn't it gorgeous? And look, there's that fun fabric again on the border!


Photobucket

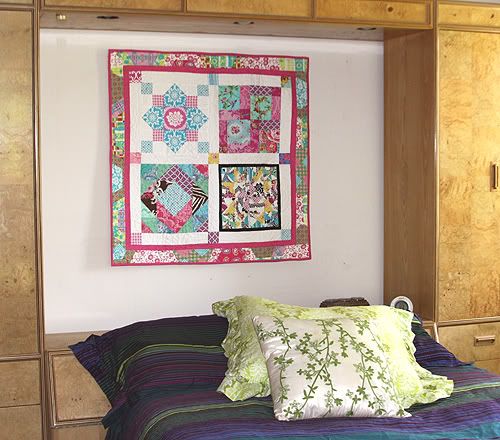
I was so giddy, I hung it up right over my bed. It really brightens up the room, and I feel so happy every time I look at it!

OK, I feel a little bit caught up now. This month we have one more big trip, and then Louie starts Kindergarten - wahhh! I promise I'll get better about blogging as summer winds down.


Thursday, July 1, 2010

Shirr without fear!!!

My sewing friends fall into two categories...shirrers and non-shirrers. Some folks can plop elastic thread in the bobbin, set the machine to the right settings, and voila...perfect shirring. Other very talented people can't shirr to save their life. It isn't their fault, their machine just won't let them shirr. I fall somewhere in between. I've successfully shirred in the past, but I've also had some awful, inconsistent messes. Even though I love the look of shirring (and it so wonderfully forgiving in the size category), I avoid using it in any of my designs. Well, my neighbor made a cute sundress out of a pre-shirred fabric from Jo-Ann, and I loved the look and knew I had to have one out of Sis Boom fabric for a picnic this weekend. So I've been practicing, and I think I've come up with a technique that should work for everyone, no matter how sadistic their sewing machine.


Photobucket

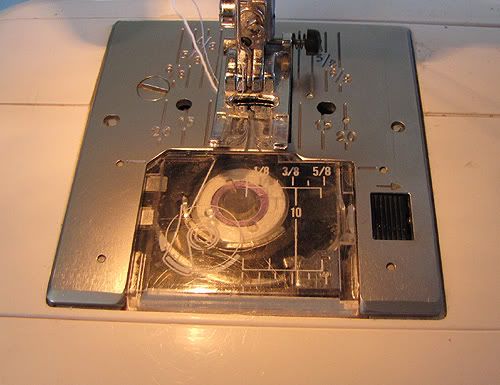
The first step is winding the elastic thread onto bobbin. Most shirring methods recommend winding the bobbin by hand. I'm just not that patient or focused when it comes to those kinds of things. I decided to wind mine by machine - it gets much more of the thread on the bobbin, and takes only seconds as opposed to minutes (yeah, that is lavender thread on my bobbin beneath the elastic thread...I couldn't find an empty, and was too lazy to unwind).

OK, as long as we are at the machine, let's talk settings. I used the longest straight stitch length, and set the bobbin tension just a bit higher than the lowest setting (1 on my machine). I set the needle position all the way over to the far left.


Photobucket

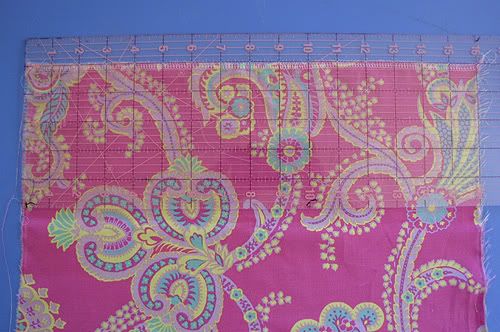
For my test scrap, I used a 16 inch wide piece of Tanya from the Sis Boom Poodle line. Jennifer really outdid herself this time!! I love every print and every colorway in this collection, but there is something just so Euro-fun about this particular paisley. I finished the top edge with the serger, but on my sundress I'm going to do a hem.

Photobucket

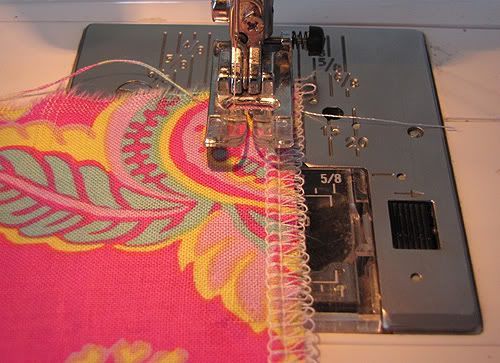
On to the shirring! Start the first line of shirring the desired distance away from the top, prefinished edge of the fabric. Make sure the right side of the fabric is facing up. Before stitching, BACKSTITCH...this is very important.


Photobucket

Start stitching. Don't worry about what is feeding out of your machine at this point. It might be tightly gathered, loosely gathered...doesn't matter. Just focus on keeping the stitching nice and straight.


Photobucket

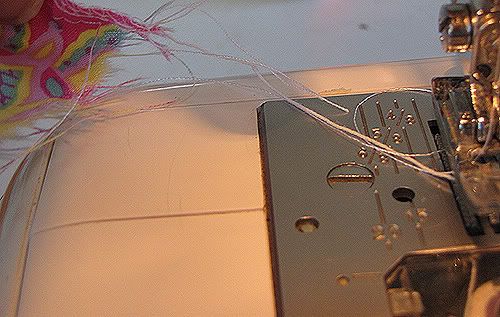
When you get to the end of the fabric, grasp the end of the stitching and pull the piece away from the machine so that you leave a nice long tail at the end of the stitching (at least 6 inches stretched). Snip.


Photobucket

This is what my piece looked like after the first row of shirring. Your piece may look tighter or looser, but but like I said it doesn't matter because...


Photobucket

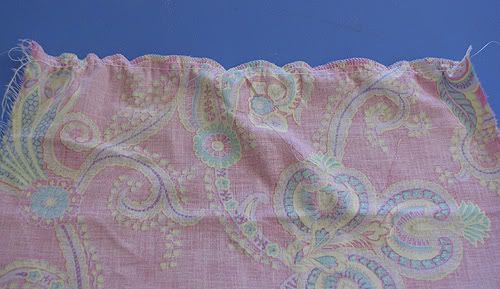
...you are just going to take out the gathers anyway! Working away from the backstitched end, push the gathers out towards the tail.


Photobucket

You won't be able to get it perfectly flat, but it will be pretty close to the original length.


Photobucket

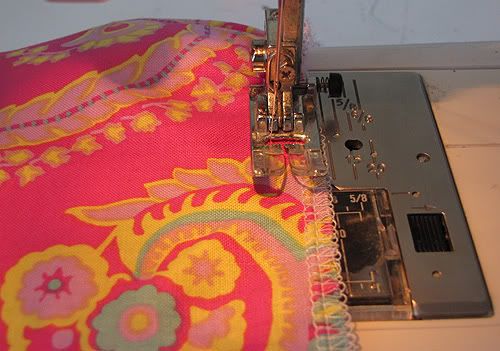
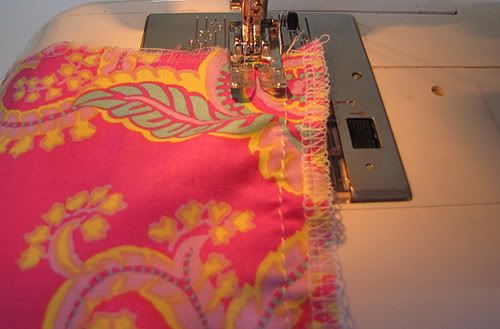
Onto the second row! With the right side facing up, position the right edge of the presser foot against the first line of stitching. BACKSTITCH, then stitch the line of shirring. Since you ungathered the first row, you shouldn't have any problems with puckers. Pull out a long tail at the end and snip.

Photobucket

Straighten out row two so it is just like row one.


Photobucket

Repeat this process as many times as needed. I did 6 rows of stitching for my test, which gave about a 2" band of shirring. The next step is to pull on the tails to shorten the elastic for that stretchy gathered effect.


Photobucket

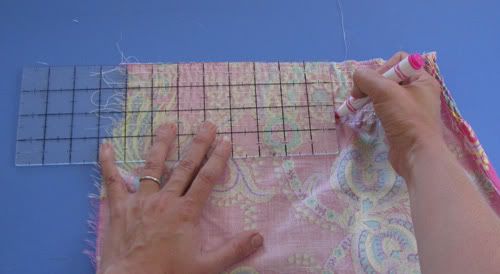
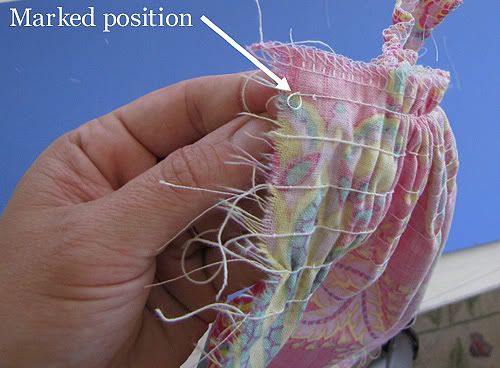
The next step is to pull on the tails to shorten the elastic for that stretchy gathered effect. You want the gathering to be consistent, so you will need to mark the strands with a washable marker. Decide how much you want to shorten up the strands of elastic (keep in mind they will shrink even more than this amount after steaming, but they will still have lots of give). Lay out the shirred piece with the elastic side facing up. Measure out the desired distance away from the tail end. I measured out 8" with the intention of the finished shirred band being at least 50% shorter than the original length. Since shirring is sooooo stretchy, I think it is better to get it a bit on the tight side than on the loose side.

Photobucket

Pull each of the tails individually until the marked position is at the side edge of the fabric.


Photobucket

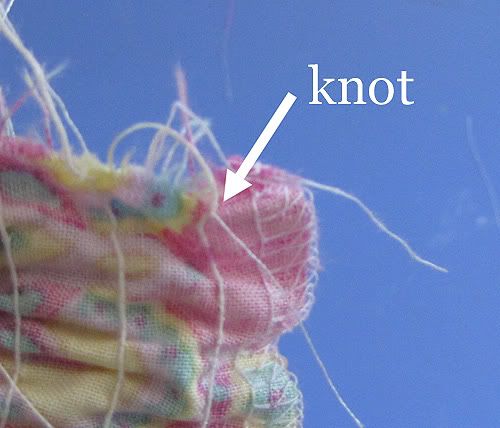
Tie the elastic and the corresponding needle thread into a knot at the position of the mark. Don't worry if you don't hit it exactly.


Photobucket

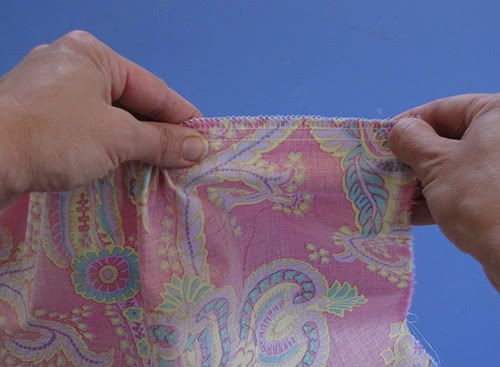
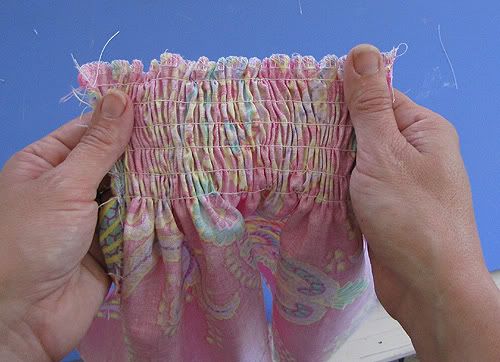
Once you have tied off all of the threads, work the shirring between your fingers to evenly distribute the gathers.


Photobucket

It will look pretty good, but not perfect. Here comes the fun part...set your iron to a hot, steamy setting, and blast the shirring with steam for a few seconds.


Photobucket

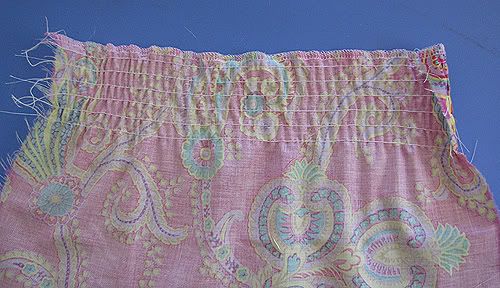
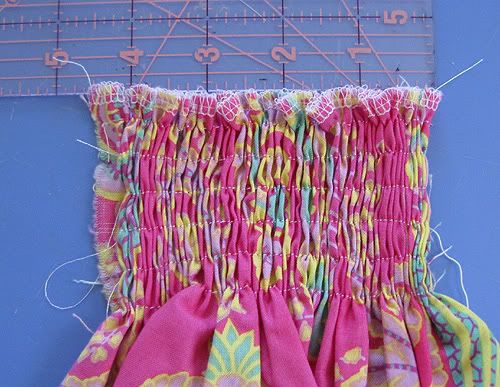
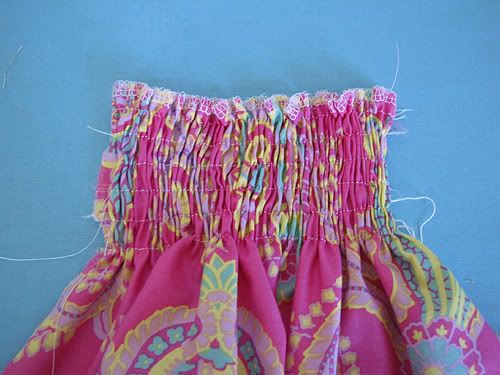
I didn't get pics of the actual process because the steam fogged up my lens, but the shirring magically shrinks up into a smocking-pleat perfect delight!


Photobucket

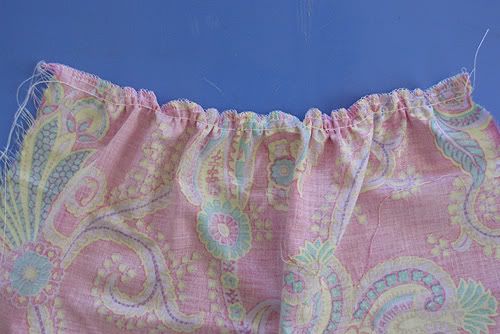
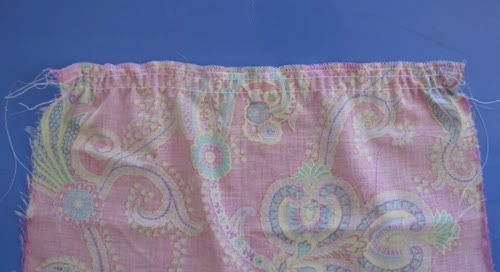
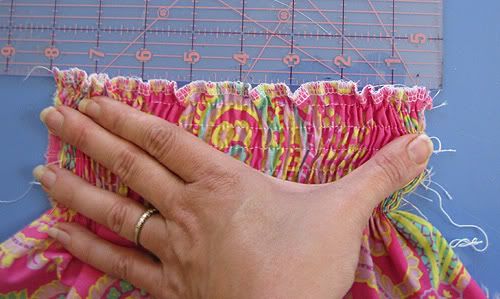
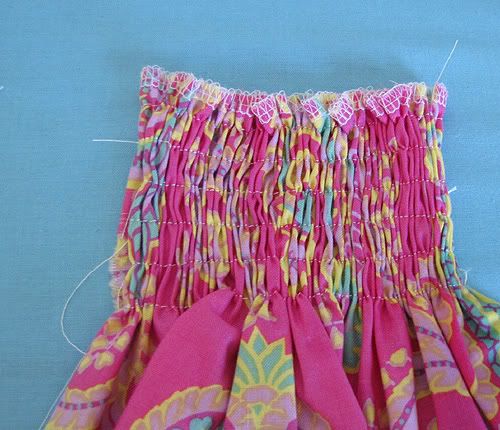
Fully stretched, my final shirred band is about 8" - 50% shorter than the original length.


Photobucket

Unstretched, it is 4" - 75% shorter than the original length! I've never been able to get such nice, tight shirring before, and I'm looking forward to playing with the amount of gathering for different effects. Now that I have control of my shirring, I need to do some math and plan my sundress!