Showing posts with label tank. Show all posts

Tuesday, July 7, 2015

Asymmetrical Collar VIDEO tutorial for the Tobago/Tortola


This video tutorial is done in 2 parts (for rural internet uploading speed convenience...)  I hope you enjoy!

and as always we LOOOOVE to read your comments and thoughts and would love to see pics! 


Tuesday, June 23, 2015

cute as a button(up tank romper) can be!!! TUTORIAL


I love rompers on my kids! So cute and easy, no finding a matching (or not matching...) top and bottom for them to wear. and very sun friendly.

Today I mashed 2 patterns together to get this tank button up romper! The bow was a last minute addition and not in the tutorial.... but I'm sure you guys can figure it out if you want it, or ask in the LAB group on Facebook! 
To complete this look you will need the Sisboom Tobago (or Tortola if you want a ladies version) and the Easy fits for kids (or adult  if doing a lady version)


CUTTING:
Cut your easy fits to the pattern. I did a 4 inch is inseam length. Really just eyeball it and better safe than sorry, easier to cut off a bit than add to it.

The tank you will cut the back and back facing as per the pattern. The front you will cut a mirror image pair - with an extra inch added to the front of each piece and the facing pieces.

SEWING:

First I want you to take your front pieces and iron the edge over for your placket - do not sew. fold 1/4 inch and then fold 3/4 inch so you have a 3/4 placket - for small buttons this is perfect. If you want big buttons you will want to add extra room to the front in the cutting so you can increase the placket width.


Now sew your facings to the front along both sides as per the tank directions. just make sure you unfold your placket to sew the facings on. and sew the back and facings as well.


Now you will follow the directions in the pattern for the straps and putting the front to the back.

Then Refold the placket area and then stitch it down. Remember for girls the left goes over the right 


pin the tank fronts together overlapping and stitch. I left my pin in there to help the placket area stay together as I sewed - less fabric wiggling about.


**At this point I really feel the need to apologize for these pictures .... This is what happens when you sew and do tutorial pics at nighttime. sorry for the quality.**

Now sew up the sides of the tank as per the pattern. and the easy fits - but don't do the waist elastic. Finish the bottom edges of the tank and the top edge of the shorts.

Next, if the tank width is a bit more than the easy fits width - like mine was, add a little elastic to the tank sides and stretch while sewing. This brought mine in the inch ish that was needed to make it the same width. Yes there will be gathers when you sew to the shorts and it won;t be flat... but we are doing elastic casing in the waistband so you won;t even notice.


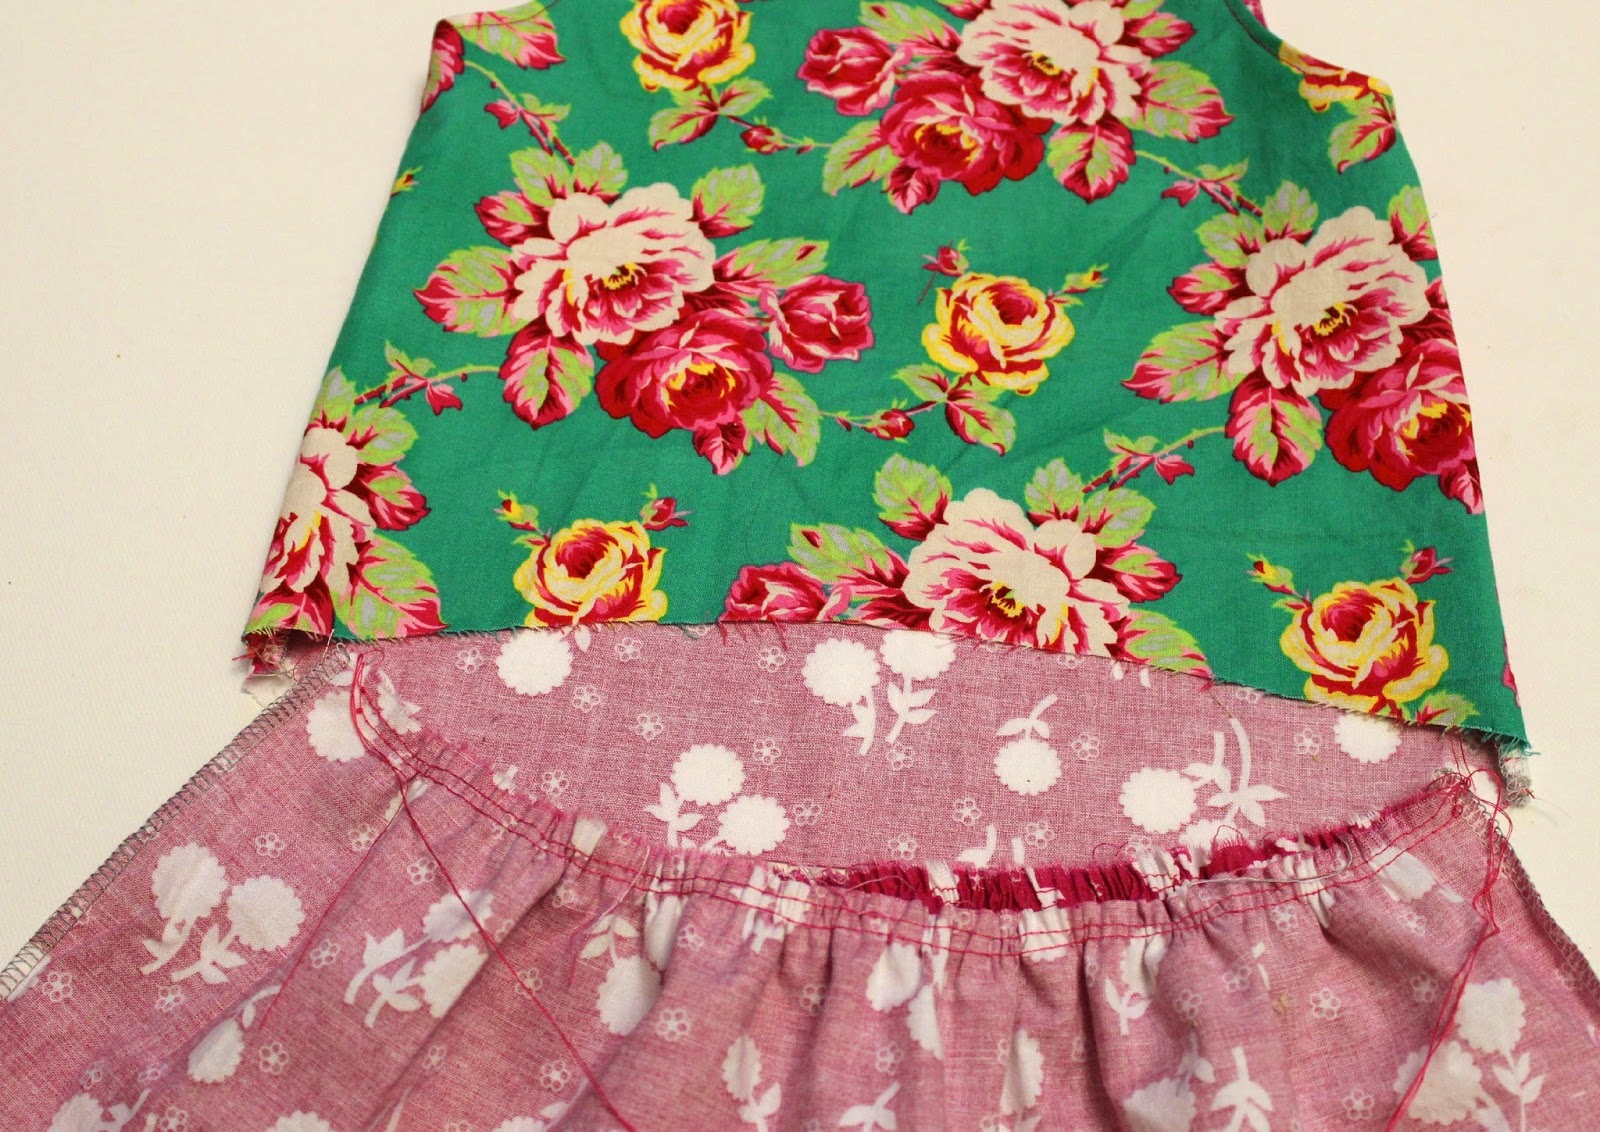
mark the sides of the shorts with a pin and place the tank inside - right sides together. pin sides and then pin about.


Sew along the top edge


and then sew another line 1/2 inch ish below that all around


Now flip the fabric flap up, and sew along the top edge - remember to leave an inch open to thread the elastic through. I used the elastic measures from the easy fits for the waistband.


Now do your buttons and holes or just do buttons for the top half and faux for the bottom half (like I did) The buttons do help with ease of getting it on and off so I don;t recommend faux all the way.


TA DA!!!! All done and cute as a button(up tank romper) can be!

and don't forget to be linking up your June sewing !!!! You could WIN!


Tuesday, August 12, 2014

Tobago gets a ruffled skirt!


I just HAD to try it out and see how the Tobago (it goes up to size 13/14!) would look as a hi-lo and as a dress and layered. Cute? I think so! ... but Cheeks does tend to make everything look adorable haha.


To start with you are going to need to draw a pretty steep curve on your bodice front piece. A few inches up on the fold line meeting the corner for the side seam


on the back piece you want to even out that hemline to a gentle curve


When you put your front and back pieces together you will have this - now, you could sew it up like this for an adorable baby crop(ish) looking top) or you can keep going for the skirt. 

Either way - sew the shirt as directed in the pattern before moving on to the ruffled skirt option.


(Cut your skirt strips according to the length you want the dress/top to be...  ) 

Sew the strips together at each short end.


 Now set your stitch length to the longest you have and sew two lines leaving nice long tails (see what I'm holding) for gathering the skirt portion.

Grab those long strings by the bobin threads and pull to gather. Gather until your skirt is the same width as the shirt and then put the right sides together of the shirt top and the skirt piece and pin in place.


Make sure your stitch length is back at normal and sew the skirt to the top! Finish te seams via the zigzag stitch or serger and then topstitch on the good side!


All done and oh so cute for fall! 


Monday, July 14, 2014

Tobago Here We Come!

We are THRILLED to be announcing the girl's version of the ladies Tortola today, The Tobago pattern


The pattern Goes from size 3/6m all the way up to 13/14! Each size has the option for a little 'V' slit in front, and multiple cutting length options so you can have dress or shirt or anywhere in between length!

The sizes up to and including 3/4 have a loop or tie option for the back to accommodate the toddler/baby head sizes easily into the shirt. 5/6 and above have a straight across back piece like the Tortola pattern.

Carla's pretty niece in her dress length Tobago made from Sisboom fabric's new line, Beauty Queen.

 Cheeks is sporting a shirt length Tobago

My oldest would not put her horse "Sparky" down for pictures! at least it matches her Tobago!

the sizes up to and including 3/4 have a button loop or ribbon tie for back close.

Angela's daughter all dressy in her sisboom circa Tobago 

 Our lovely Cathy made her daughter a Tobago in dress length!

 Kelly let her daughter pick her fabric and I think she did GREAT! Perfect print and style for a tween!

How sweet isn't Lore's little one with her knit Tobago (woven facing) 

Michelle made mother and daughter Tortola and Tobago's 

Mindy's daughter 

Crystal made a few Tobago's for her kids, first up is the one she made her son! 

In dress length with a V. 

Crystal kindly gave me a back shot of the size 5/6 so you can see 


 I just love sister pictures! Tomi made both of her girls a Tobago!

Tomi added a row of shirring to the waist for her middle daughters Tobago 


Brianne's girl got a unicorn Tobago (not n bias)


Jeanne's pretty girl in her fancy Tobago.  

Love the tunic length with tights Crystal choose. 

Lore's pic shows how dressy Tobago can be! I love her fancy button and shoes to match!

Jenny  got fancy with trims on her daughter's Tobago's! This pattern is so great for having fun with!


Christie made this beautiful Tobago for her tween aged daughter


You are sure to love this staple summer piece whether you make it in dress, tunic or shirt length! (And I think it will transition nicely to fall when you layer).  

You can buy it HERE in our etsy, and until July 16, 2014 it is on intro pricing of only $5 !!!

and another Tobago for Berry! You'll see this one again soon :) (blog post tutorial coming up soon!)

If you want the details on the Women's pattern, Tortola, check out THIS blog post!