Tuesday, December 23, 2014

Adding Pockets to the Easy fits!


I don't know about your menfolk, but my husband was very insistent his Easy Fits HAD to have pockets for his phone when I made them.... and I think the next pair I make myself will get pockets as well ... I mean why not right.... I have a phone too .... 

To start with grab a piece of paper (A4/ 8.5x11)  and draw yourself a square with the measures in the corner and cut that out. These measures sare for the ADULT easy fits pattern. You can of course adjust and scale as needed or seen fit :)


Now use the large piece as your pocket pattern and cut 4 pieces, 2 mirror image pairs. 


Pin them right sides together and you will sew along the bend sides as shown below


Snip those corners and then turn and press.
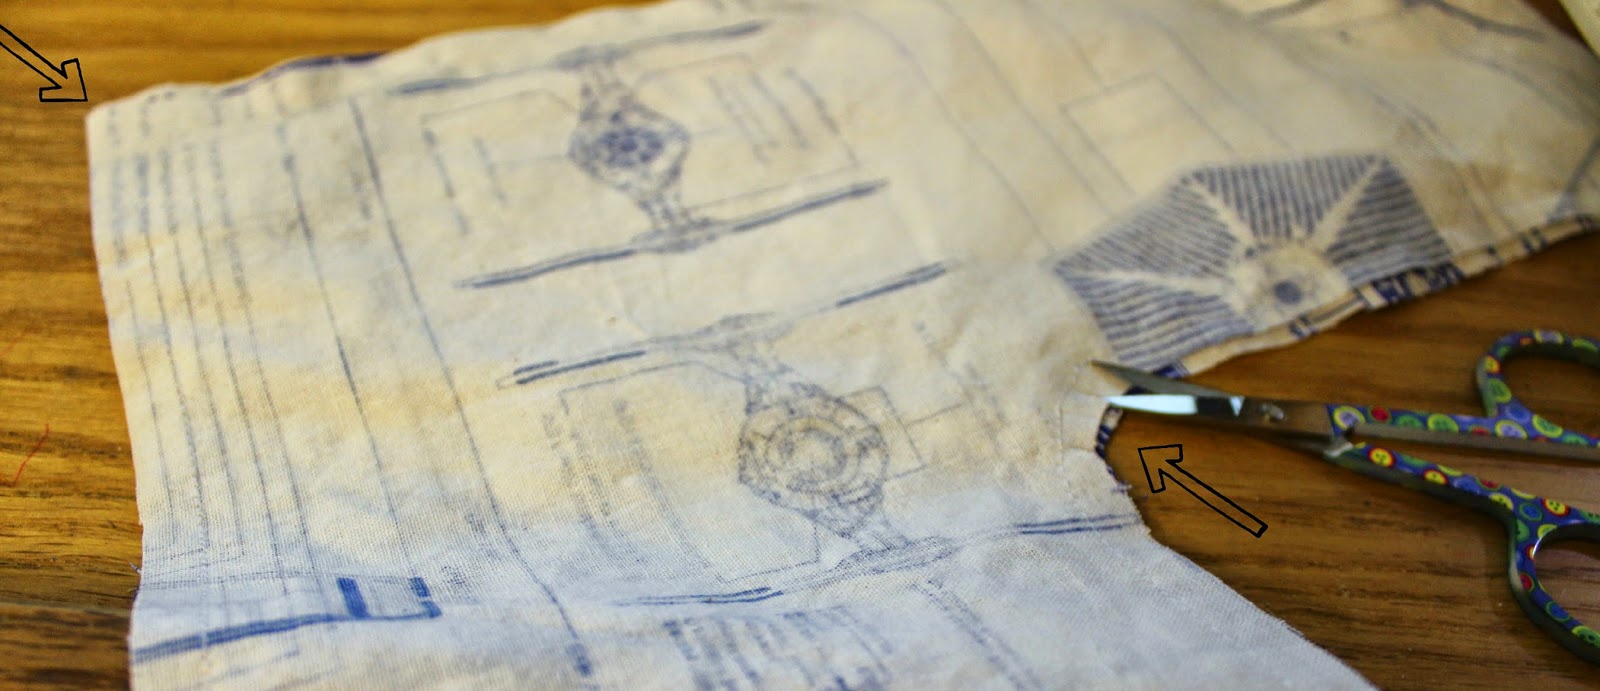

Fold the short end edge over


The top of the pocket I serged and the short end is folded in from the previous step. Now pin and top stitch the inside bend edge and down the side.


Now you will just sew the fronts together or fold your piece in half like you cut and pin the pockets on the halfway line along the straight edge of your cut out. I did an inch from the top for more hand room and right along the edge you sew along all 3 edges. the top, down the long bend and up the side.


and now sew the pants together as per the pattern, and there you have it, pockets on your easy fits!

Merry Christmas and happy holidays folks!


Friday, December 5, 2014

A Giving Christmas with a FREE pattern


Today we are a part of the blog tour happening at Paisley Roots, a giving Christmas, where kids are getting into the crafting and giving spirit of the season.

My girls both love to do crafts of all kinds, but I prefer sewing related crafting, so our project today is the FREE Beauregard bear pattern from Sisboom

This free pattern comes in 3 sizes, small, medium, and large. We did the small size since that is easier for their little hands to work with and less time consuming to sew and stuff with fluff.


The kids each picked their fabric from the scraps pile and pinned on the pattern piece. I did all the cutting. then they helped me sew at the sewing machine (which pretty much means sat on my lap and watched)

I tried getting them to stuff their bears, Berry did GREAT and got all the fluffy inside, Cheeks however, was a little confused on where the stuffing was meant to be located haha.  


and in 30minutes time we had two cute little bears for the girls to give big squishy hugs too and wrap up for a friend/relative!


Will you be crafting with your kids this December and making some handmade gifts?

Monday, November 17, 2014

Challenge + FREE pattern! (details in the post!)


You are officially challenged to take the scallops from the Twirl Scallopini pattern and use the scallop templates/techniques on any other Scientific Seamstress/Sisboom pattern!
Challenge ends with the month of November 014 and to enter you need to upload a picture of what you have made into the album in our facebook group!


Oh! and did I mention the twirl scallopini pattern is now FREE for you challenge participators ?? Yep, it is! until the end of November 2014! Just join the facebook group for all the details and fun!


Whose in ??? 


Tuesday, November 4, 2014

Kitten Hoody from All the Rage Raglan


Well I finally (FINALLY!) went through my kids clothes! Piled everything they own into the living room and made piles of what fits and what needs to go. I regretted it the minute I started, but now I'm glad it's done. In this sort I discovered that my kids are REALLY lacking on the long sleeves and hoodies departments. Naturally this means you get another girlied up All the Rage Raglan tutorial!

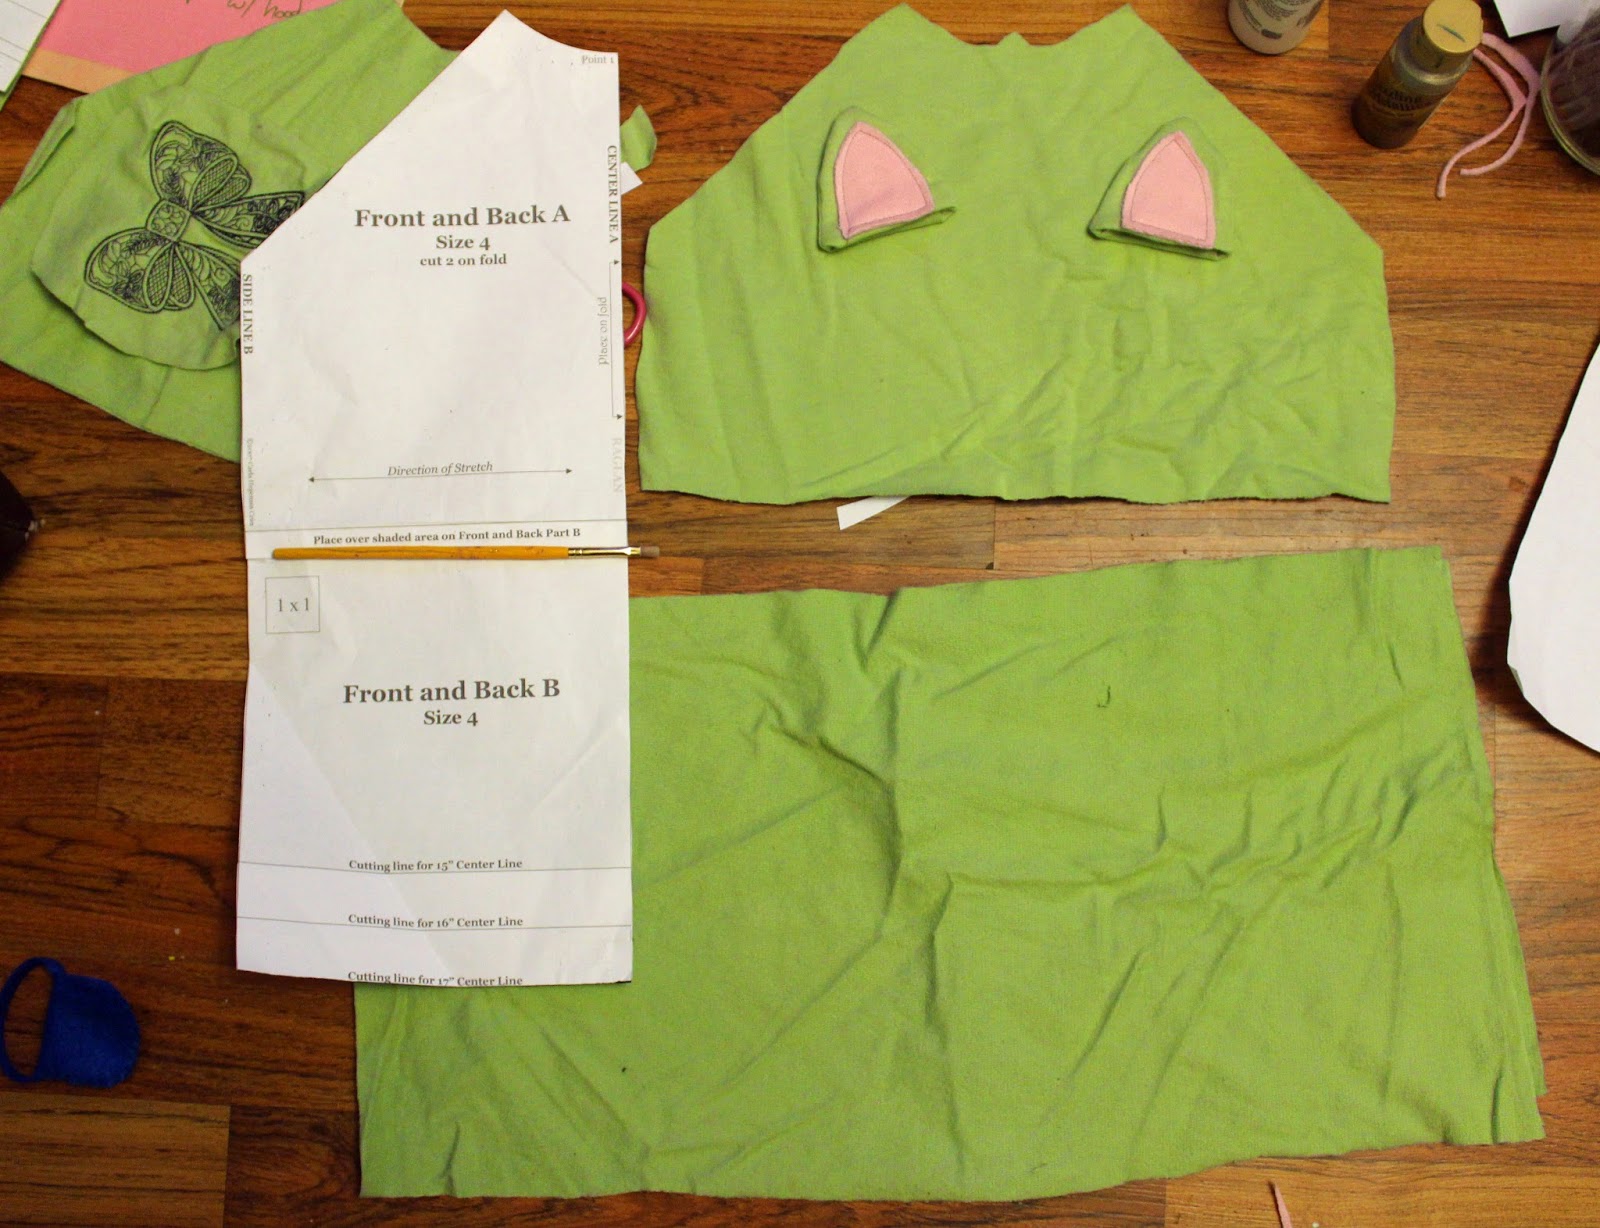
This is really quite simple. Get out your front and back piece and decide where you want to have the top end and skirt start. The angled line bottom is where the armpit is, so keep that in mind. I cut my top where the two pattern pieces attach (see the paintbrush?).  I will likely do another but cut it closer to the armpit line, but for this one I wanted to do a kitten face and needed the space.

Cut 2 skirt pieces about 1.5 times the width of the top piece.

(ps. it really bothers me how bright the fabric is looking in the above pic... night pictures ...)

For the face I cut 4 triangles and sewed them right sides together then flipped and sewed on the  front of the shirt and painted the face. If you are doing a face I recommend doing it before sewing the shirt together. It saves so much headache.

Sew the top up as the pattern directs and then you put the skirt pieces right sides together and sew the side seams and then gather and sew to the top.


All done and adorable!