Tuesday, July 29, 2014

Rebecca dress with a gathered skirt - tutorial!


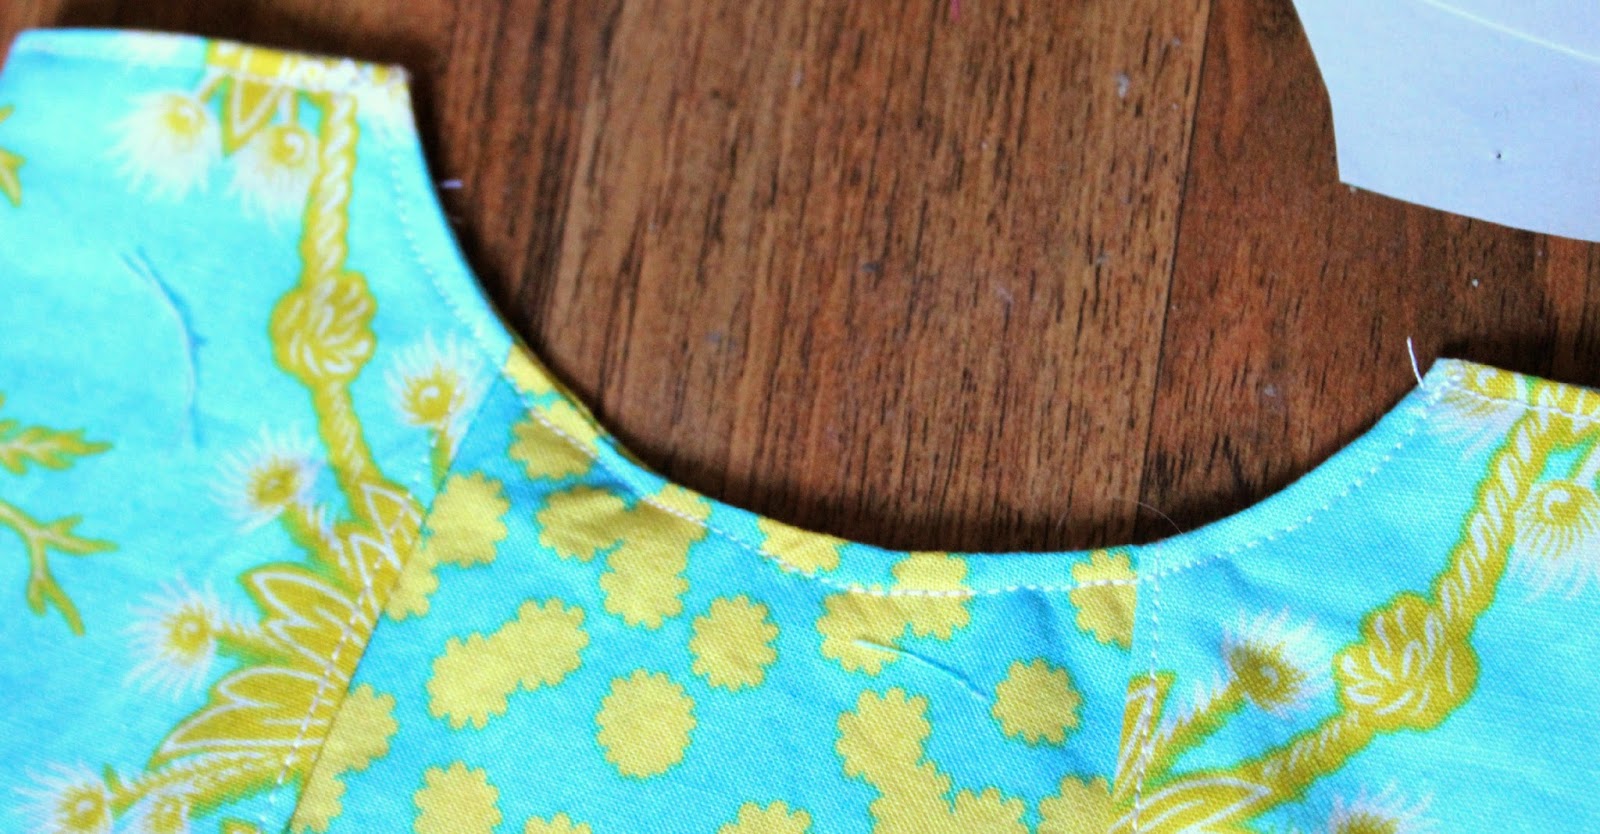
I don't know about you, but straight skirts never really feel like my friend, and especially not after the second baby. However, I LOVE the neckline and details of the Rebecca pattern! So, I decided to do a gathered skirt on the Rebecca! 

ps. do NOT forget to muslin, muslins are indeed your friends and worth the extra work!

This is really so simple folks! I took the Angie skirt dimensions - and cut them down by a few inches for each pieces (less gathering) and the Angie pocket pieces as well. 

If you don't have the Angie and still want to do this for the Rebecca you will need a measuring tape. Measure your front bodice and then cut a rectangle of fabric that is: bodice width x 1.5 or 2 by the desired length. and then measure side pieces and cut two (2) rectangle pieces that are  bodice width x 1.5 or 2 by the desired length. 

If you are using the Angie measures you can simple cut the second rectangle in half to give you the 2 pieces for the back skirt.

 So you should have 3 skirt pieces. one large rectangle and then 2 smaller ones plus 4 pocket pieces if you are adding on pockets.


Sew your pockets a couple inches from the tops of each skirt piece as seen above and then you put the sids together and sew - like the Angie pattern. and you will have a long skirt piece with the middle in the center and a back skirt piece on either side. Now you gather it up and then attach as per the directed in the Rebecca pattern!


Nice and easy right? 

Now another thing I want to touch on is that the Rebecca is NOT meant to be a skin tight ultra fitted bodice. of course you can size down to get it how close fitting you want it, and should practice getting the fit you want via a muslin.. I want to show you this pic - as you can see I can pinch an inch in front and back.   


but that extra bit makes this dress sooo comfy, and it still looks fitted.

Do you see my zipper?

I LOVE this dress, I love the fit, I love the colours and fabric (the new Jenny Eliza found in Joann's fabric stores btw) and I LOVE the gathered skirt. I feel ready to go have tea with the queen! 


Monday, July 28, 2014

ROAD TRIP TIME! with Liesl Gibson of Straight Stitch Society and Oliver +S!


Today is the release of the 4th pattern in the Road Trip Pattern Club!  Introducing the In a Clutch Cosmetic Case by Liesl Gibson of Straight Stitch Society and Oliver +S! !!

This cute little bag/clutch is so pretty and has options as seen in the picture to jazz it up! No need to walk to that campground potty feeling blah! Does anyone here camp? Well, even if you are staying at a hotel - keep your cosmetics pretty and tidy in your suitcase! or throw your keys and card in it for the beach! 

Do you love it? I love the simple ruffled details! 

Of course, you can buy into the road trip at anytime during the tour and get all 5 patterns as they release (only 1 to go - how this summer has flown by!) for only $35 !!!! GREAT deal ! These patterns will not be up for individual sale until October, but at this price that is only $6 a pattern! 

Here are some pictures of the already released patterns in the tour and if you want more details about the pattern club you can Click here to view more details


of if you are already sold you can just click below :) 


Want to know who is designing the next pattern and a hint? 

Carolyn Friedlander in Florida is the final destination! Carolyn, a quilt and fabric designer, travels frequently to teach quilting and sewing classes. Her pattern design for the club is sure to help you sew on the go.

Tuesday, July 22, 2014

SUPER Tobago to the Rescue!!! A hero tutorial.


I don't know about your child/ren, but, my oldest LOVES to dress up as a superhero or a "cowboy girl". I never get asked for princess dresses... My husband though is strictly against the capes that go around the neck and doesn't want them in the house (choking hazard he says, which is likely true since Berry likes to stay dressed up to sleep half the time).  So, I NEEDED to think of someway to get a superhero cape to Berry that would meet the safety requirements in our house and then Carla made the Tobago pattern!   

This tutorial will work for both boy and girls, and you could no doubt use it for the adult Tortola as well. 

I wanted Berry to have a shirt that looks cute without the cape and is the prettiest superhero on the block with the cape! I really think I succeeded!  

no cape attached:

Super Berry! :

Now let's get started on the how to for this super awesomest project! Up, UP and AWAY!!! 

To start with take your finished Tobago and a piece of large paper and fold in half. I drew my own cape pattern, though you could use the back piece of the Tobago pattern for the top shape. 


The reason I did not use the back piece of the Tobago is I wanted the cape to be slightly higher on the back neckline than the Tobago. If you are like me, you will want to draw it so that you have a similar width for the straps (plus seam allowance) and then out and around to be cape-ish.


Here is my finished cape pattern, you can see the straps have seam allowance on each side and the higher neckline and shape I went for, but you can certainly use this time to be creative and make it how you prefer.


Now, you will need to make yourself a facing piece. simply put your cape piece on a piece of paper and trace around the top and sides until about 4 ish inches down the side, you can see below where my line was.


and my finished cape facing piece.


The 2 pattern pieces.


Now I was a bit keen on taking this next pic... but you need to sew along the bottom edge of your facing and around your cape sides, right sides together, - either zigzag or serger if you have one. Then put the facing piece onto the cape piece and sew at the sides and about the neckline (where I've marked in the pic below).


Flip the facing out and iron it down so you have nice crisp edges and then fold your "strap" ends in 1/4 inch for the cape and facing and topstitch around the top of the strap stubs and neckline.


Now since I serged and this is just a play cape I flipped my serged edge under 1/4 inch and topstitched. You could put bias tape around the edges for a tidy look or double fold and hem.


Next is snap attachment. I used my handy Kamsnap hand pliers and picked a snap to match the cape and a snap to match the tank - make sure you get one female end and one male end!


And the cape simply snaps on and off the tank! Which means your kid has a cute tank and a superhero costume, which if you ask me makes YOU the superhero in this story!


and now is the time to add embellishments to your cape. I made a patch and added an applique.


All done! Let your kid think they are the hero now and have a blast safely playing superhero!


Really is pretty isn't it? 

I can't wait to see all your pretty superhero Tobago's!!!! Post them in the LAB GROUP on Facebook! 

Headband ITH pattern from Bobbin for Appliques, Letter applique from Hang to Dry all fabric from Sisboom fabric lines.

Tuesday, July 15, 2014

Tortola Gets FANCY! Dress version 2 ways!


Hey ladies!!!! I have to tell you all - the Tortola pattern makes a FAB dress!!!!! And the tutorial is easy peasy! (Though some of the pictures not the best - sorry... camera battery died so they are mobile pics)

but pretty dress Tortola is worth suffering through some not so great pics.


To start with you add some length to your tortola pattern, both Cathy and myself (Jeanine) just used that bottom piece of the pattern and moved it down.  LOVE the shirt tail hemline afterall!


*You sew up the Tortola as per the pattern if you are going to just do a straight dress version. You will get something like this:


If you are wanting the casing then keep reading!

Sew the facings as per the pattern and then measure about where you would like your casing to be, I did drop waist. flip inside out and draw a nice light line so you know where to put the bias tape.


The hard part is deciding to do all casing or to add in the drawstring! 

*If you choose drawstring make two small buttonholes next to each other after your casing line is drawn.

Get your bias tape out and pin along the line you drew for the front and back - overhang the edges each about an inch.


See the overhang? Sew the bias tape along the top and the bottom nice and close to the edge starting and ending an inch or 2 from the edge of the sides. You can see below where I started sewing along the casing edge. (this pic below is the bad one... sorry.)


Now you will fold the casing back and sew up and finish the side seams. After you do that it is a good place to try on and make sire you don't need to make some minor fit adjustments.


Next you will thread through your elastic! 

*If you are doing elastic all the way around you can fold one of the sides casing over each other and stitch down since you only need one opening thread your elastic and sew the other casing side seam closed..


If you are doing a drawstring front thread your elastic through the back and then your drawstring through the button hole and o the side for each piece of your string/ribbon/choice of drawstring.


Sew the drawstring to the elastic and stitch in the ditch to secure it in place at the sides.


Now fold your edges over and overlap


and then sew along the top edge to close off your opening.


If you were a bit like me and sized up due to not cutting on the bias and realized the fit was too big and you should not have sized up, you can add a little back pleat to bring the shoulders in.


and the dress with drawstring is now done!


 I love both versions of the dress Tortola and can't pick a favourite really! 

Which is your favourite? The knit straight skirt version or the woven drawstring/casing version?
Which version will you be trying for yourself?

Don't forget if you have any questions or want more details find us in the LAB GROUP on facebook!

TThe girls-tween version is currently available in the Etsy and called the Tobago! The Tobago is priced at $5 until July 16th, 2014 (est)

Monday, July 14, 2014

Tobago Here We Come!

We are THRILLED to be announcing the girl's version of the ladies Tortola today, The Tobago pattern


The pattern Goes from size 3/6m all the way up to 13/14! Each size has the option for a little 'V' slit in front, and multiple cutting length options so you can have dress or shirt or anywhere in between length!

The sizes up to and including 3/4 have a loop or tie option for the back to accommodate the toddler/baby head sizes easily into the shirt. 5/6 and above have a straight across back piece like the Tortola pattern.

Carla's pretty niece in her dress length Tobago made from Sisboom fabric's new line, Beauty Queen.

 Cheeks is sporting a shirt length Tobago

My oldest would not put her horse "Sparky" down for pictures! at least it matches her Tobago!

the sizes up to and including 3/4 have a button loop or ribbon tie for back close.

Angela's daughter all dressy in her sisboom circa Tobago 

 Our lovely Cathy made her daughter a Tobago in dress length!

 Kelly let her daughter pick her fabric and I think she did GREAT! Perfect print and style for a tween!

How sweet isn't Lore's little one with her knit Tobago (woven facing) 

Michelle made mother and daughter Tortola and Tobago's 

Mindy's daughter 

Crystal made a few Tobago's for her kids, first up is the one she made her son! 

In dress length with a V. 

Crystal kindly gave me a back shot of the size 5/6 so you can see 


 I just love sister pictures! Tomi made both of her girls a Tobago!

Tomi added a row of shirring to the waist for her middle daughters Tobago 


Brianne's girl got a unicorn Tobago (not n bias)


Jeanne's pretty girl in her fancy Tobago.  

Love the tunic length with tights Crystal choose. 

Lore's pic shows how dressy Tobago can be! I love her fancy button and shoes to match!

Jenny  got fancy with trims on her daughter's Tobago's! This pattern is so great for having fun with!


Christie made this beautiful Tobago for her tween aged daughter


You are sure to love this staple summer piece whether you make it in dress, tunic or shirt length! (And I think it will transition nicely to fall when you layer).  

You can buy it HERE in our etsy, and until July 16, 2014 it is on intro pricing of only $5 !!!

and another Tobago for Berry! You'll see this one again soon :) (blog post tutorial coming up soon!)

If you want the details on the Women's pattern, Tortola, check out THIS blog post!