

I don't know about your child/ren, but, my oldest LOVES to dress up as a superhero or a "cowboy girl". I never get asked for princess dresses... My husband though is strictly against the capes that go around the neck and doesn't want them in the house (choking hazard he says, which is likely true since Berry likes to stay dressed up to sleep half the time). So, I NEEDED to think of someway to get a superhero cape to Berry that would meet the safety requirements in our house and then Carla made the Tobago pattern!
This tutorial will work for both boy and girls, and you could no doubt use it for the adult Tortola as well.
I wanted Berry to have a shirt that looks cute without the cape and is the prettiest superhero on the block with the cape! I really think I succeeded!
no cape attached:

Super Berry! :

Now let's get started on the how to for this super awesomest project! Up, UP and AWAY!!!

To start with take your finished Tobago and a piece of large paper and fold in half. I drew my own cape pattern, though you could use the back piece of the Tobago pattern for the top shape.

The reason I did not use the back piece of the Tobago is I wanted the cape to be slightly higher on the back neckline than the Tobago. If you are like me, you will want to draw it so that you have a similar width for the straps (plus seam allowance) and then out and around to be cape-ish.

Here is my finished cape pattern, you can see the straps have seam allowance on each side and the higher neckline and shape I went for, but you can certainly use this time to be creative and make it how you prefer.

Now, you will need to make yourself a facing piece. simply put your cape piece on a piece of paper and trace around the top and sides until about 4 ish inches down the side, you can see below where my line was.

and my finished cape facing piece.

The 2 pattern pieces.

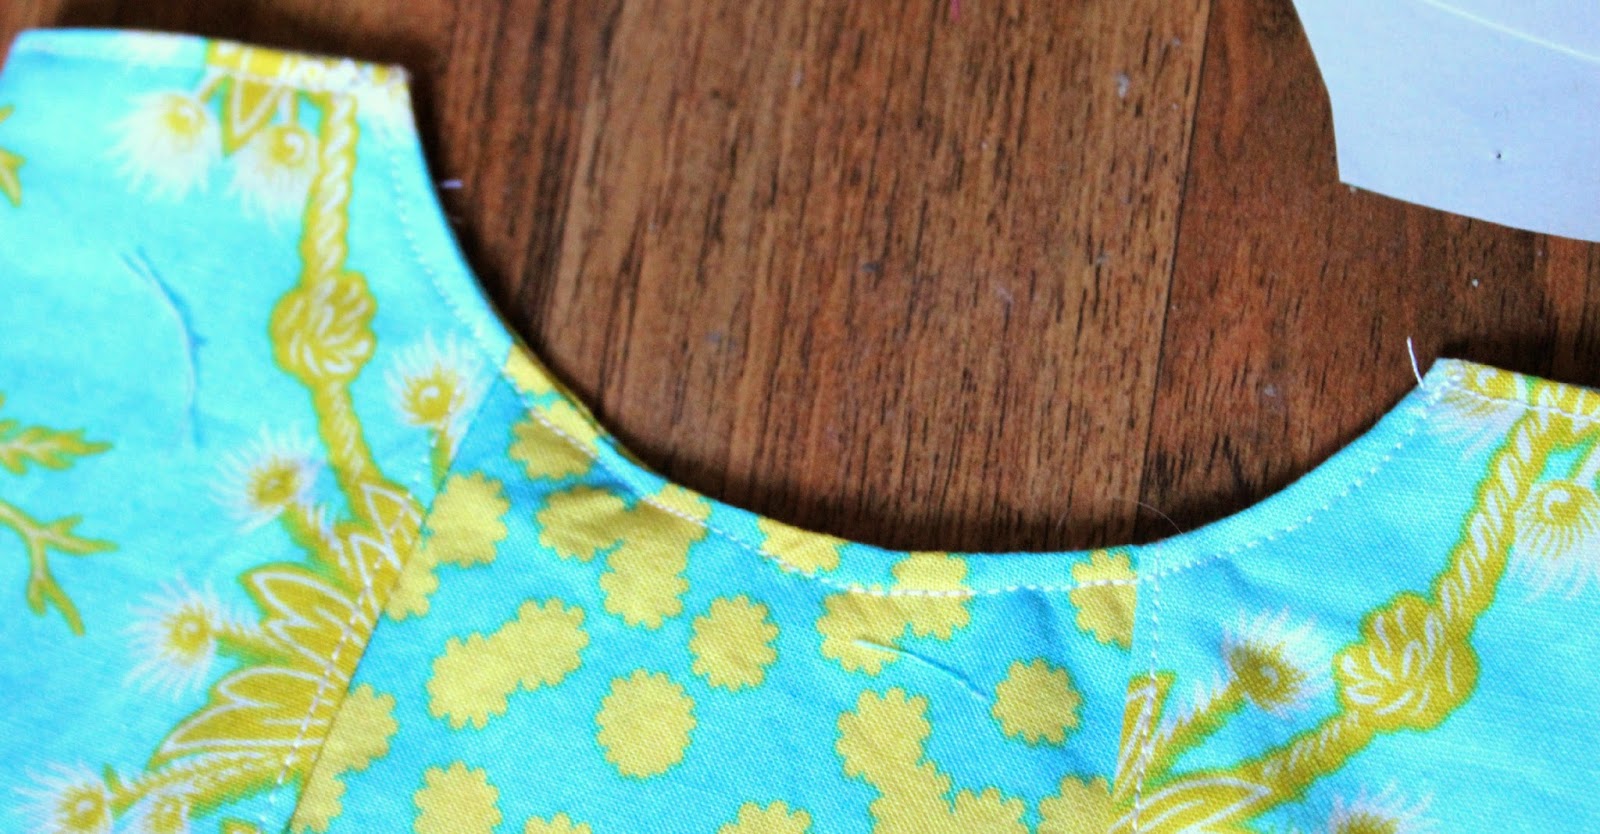
Now I was a bit keen on taking this next pic... but you need to sew along the bottom edge of your facing and around your cape sides, right sides together, - either zigzag or serger if you have one. Then put the facing piece onto the cape piece and sew at the sides and about the neckline (where I've marked in the pic below).

Flip the facing out and iron it down so you have nice crisp edges and then fold your "strap" ends in 1/4 inch for the cape and facing and topstitch around the top of the strap stubs and neckline.
Now since I serged and this is just a play cape I flipped my serged edge under 1/4 inch and topstitched. You could put bias tape around the edges for a tidy look or double fold and hem.

Next is snap attachment. I used my handy Kamsnap hand pliers and picked a snap to match the cape and a snap to match the tank - make sure you get one female end and one male end!

And the cape simply snaps on and off the tank! Which means your kid has a cute tank and a superhero costume, which if you ask me makes YOU the superhero in this story!

and now is the time to add embellishments to your cape. I made a patch and added an applique.

All done! Let your kid think they are the hero now and have a blast safely playing superhero!


Really is pretty isn't it?
Headband ITH pattern from Bobbin for Appliques, Letter applique from Hang to Dry all fabric from Sisboom fabric lines.
3 comments:
Why does the cape need a facing piece?
To finish the edges pretty and it is easier to do a facing with the neckline I find than a double fold hem ~Jeanine
Thanks for linking to my party!
I think everyone could use a cape all the time:)
Post a Comment