

Hi!!! It is I, Jeanine, here with another tutorial/add on post!
This time for the Vanessa pattern! (kids/tween version is the Bettyann)
I LOVE this pattern!!! I LOVE my shirt length one with shorts and I LOVED this one before I added the 18" ruffle to this one and I LOOOOOOOVE it maxi length!!!! So pick up your copy and try it out!

Today I have 3 tutorials for you!
1. the straps to make this dress friendly for those of us with nursing babes!

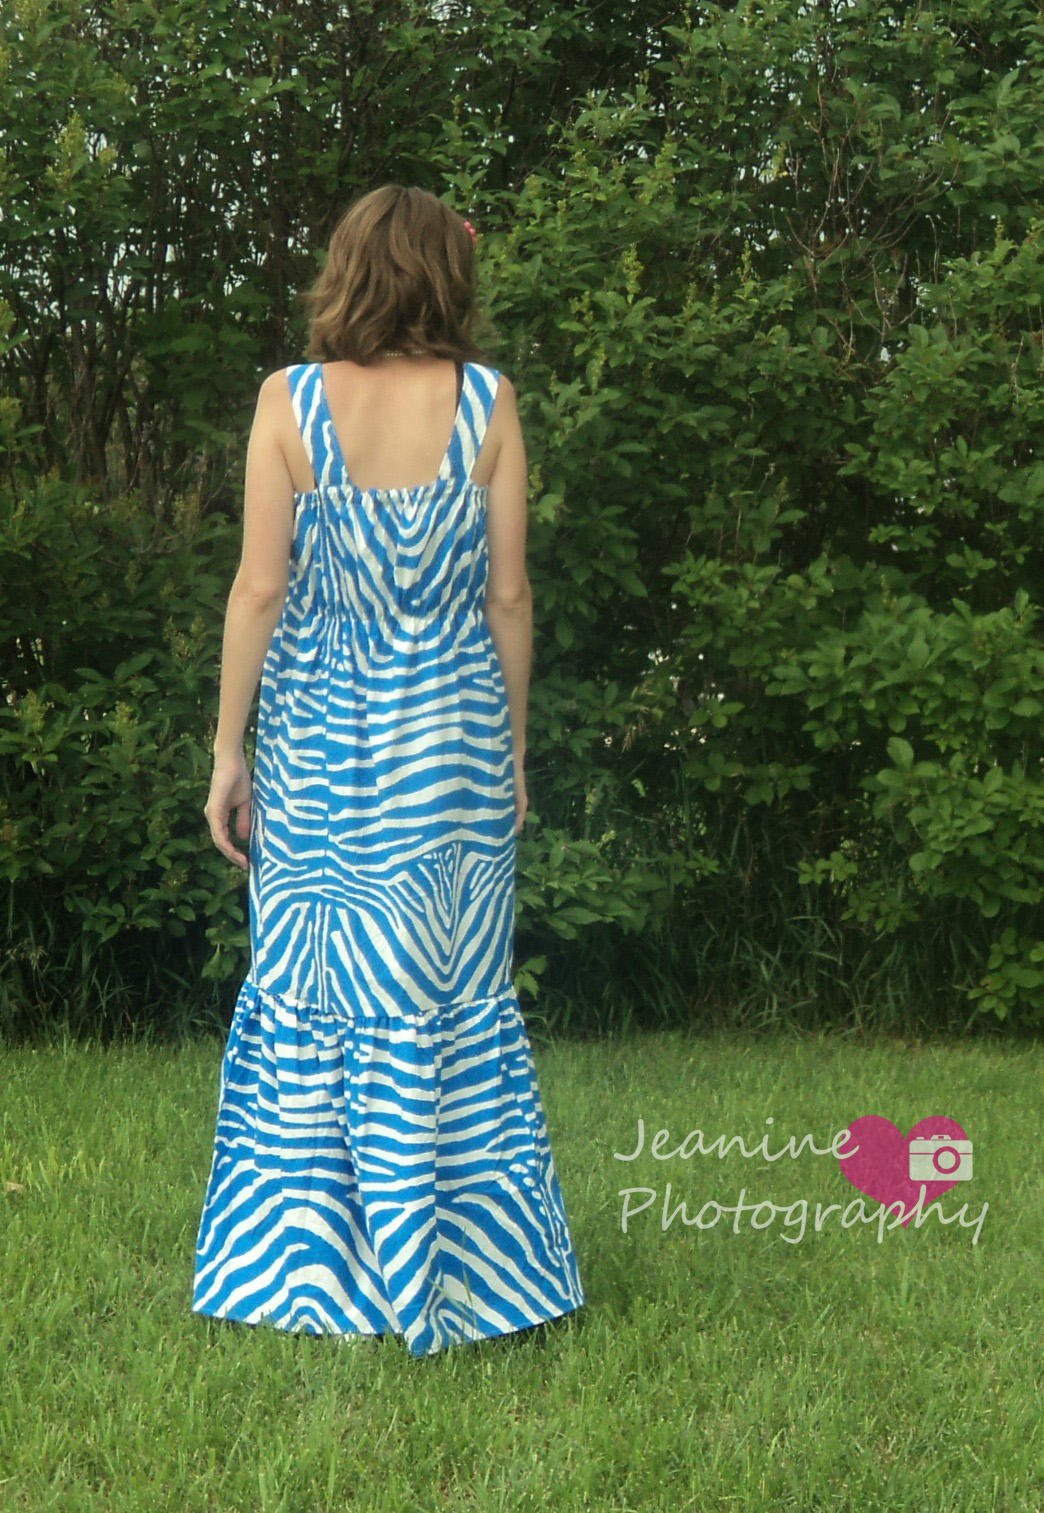
2. a back cinch to give the back a little more shape in a very easy way!

3. 18 inch ruffle on the bottom! (isn't it gorgeous with the ruffle!)

Most of the dress you will be sewing as stated in the pattern but there are a few steps where you will need to pause and do the following!
To start with get a measuring tape and notice about where on you 18 inches from the floor hits - for me that was bout knee so I looked at the handy dandy leg chart and cut my main Vanessa pieces at the appropriate length for my height


So Let's begin with the first tutorial - the straps to be nursing friendly!
First when you sew your straps - sew them MOSTLY as directed - the only difference is that you will sew about the square edge and clip the corners. Then turn out and topstitch as pattern directed.

Then continue following the patetrn for putting them in the back of the Vanessa, but when you get to putting them into the front - DO NOT put them in!!!! (see below - no straps inserted between the layers!)

Now do a buttonhole at the bottom of each strap. I love my auto button holer! but I suppose you could also do snaps if you dislike buttonholes :)

Now where the pattern had you draw the dots (or if you are like me I square out those bits), anyways, in between those is where you will put your buttons - but on the pretty side

See - the button sewn on! and the back side of where the other button is right there by my thumb on the left

Now continue as the pattern says with the topstitching, elastic back, etc.
This Next part you do one completed sewing the dress up
2. Cinching up the back! I personally liked the look of it not cinched at the back - but the husband thought I should cinch it in a bit - so I let him have that one. compromise..
I looked in the mirror to get an idea of where I wanted it to go in a bit and then had my husband measure from the top to where I wanted the cinch in to be and then marked that line on my fabric with disappearing fabric pen

For myself this was 7 inches from the top.

Then I took a piece of elastic that was the length of my back (or you could use the measurements given for the top elastic piece- but that might give it a bit of a tighter for than my cinch in) Pin each end of the elastic to the ends and the middle of the elastic to the middle of the back. (I marked it on the dress and elastic). Then I stretched and pined half way between each pin.

Next take that to your sewing machine and stretch the elastic fully out to the fabric as you sew (If you have made the Tommy/Louey boxers you are familiar with this how to) I used 3/8 elastic and just did one line of stitching through it.

And lastly the bottom ruffle - this one is quite easy to do - but fabric heavy :)
Measure the bottom of your Vanessa as is. Now you will want to cut 19" ruffle pieces that are 1.5-2x the length of the bottom (depending on how gathered you want it to look) Mine is 1.5 times the length for light gathers.

Sew what will be your bottom ruffle pieces together (short sides, right sides together)

Now hem the bottom of your ruffled skirt piece, this will be the bottom of your dress. I use my fancy foot and then turn over again and hem, but you use whatever method you prefer.

Next gather your top edge of the bottom skirt. (I forgot to get a picture of this... )but increase your stitch length to the highest you can and then sew two rows of gathering stitches - do NOT backstitch, and pull the bobbin threads to gather.

Now put your ruffle piece inside your vanessa bottom - right sides together. Pin the side seams first and then the middles, spread your gathers evenly and stitch it up! Don't forget to finish your seam - zig zag or serge :)

There you have it - all done!!! Now try it one and do a photoshoot and share a picture with us pretty please! on our facebook page or in our facebook group!
Perfect for playing in! and it keeps the bugs off the legs!

Any tutorials you would like to see next? How about a sew a long? We have one coming soon! Keep your eyes peeled to facebook on Friday!
No comments:
Post a Comment