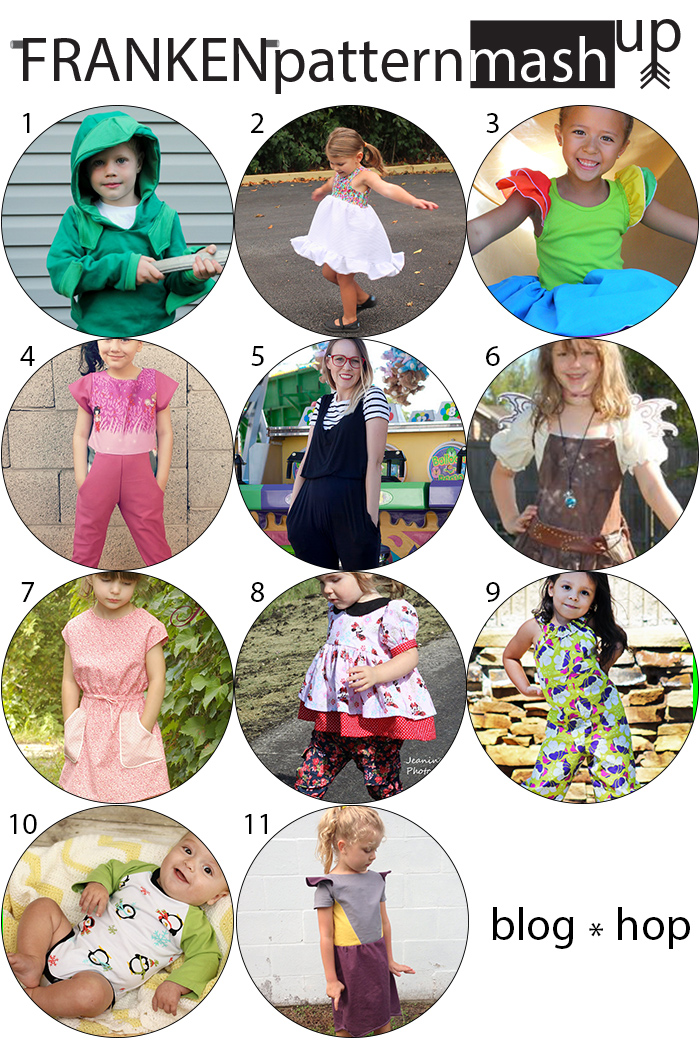
This month is going to be soooo much fun!!! I hope you will all participate and Sew the Theme with us! Of course it will be worth your while to check this months newsletter out if you need some patterns from the shop ;) and subscribe to future ones while there (top left corner).
Wednesday, December 31, 2014
Tuesday, December 30, 2014
A look at the 2014 sewing!
A friend of mine added up how many items she's made this year and the number blew me away! THEN she said she didn;t know why I was so shocked as I've likely made a similar amount...
So here it is a photo collage of all the Scientific Seamstress/Sisboom patterns sewing I've done in 2014!
I must admit I'm kinda shocked by the amount .... and all the tutorials can be found here on the blog!
Did you count as you went? well the number is 82 (3 items not pictured because it was exactly the same as the one pictured - the fun of 2 girls)
How many items have you sewn in 2014?
I'd call that a pretty successful 2014! Now.... Will I be able to outdo that number in 2015 ???
All the patterns can be found in our shop here
Tuesday, December 23, 2014
Adding Pockets to the Easy fits!
I don't know about your menfolk, but my husband was very insistent his Easy Fits HAD to have pockets for his phone when I made them.... and I think the next pair I make myself will get pockets as well ... I mean why not right.... I have a phone too ....
To start with grab a piece of paper (A4/ 8.5x11) and draw yourself a square with the measures in the corner and cut that out. These measures sare for the ADULT easy fits pattern. You can of course adjust and scale as needed or seen fit :)
Now use the large piece as your pocket pattern and cut 4 pieces, 2 mirror image pairs.
Pin them right sides together and you will sew along the bend sides as shown below
Snip those corners and then turn and press.
Fold the short end edge over
The top of the pocket I serged and the short end is folded in from the previous step. Now pin and top stitch the inside bend edge and down the side.
Now you will just sew the fronts together or fold your piece in half like you cut and pin the pockets on the halfway line along the straight edge of your cut out. I did an inch from the top for more hand room and right along the edge you sew along all 3 edges. the top, down the long bend and up the side.
and now sew the pants together as per the pattern, and there you have it, pockets on your easy fits!
Merry Christmas and happy holidays folks!
Friday, December 5, 2014
A Giving Christmas with a FREE pattern
Today we are a part of the blog tour happening at Paisley Roots, a giving Christmas, where kids are getting into the crafting and giving spirit of the season.
My girls both love to do crafts of all kinds, but I prefer sewing related crafting, so our project today is the FREE Beauregard bear pattern from Sisboom!
This free pattern comes in 3 sizes, small, medium, and large. We did the small size since that is easier for their little hands to work with and less time consuming to sew and stuff with fluff.
The kids each picked their fabric from the scraps pile and pinned on the pattern piece. I did all the cutting. then they helped me sew at the sewing machine (which pretty much means sat on my lap and watched)
I tried getting them to stuff their bears, Berry did GREAT and got all the fluffy inside, Cheeks however, was a little confused on where the stuffing was meant to be located haha.
and in 30minutes time we had two cute little bears for the girls to give big squishy hugs too and wrap up for a friend/relative!
Monday, November 17, 2014
Challenge + FREE pattern! (details in the post!)
You are officially challenged to take the scallops from the Twirl Scallopini pattern and use the scallop templates/techniques on any other Scientific Seamstress/Sisboom pattern!
Challenge ends with the month of November 014 and to enter you need to upload a picture of what you have made into the album in our facebook group!
Oh! and did I mention the twirl scallopini pattern is now FREE for you challenge participators ?? Yep, it is! until the end of November 2014! Just join the facebook group for all the details and fun!
Whose in ???
Tuesday, November 4, 2014
Kitten Hoody from All the Rage Raglan
Well I finally (FINALLY!) went through my kids clothes! Piled everything they own into the living room and made piles of what fits and what needs to go. I regretted it the minute I started, but now I'm glad it's done. In this sort I discovered that my kids are REALLY lacking on the long sleeves and hoodies departments. Naturally this means you get another girlied up All the Rage Raglan tutorial!
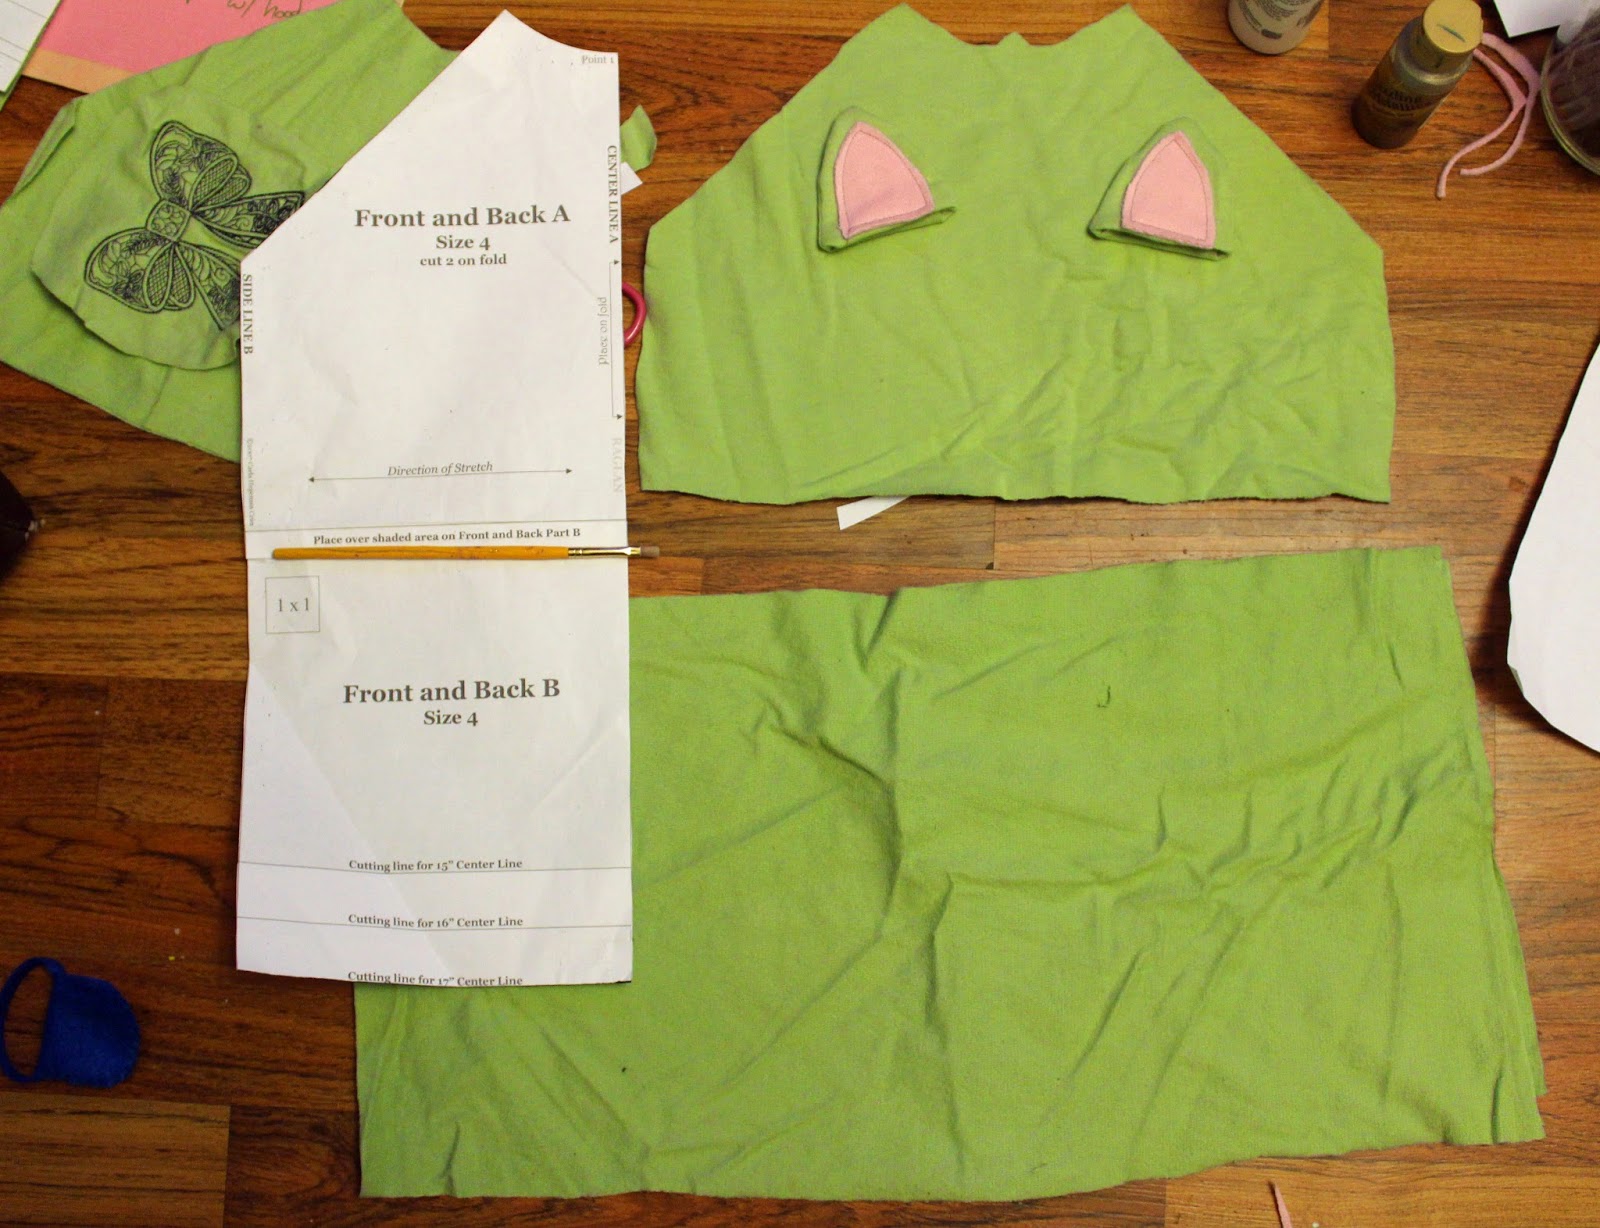
This is really quite simple. Get out your front and back piece and decide where you want to have the top end and skirt start. The angled line bottom is where the armpit is, so keep that in mind. I cut my top where the two pattern pieces attach (see the paintbrush?). I will likely do another but cut it closer to the armpit line, but for this one I wanted to do a kitten face and needed the space.
Cut 2 skirt pieces about 1.5 times the width of the top piece.
(ps. it really bothers me how bright the fabric is looking in the above pic... night pictures ...)
For the face I cut 4 triangles and sewed them right sides together then flipped and sewed on the front of the shirt and painted the face. If you are doing a face I recommend doing it before sewing the shirt together. It saves so much headache.
Sew the top up as the pattern directs and then you put the skirt pieces right sides together and sew the side seams and then gather and sew to the top.
All done and adorable!
Tuesday, October 21, 2014
The Patricia Tunic Opens Up!
So this tutorial started out by me browsing pinterest under the fashion label and I noticed a few tunics I loved with a wide open neckline but a free fit similar to the Patricia Tunic !
So naturally I had to try out this modification :) This top is sewn exactly the same way as the pattern describes - exactly. The only change you will do to get this look is cut your facing piece as seen below. The top triangle ish piece is cut out to open the neckline and the bottom piece cut off is to round the bottom. Of course you can open it as much or as little as you like and have the bottom left square if you'd rather.
I also used a longer cutting line in the back. For a little more bum coverage when I wear with tights.
Happy Sewing!
~Jeanine
Wednesday, October 8, 2014
Reverse Sisboom Sophie Tunic
So yesterday I showed you my signature style look and promised a tutorial!
So here is what you do for the overshirt Sophie !
As you can see below I used the front for the back and the back for the front. I hi-lo'd the pattern at the bottom. You will want to do the front dip a bit lower for the back so it has more head room and easy on and off. You will still use the facings and sew the shirt the exact same way as the pattern states, except you skip the slits.
If you want those cute button tabs you just cut 4 in the shape you want for the tab and sew around, turn and then layer them on the back on the wrong side of your sleeve with your contrast cuff on the other side ( the pattern shows how to add the contrast cuff)
Then pin the tab down and topstitch the contrast blok and the shirt.
Then flip up and sew a button on ! It is not a functional button tab, just a decorative one
Any other tutorials you would like to see happen here on the blog?
Tuesday, October 7, 2014
Cheeks' Chic
When I (Jeanine) started thinking about what to sew for "signature style" week on PrP I had to do a lot of thinking... What do I enjoy sewing, what do I sew, what would I like to be sewing ???
The answer I came up with? I like to sew practical clothes that can get everyday wear, but I also like them to have some elements that are a bit unique and I like changing up patterns a little for a new look.
For my signature style I chose to do a cute layered look. You all know I'm a big fan of tunic type tops and layering with leggings and skinnies. So here is my take on it!
I used the Sisboom sophie for the red shirt. I made it in reverse and hi-lo'd it and then did a little contrast band on the sleeves with button tabs. The little green butterflies because I LOVE colour and fun and a surprise "pop" !
Underneath the Sophie hi-lo is a plain elongated top version (in the pattern as an option) Scientific Seamstress Portrait Peasant, short sleeves and a little yellow button for fun, so she can wear it as a separate and not be all dark and brooding looking.
For the pants I used the Sisboom Kaitie's I made last month. They are skinnied with the Field Research cargo pockets and you can find that info tutorial HERE.
It is chic for going out, practical for everyday, fun for playing in the leaves and comfortable enough she wanted to wear it all day long. Signature style success!
Look for the Sophie tutorial here on the blog tomorrow if you want to create your own crop look hi-lo over shirt!
Monday, September 29, 2014
Adding Pockets to the Portrait Peasant
This week on Project Run and Play it is denim week!!!!
This was the week I was most nervous about, but I actually got it sewn before upcycle week haha. Turns out I didn't have to think toooo hard on how to make denim week not overwhelmingly 90's !
I used the portrait peasant for the top and the easy fit pants for their bottoms. Both the necklines are in the pattern. So, today's tutorial is for adding the pockets!
I made a size 5 and 2 and my pocket pieces were 6 and 7 inches tall and I made them 9 inches wide (better a bit extra than not enough). Serge or zigzag your ends. and then you will fold over the one side that will be in the center of the shirt and then fold over the top edge 1/4 inch and then another 1/4 inch. You can also add a hemband along the top as you will see in a little bit.
Next, you will pin your pockets onto the fronts and sew along the inside edge and then baste along the bottom and around the outside edge. Then you will just finish sewing up the portrait as per the pattern!
I personally LOVE the pockets on peasants! My kids also adore the pockets and promptly collected rocks and leaves and things when we went out on our picture walk !
Anyone want to guess what I'll be sewing/showing for signature style week next week?
Friday, September 26, 2014
Pattern Mash-Up Blog Hop
I had so much fun challenging myself this week with pattern mashing!
If you missed my post check it out here : Katie's mixed with the Field Research Pants
There were some other really fun posts and mash ups in the blog hop that you should check out!

- Knight Hoodie + Bimaa Sweater by Boy, Oh Boy, Oh Boy Crafts
- Alleycat Daydream Dress by Call Ajaire
- Rainbow Princess Dress by Rae Gun Ramblings
- Ash Jumpsuit + Vintage Style Flutter Sleeve by Amanda Rose
- Burda Harem Pants + McCalls Dress by Lil Bit and Nan
- Sugar Plum Princess Dress + Poppy Dress by Bee Quilted Beauties
- Dress #13 + Pants #2 by Sprouting Jube Jube
- Katie Fancy Pant + Field Research Pant by Scientific Seamstress
- Jumpsuit Mashup by Sew Like My Mom
- Lullaby Line Body Suit + Grand Slam Tee by Peek-a-boo Pattern Shop
- Cherry Pie Skirt + Socialite Peplum by Sewing Sober
Tuesday, September 23, 2014
Pattern Mashup: Skinny Legs Katie Fancy CARGO Pants
So a couple weeks ago I showed you Cheeks Precious dress as a top Minnie birthday shirt.
Today it is the day to share with you the second part of her look - the pants!
For these pants I used stretch denim and the Katie Fancy Pant pattern in her almost outgrown size (18m). I skinnyfied the leg and then I added the Field Research Pant cargo pockets to the legs!
To skinny the leg you simply fold in the flares as seen below. I also skipped the facing and just did a double fold for the hem (added a little extra length to the pants to account for this)
I sewed the pockets on exactly as in the Field Research Pants directions and attached them about knee to the sides as shown in the FRP directions.
I still think this is one of my favourite outfits for Cheeks! I love the modern Minnie top and the skinny floral pants with it totally brings in a modern feel but still "kid".
ps. my husband said right aways when I finished sewing this look that he liked both pieces separate but thought the top with the bottoms was too busy! I told him he was crazy because I love it! haha.
Whose team are you on? Would you pair all these prints together or do you prefer them separate?
Subscribe to:
Comments (Atom)


